Archive for June, 2014
Lath on, Lath off
Posted by Adam A. Ries in DIY, Home Improvement on June 4, 2014
I ended my last entry by saying lath & plaster removal is not nearly as easy as those speedy home improvement shows make it look. So I began hunting on YouTube for how other people tear it off, and I did learn a few things.
I was simply going at it with a hammer and pry bar, inching my way up the wall, one lath board at a time. But the many video tutorials gave me some good pointers.
First, pound a hammer across the wall, working in 16″ wide swaths at a time. Hammering where there is a wall stud does no good, so find the “flexible” space between two studs and get to hammering. This forces the plaster “keys” to break off, and these are basically what give a plaster wall it’s adhesion to the lath boards.
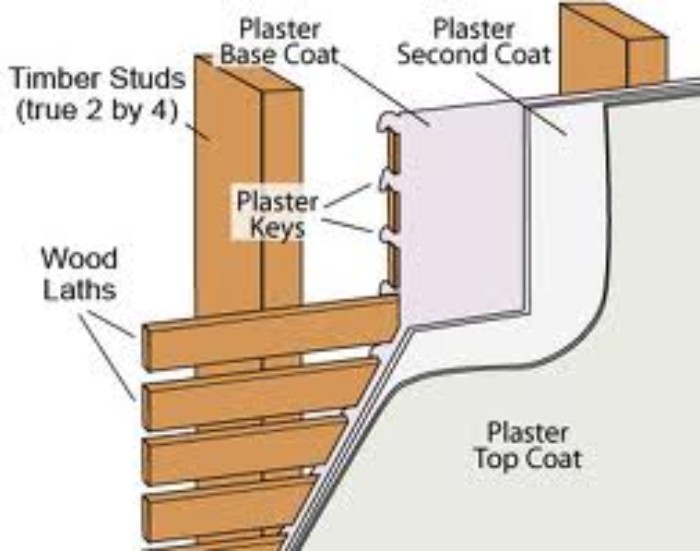
As this photo shows, the plaster that squeezes through the lath boards when applied are called keys. While hammering, I can hear these falling down into the wall so I know they are breaking lose. Then begin a hole in the plaster with the claw end of the hammer.

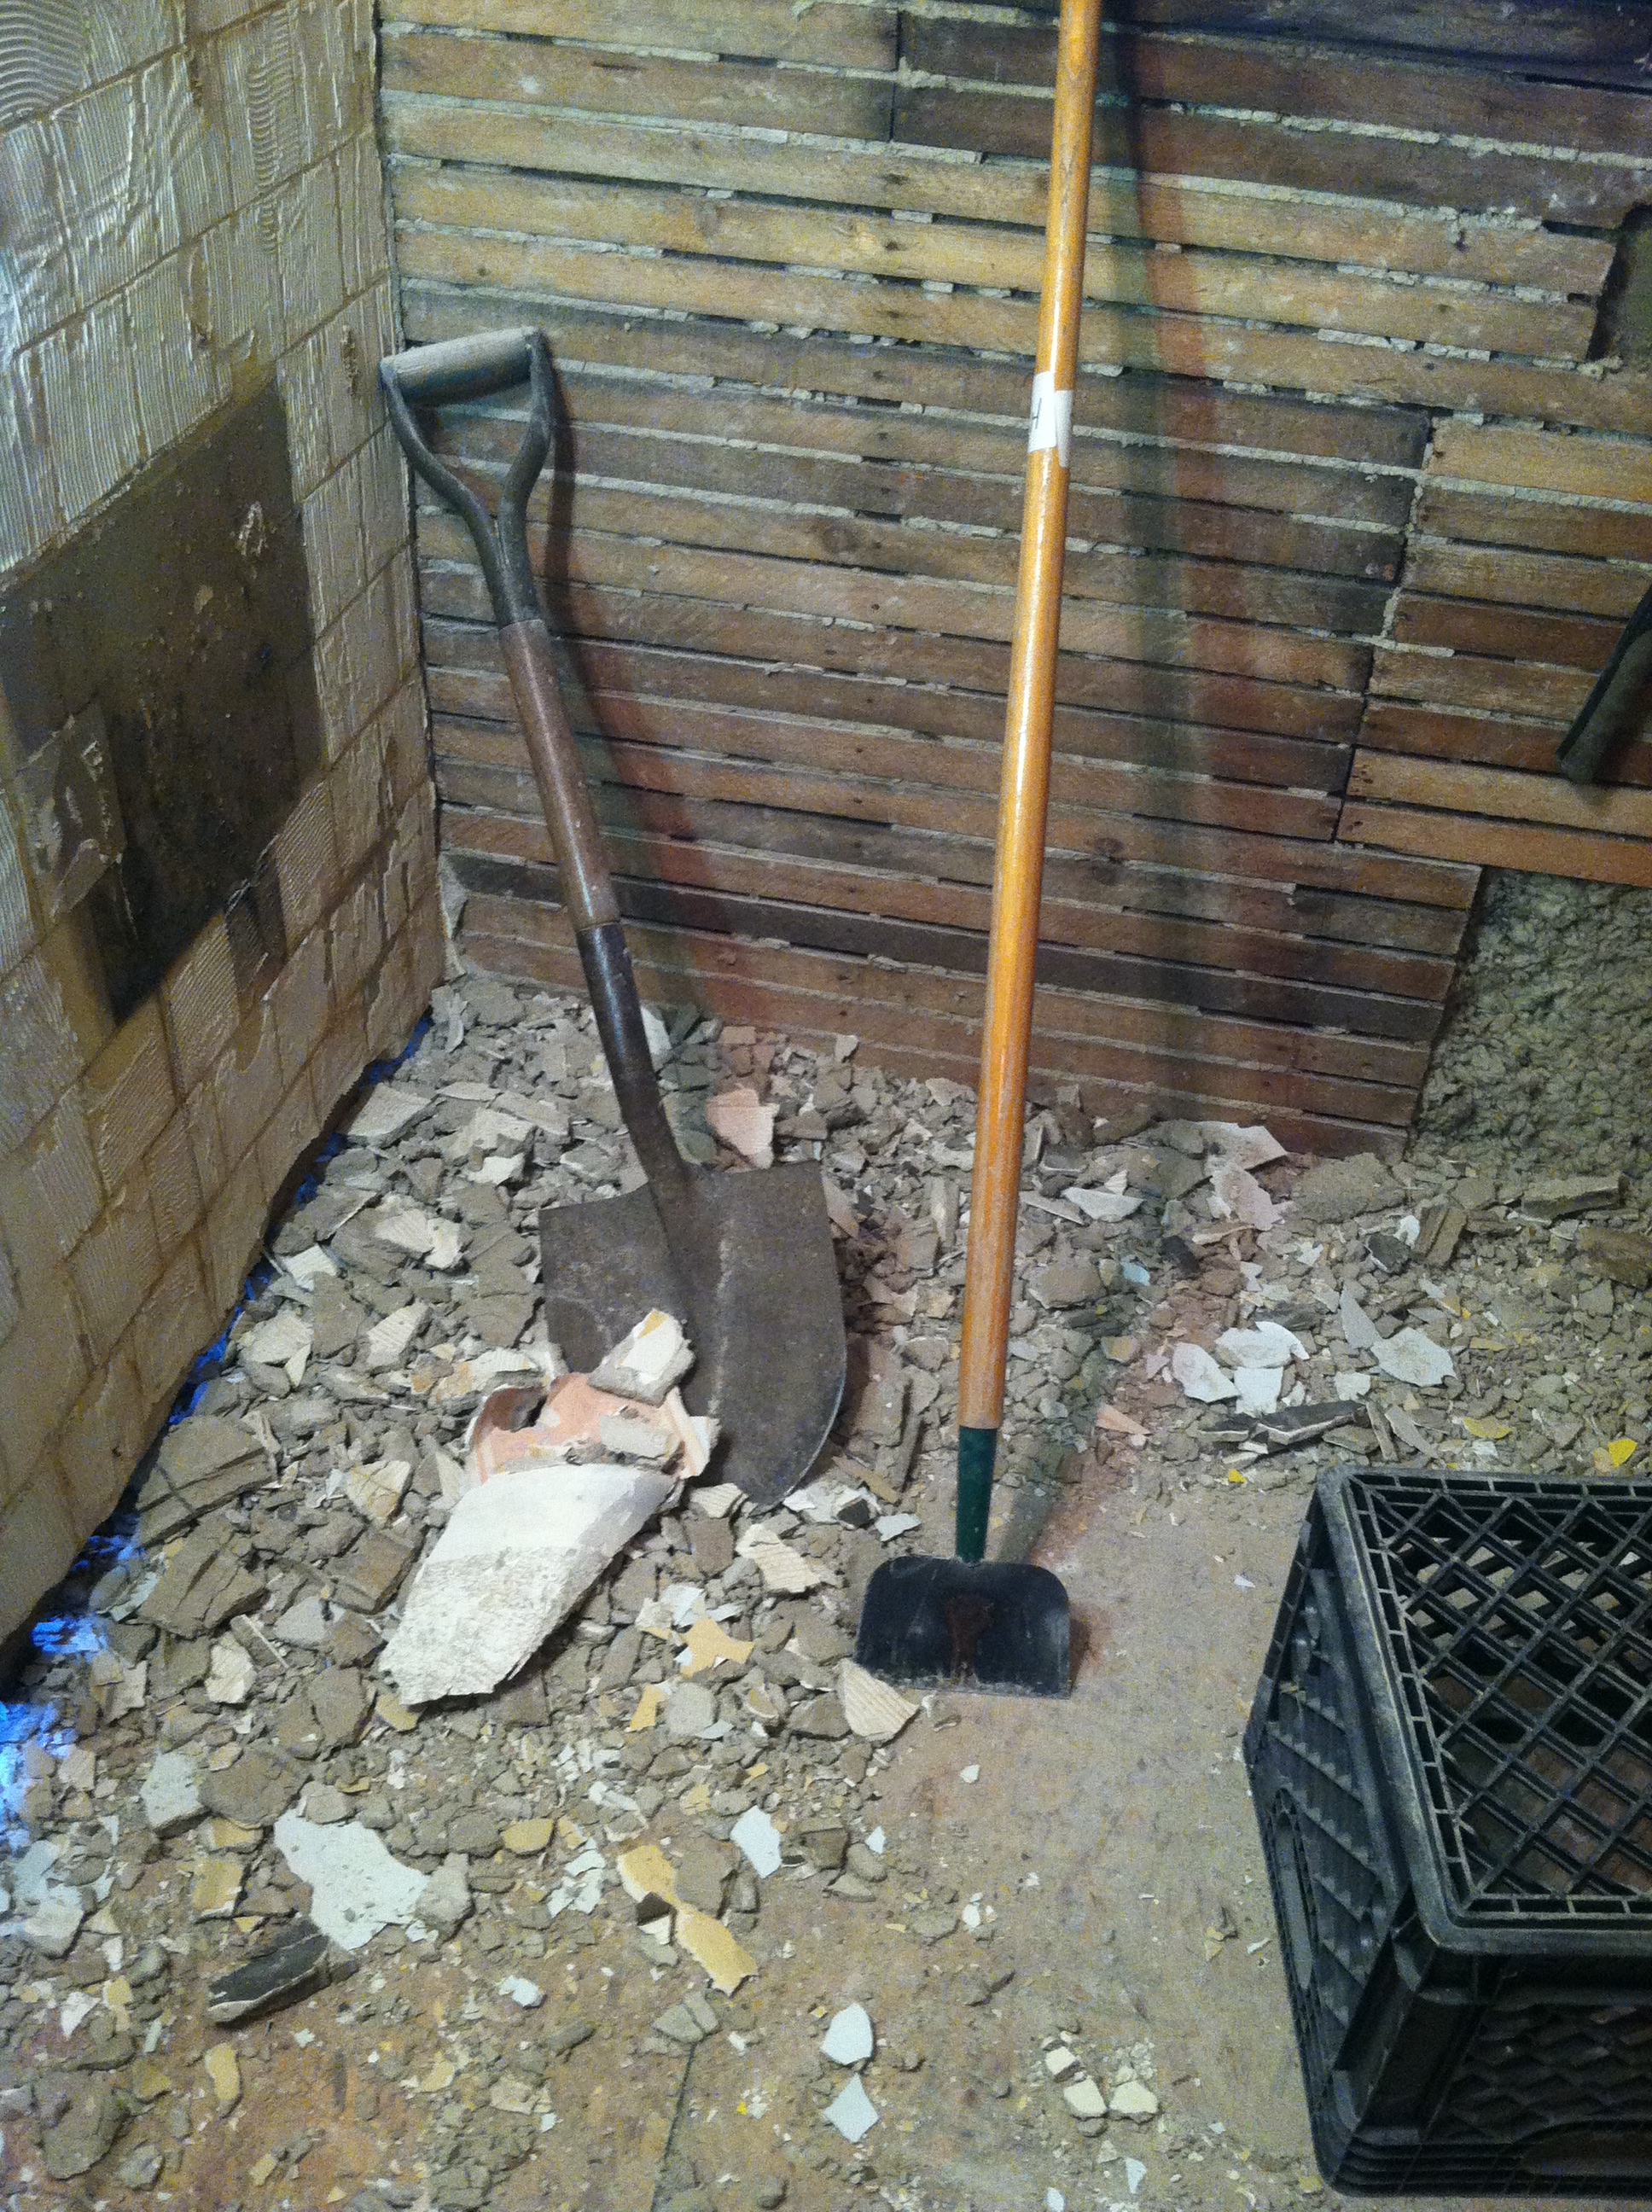
Once a hole is started, a sidewalk ice scraper is the perfect tool. The long handle is a little wonky when I get close to the corners, but overall it works great. I stand close to the wall, and scrape the plaster right off in large pieces.

This is where I left off last night. These two walls are completely without plaster. The 3rd wall to the left that isn’t pictured above I only got about half removed.
I went ahead and also tore off all the lath boards on the wet wall (where all 3 fixtures will be, on the right) because I need to run the remaining drain vent pipes up through the ceiling. But on the other 2 walls, I’m debating leaving the lath in place. I don’t see any disadvantages to leaving it, and for the exterior wall around the window, it is holding in the cellulose insulation. I’ll continue to do some internet research on this and see what comes up.
Take the Floor
Posted by Adam A. Ries in DIY, Home Improvement on June 2, 2014
It took some time, but the bathroom now has an OSB floor! Or it did, but now you can’t see it because I’m back to tearing off the plaster & lathe walls. This photo shows just one small piece of the floor remaining to be screwed into place.

But the subfloor was not as easy as it sounds. I couldn’t just drop the OSB boards down and start screwing it into place. I tested it with the first piece, and found that the board rocked on one end, and dipped in the middle when I stood on it. That was an indicator that the floor joists were not all the same height. I used masonry string (basically a bright color thin cord) and a string level, and stretched the string from one corner of the room to the other. I simply wrapped the string around the head of a nail and then hammered the nail all the way into the top of the floor joist. Then pulled it to the opposite corner of the room, stretched the string tight, and nailed it into place again. Using the string level, this showed me how the string was touching the floor joists on the edges of the room and made a level line, but the string did not touch the joists in the center of the bathroom.
Why? Well, I’m no structural engineer but I would say from the weight of a 300 # cast iron tub, and the years (and years) of water leaks probably had something to do with it. The joists are very sturdy, but they’ve sagged over the last 98 years from weight and water penetration through the old floor. So how to fix this.
I knew I couldn’t raise the floor joists, so I measured the distance between the sunken joist and the string, and ripped long shims on my table saw from a 2×4. In the center of the room, I needed a shim 5/8″ thick, and then one at 3/8″ for each joist on either side of the first. I laid them in place on each floor joist under the string, and now the string touched each one and was perfectly level. I nailed these shims into place with just a few nails each.
Then I carried the OSB floor back in and laid it down. Voila, it laid flat and level, no rocking and no dipping! Then I screwed it down with 2 1/2 deck screws along each of the floor joists, spacing the screws about 10″ apart. Why so close? I do not want any movement with this floor, as that will mean cracked tiles or grout down the road.
So now with a floor down, I started attacking the walls with a hammer, pry-bar, anything else I could swing the break the plaster off and then tear off the lathe boards. I couldn’t do this step before tearing up the original floor, because that floor was so rotted through it was unsafe to stand on.
Plaster removal is slower and dirtier than I expected. It’s not as quick as Nicole Curtis makes it look. I’ve learned over the last 2 months that all of those fancy HGTV and DIY home improvement shows rely way too heavily on one of two things: time lapse video, and an unseen crew of 20 or more.
