Archive for May, 2015
Getting a Handle on Things – part 2
Posted by Adam A. Ries in Home Improvement, Interior Design on May 30, 2015
So the bathroom door is installed, varnished, and looks beautiful. But it was missing a door handle. No worries, my cat doesn’t seem phased that I don’t shut the bathroom door when showering or brushing my teeth. But having friends over occasionally and having them panic when they hastily shut the door closed was getting old. (Knowing how to open a handle-less door with a flat-head screwdriver should still be taught as part of 2nd grade curriculum.) But what does the perfect bathroom door handle look like for my house?
Well, the only existing original door has a handle that looks like this:

There is a great little architectural salvage business in downtown Fort Wayne (Indiana) just to the west of us, and it is room after room, after patio, after whole ‘nother building full of salvaged antique house parts. In fact, an entire small room is devoted to hardware – door handles, hinges, mechanism, and escutcheon plates. But nothing that matched this one. Not even close. And although they had glass doorknobs, they didn’t have any exact matches of these either – mine is slightly smaller and with more facets around the edges than any I found there.
So after a little while (2 hours) staring & sorting through the hundreds of escutcheon plates (also known as ‘door knob plates’), I decided upon a certain style because they had 5 matching sets exactly the same, and in pretty decent shape. Dirty and scratched, but not bent out of shape like some of the others. By buying them all at once, I now have enough for all the future doors in my house, including modifying them to make them fit the inside of the front & rear entrance doors.
While traveling for a work event earlier this spring, I found a lonely little glass doorknob in a small antique shop in Downtown Medina, Ohio (an incredible downtown, by the way – seriously, go there sometime!). I was pretty certain it was just like mine while in the store, and the price was safe enough to take it home. Sure enough, exact match!

So put the two together and now I have got to be the proudest bathroom doorknob owner on my block.

I like that the plates are dark to look like hammered metal, but still rather rectilinear which fall right within the design mindset of the American Craftsman time period. Round or curvy shapes are found sparingly in Craftsman homes. Instead you find lots of square motifs – from the built ins, divided light windows, and even small trim details and original wallpaper styles of the time. It was hip to be square.
Earlier (aka, before I realized my actual home-improvement budget) I was drooling over these handmade reproduction door handles – I liked the 4 square detail in the corners.

But I really like mine a lot better. Mine don’t look as “rugged.” I sought them out and got to enjoy the thrill of discovery when finding them. And as I strive to be, these again are authentic to the time period (and most importantly, a hell of a lot cheaper).

I still don’t necessarily shut the bathroom door during every visit (I don’t want my cat to get lonely & feel the need to claw at the door – that will get him kicked out of the humblebungalow faster than you can spell ‘eviction’) – but when friends visit they sure enjoy the luxury of a door handle. It’s the little things.
The only drawback is this plate doesn’t allow for a turn-knob lock. And it is a bathroom, after all. I imaging a future homeowner might want a locking bathroom door. So I’m thinking of making a skeleton key to fit the mortise lock. In fact, there is a great online tutorial from This Old House showing just how to do that. Then the key could hang on a fancy hook beside the door. A future project, perhaps. You know, just in case someone really wants to lock themselves in.
The Royal Treatment
Posted by Adam A. Ries in Home Improvement, Interior Design on May 28, 2015
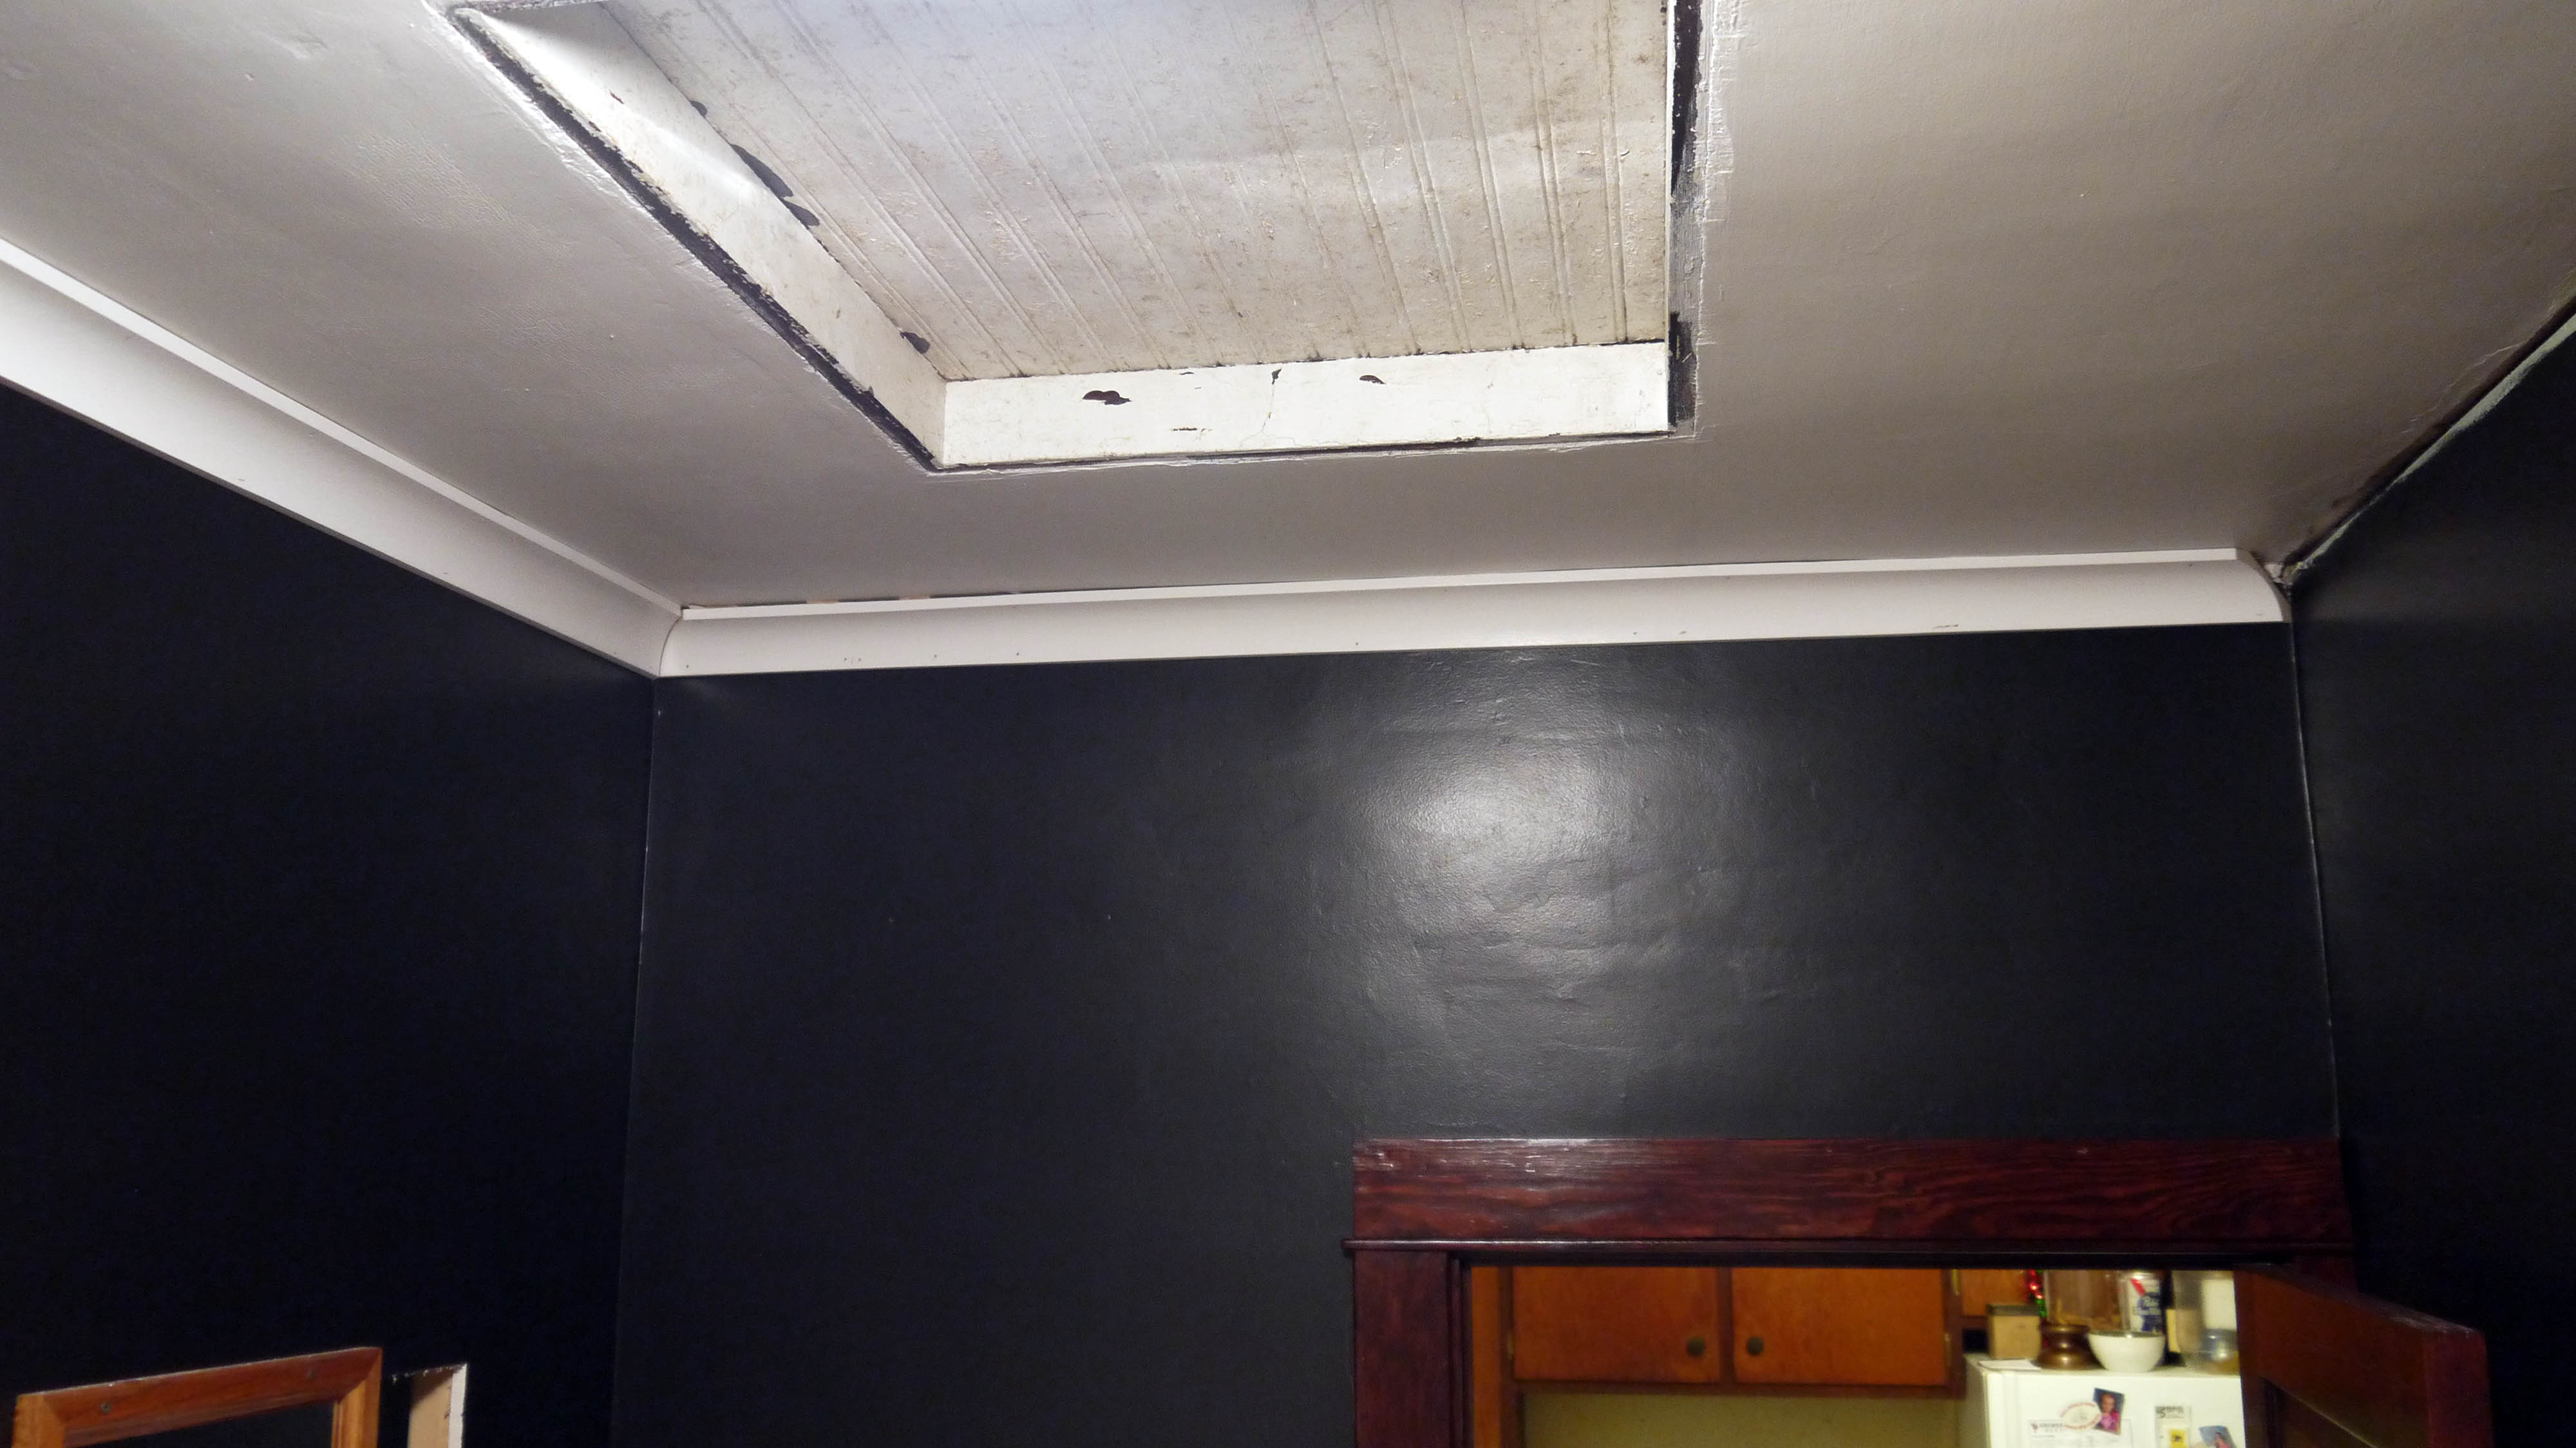
As in, making & installing crown molding in the bathroom. Neither our local lumberyard or even the home improvement stores carried the shape & size of crown molding I wanted. I wanted a large but simple cove shape. No fancy ripples, extra lines, or fake classical over-stylization. No outward bow, no fuss, no fancy. Just a cove. Just like this:
 Sure, I could order it, but at special order price? Heck no. So my brain reminds me that in shop class way back in high school our instructor told us that table saws can be set-up to run the board at an angle to the blade, creating a cove. So I went to YouTube to find some tutorials.
This video was my favorite, it was less guess & check and more technical to get the right angle to get the exact cove I want.
It basically consisted of clamping a long fence at an angle to the blade, and tightening a featherboard on the opposite side to keep the piece tight against the fence. Then let her rip! It took several passes on each board, starting by just shaving off a hair the first pass, and slowly raising the blade each time. The trick was keeping the board pushed down on top of the blade, as they kept wanting to raise. In total it took about an hour to cut the cove on 4 boards. And the pile of sawdust was pretty impressive. After cutting the cove, I cut a 45 degree miter off both the top and bottom edges of each side, so that the board would sit up against the corner of the ceiling & wall. I really didn’t take any photos of this step, it was pretty dusty.
I needed just about 36 feet for the entire perimeter of the bathroom, so I simply used 1″ x 4″ pine boards. Although I stripped the paint and re-stained the woodwork around the door & window, I knew from the get-go that the crown would be painted white. I want it to feel like part of the ceiling.
Even by running the boards a second time across the blade without raising it, each board still had kerf marks along the entire length of the cove. This meant first scraping the cove with a metal scraper, and then lots and lots of sanding. I actually wrapped sandpaper around a short length of 3″ PVC pipe to sand the cove, and then sanded the mitered edges too.
A coat of primer and 2 careful coats of Sherwin Williams Pro-Classic (supposed to be the best latex enamel on the market, drying to a hard finish recommended for trim and cabinetry). I also added a measured amount of Floetrol to the paint. Floetrol is a paint additive designed to slow the drying time to make sure the paint levels as it dries. This helps eliminate any brush or roller marks. The results were worth all the work – they looked like factory finish trim boards!

Then measure, mark, measure, and cut. And then cut again, because with crown molding I always forget that by holding the board up against the miter saw fence it is upside down. So it’s a mental game to get it just right. Luckily I only made the wrong angle cut twice, each on the first end of a board and not when the measurement had to be exact. One wrong cut and it’s very easy to be stuck with a piece 2″ too short.

The first few walls were pretty simple. The corners seemed to line up alright, and the walls were pretty flat.
Then came the corner of the South wall, where I kept the original plaster. Apparently it is not an exact 90 degree angle. No surprise there though. And lots of nail holes to try to get the cove molding as tight as possible to both the ceiling and wall.

Once all the pieces were hung, then came filling every nail hole, corner, and seam along the ceiling with white paintable caulk. I put the priority on getting the trim tight to the wall, and it worked pretty well. This way I could use caulk in the seam where it meets the ceiling to fill any gaps and not have to do this along the black paint.
I still have to go back for touch-up painting the spots where I caulked, but I’m thrilled with how it turned out. It looks much more elevated than any other room in the house. A touch of class in a classic bathroom. And then the ugly attic access. Eventually that will be painted the same enamel white along with the narrow trim around it, and won’t be such an eyesore in the middle of the ceiling.

