Posts Tagged Furniture
Getting a Handle on Things
Posted by Adam A. Ries in DIY, Furniture on January 5, 2015
Following this year’s Christmas celebrations with family and friends, it is rewarding to be in my own place! Yep, the weekend before Christmas I finally got moved into the house! It was a push to finish the cleaning & scrubbing every room needed, but several friends pitched in and many hands make light work. The move wasn’t all that terrible either, I actually drug it out an entire week. Each day after work I would fill up my car with boxes and slowly unload them into the house, allowing me to unpack slowly and not get overwhelmed. (It was also a chance to realize that I might be a little bit of a pack rat, so I did quite a bit of purging, putting to work my recycling & trash pick up services these last two weeks.) And after all those family Christmas parties, it was nice to relax. At home. Alone. And quiet.
Beyond unpacking, organizing, tossing out, & cleaning more, I haven’t gotten to a whole lot of work inside the house. But now with a working bathroom, it was time to finish the drawers for the bathroom vanity. I had already completely disassembled & rebuilt each drawer to fit around the sink and drain plumbing. Unfortunately though, the drawers didn’t open or close well because the drawer faces were so tight to the dresser frame.

So before I attached the handles, I found where they were rubbing the dresser openings and got acquainted with my block plane to hone down the top edges of the drawer fronts. A small pile of wood shavings later, and they open & close without scraping. I even had room to attach little plastic drawer glides inside the dresser to help them operate more smoothly. Once I stained and sealed the raw edges with polyurethane, all that was left was to attach the handles.
What handle do you affix to an antique dresser turned sink vanity? The ones that were on the dresser when I bought it were made of cheap metal and the gold finish was rubbing off. The rest of the finishes in the bathroom are brushed steel, so I found these unassuming handles and I think they are just the right size. Enough that I can easily open the drawers, but they don’t take away from how bold the dark wood vanity looks in a sea of white tile.

The bottom drawer was entirely busted apart, I didn’t even attempt to fix it. I’m thinking eventually I’ll put a thin board underneath and have a couple baskets to hold towels, soaps, etc.
Next project? Stripping paint & staining the bathroom woodwork for around the window & doorway. The boards are already pulled off their frames, I just have to strip & sand years of old paint off. And once that is finished, I will let myself build a medicine cabinet.
Mad Men Chair – Part 2
Posted by Adam A. Ries in DIY, Furniture, Interior Design on March 4, 2014
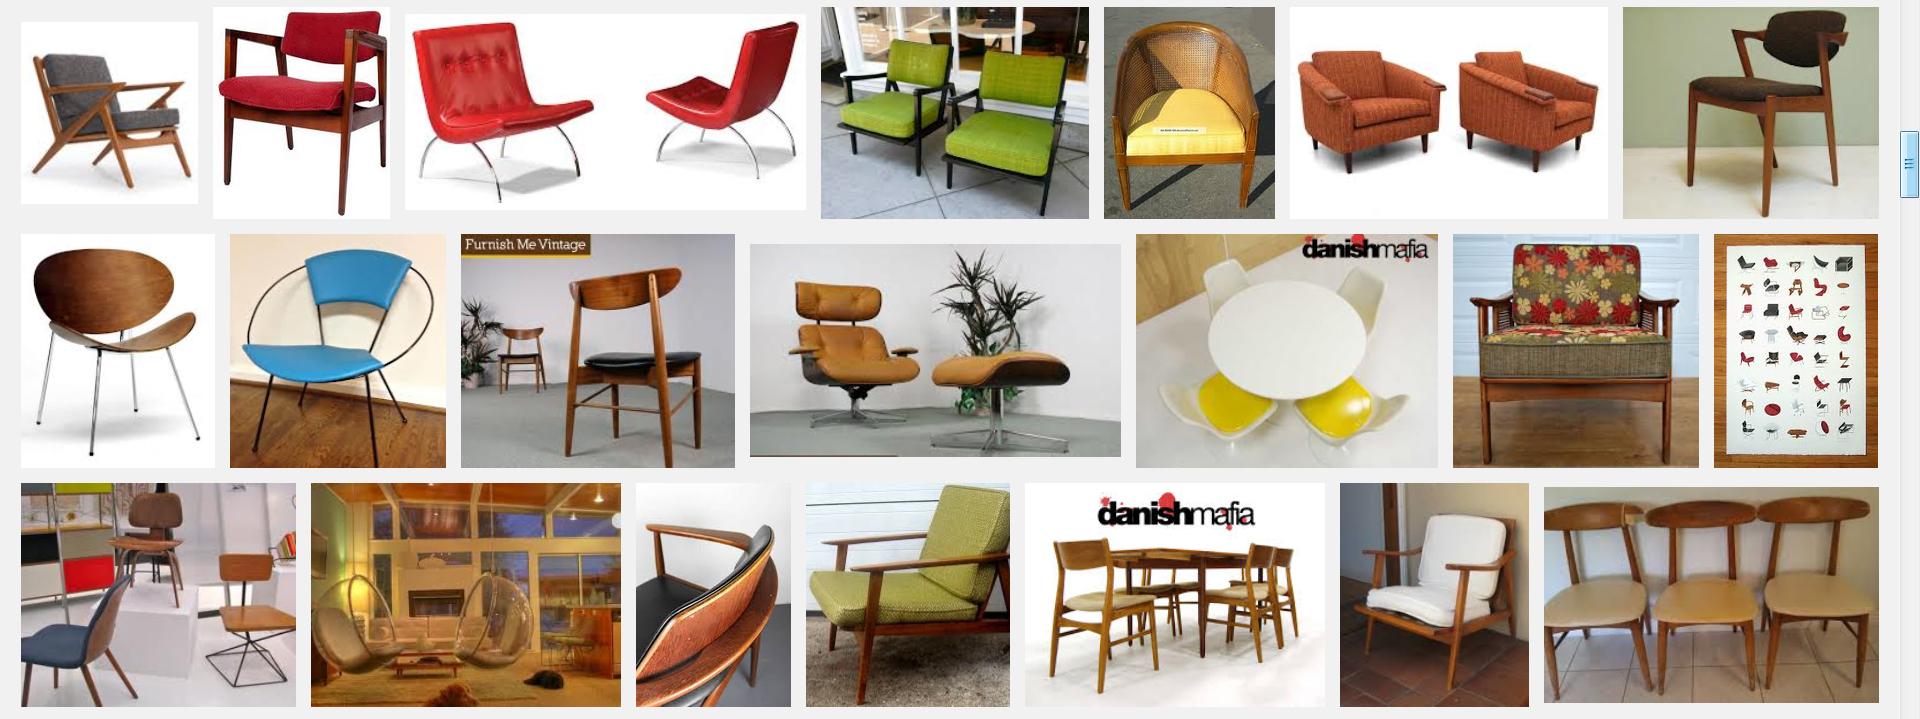
I finished this chair a few weeks ago, but I’ve forgotten to take photos of the finished product. But first, let me define mid-century modern. For me, mid-century modern (or mcm) is hard to describe, but I know it when I see it. The term can apply to homes, furniture, architecture, even graphic design and fashion, popular among designers and cities across the globe from the mid 1930’s to late 1960’s. Mcm furniture can be described as crisp, with sweeping lines and sharp, geometric shapes. Before the 1950s, furniture was more elaborate and involved complicated lines and adornments, mostly adopted from common European furniture styles that were still being used centuries later. Mid-century designers were modernists, and their furniture embodied their ideas of the world and society. They valued simplicity and streamlined their pieces accordingly. Their designs were high-quality, often using materials that were uncommon for fine furniture such as teak, stainless steel, chrome, and bright bold colors. Want to see more styles? A quick Google search and you’ll see the most popular designs of Charles and Ray Eames, Arne Jacobsen, Mies van der Rohe, and Eero Saarinen. I’ll bet you recognize them, and you never realized the enormous impact their furniture has had on home and office design.
But back to my Mad Men chair. This blog post from yesterday showed the before, during, and even my inspiration photo for the finished chair. The hardest part was the upholstery. I tried to stay as true to the original upholstery style as possible, including making the cording around the top edge of the seat cushion and small pieces on each arm. Aside from a little simple sewing, it was a learning experience in how simple folding and a ton of staples in the right place can make anyone a professional in upholstery. The result? A really sleek and finished look.

The color is Varathane Dark Walnut gel stain, the first time I’ve used a gel stain. It didn’t get as dark as I hoped for, so I built the color up by reapplying 3 additional coats. Still a bit more wood grain showing than I hoped for, but I couldn’t get it any darker without losing the chocolate color. Then 3 coats of polyurethane in semi-gloss. Typically mid-century modern wood furniture has a matte or satin finish, but I used what I had on hand. And I knew I wanted it to have a strong finish to resist wear, so the step up in level of shine will be ok for me. Can you see the stitching on the seat cushion and back? It’s subtle, but the lines are there. It might be barely noticeable, but it breaks up the large surface of the seat and back.

The fabric was in the clearance bin at Joanne’s, I bought all that was left. It’s a tweed of some sort, reminds me of ground black pepper. It’s actually a bit darker in person than these photos show.

Seven (7) nail head brads just like the original also. Except they were gold/brass originally, but that color didn’t look right with the gray fabric. I found them in silver at a big box home store and I really like how they came out. You can see the seam on the back of the cushion in the photo above, but that’s exactly how the old one was done also. So that’s what I tried to replicate.

Of the 4 casters, they don’t all match. They are 2 and 2 of the same. You can also see in this photo that each leg has a dark brown cap, originally plastic, which I believe is meant to protect the legs when you set your feet on them. Two (2) were cracked and looked terrible, so I removed them during the tear-apart. I knew I would never find anything to replace them with, so I made new ones out of walnut stained with leather dye. They match is uncanny. You can see above one remaining that has the corner slightly broken off, but I chalk that up as character.
So here is where I started (almost, I forgot a true “before” photo).

And below is my new desk chair. You can see the stitched lines on the seat and back really well in this photo. And its comfortable, oh my is it comfortable. It wobbles a little bit because of the metal structure (which I did nothing but clean really well), and it squeaks a little, but overall its a very sturdy piece.

So let me add up my expenses.
$10 Chair purchase
$16 Fabric
$ 9 Stain
$ 5 Upholstery trim
$40 Total, and probably 10 total hours.
Not bad when other similar Paoli chairs are listed for $250, $275, $365, and up on such sites as Ebay, Etsy, and Apartment Therapy. Not bad at all.
Mad Men Chair – Part 1
Posted by Adam A. Ries in DIY, Furniture, Interior Design on March 2, 2014
That’s what I call it, because I am enamored with mid-century modern furniture as so often seen on the popular AMC television series Mad Men, set in New York City in the 1960’s. The fashion, the furniture, and the social context they build in this series had me hooked. And now I have my own Mad Men chair.
It was probably over a year ago, shopping with a friend at a nearby independent furniture store that I first saw it. The store was having a “retirement & going out of business sale.” Lots of new beautiful furniture, but even on sale it was all a bit out of my budget. First floor, upper floor, full of wonderful items to draw inspiration and future wants. But then the basement is where I saw it. A mid-century upholstered office chair, low to the ground and on casters. It just had “that look.” But it was broken, in the corner, and probably not supposed to be out where the shoppers could see it.
So I found the owner and asked her about it. She laughed. In a store full of deeply discounted new furniture, I wanted the broken old chair in the corner that was probably supposed to be in the trash a week ago and someone forgot about it. “Yep, that’s what I want!” I offered her $10, and the owner declared, “sold!”
Turns out once I got it home, it was a pretty popular chair made by the furniture company Paoli out of Indiana. The Paoli Chair (turns out they made lots of similar styles, all now very popular on Ebay). My chair even had the original label stapled underneath, dated 1963!
Unfortunately, I started taking it apart before thinking to take photos. Can you tell I’m not a professional blogger? Anyway, below is another chair just like it I found on Etsy (with a price tag of over $250!), but in much nicer shape.

Just imagine it all scratched up, with the armrests almost entirely worn of their color, and the upholstery so dirty you want to wash your hands after just touching it. And not yellow. The chair I bought is green, not yellow like the one above.
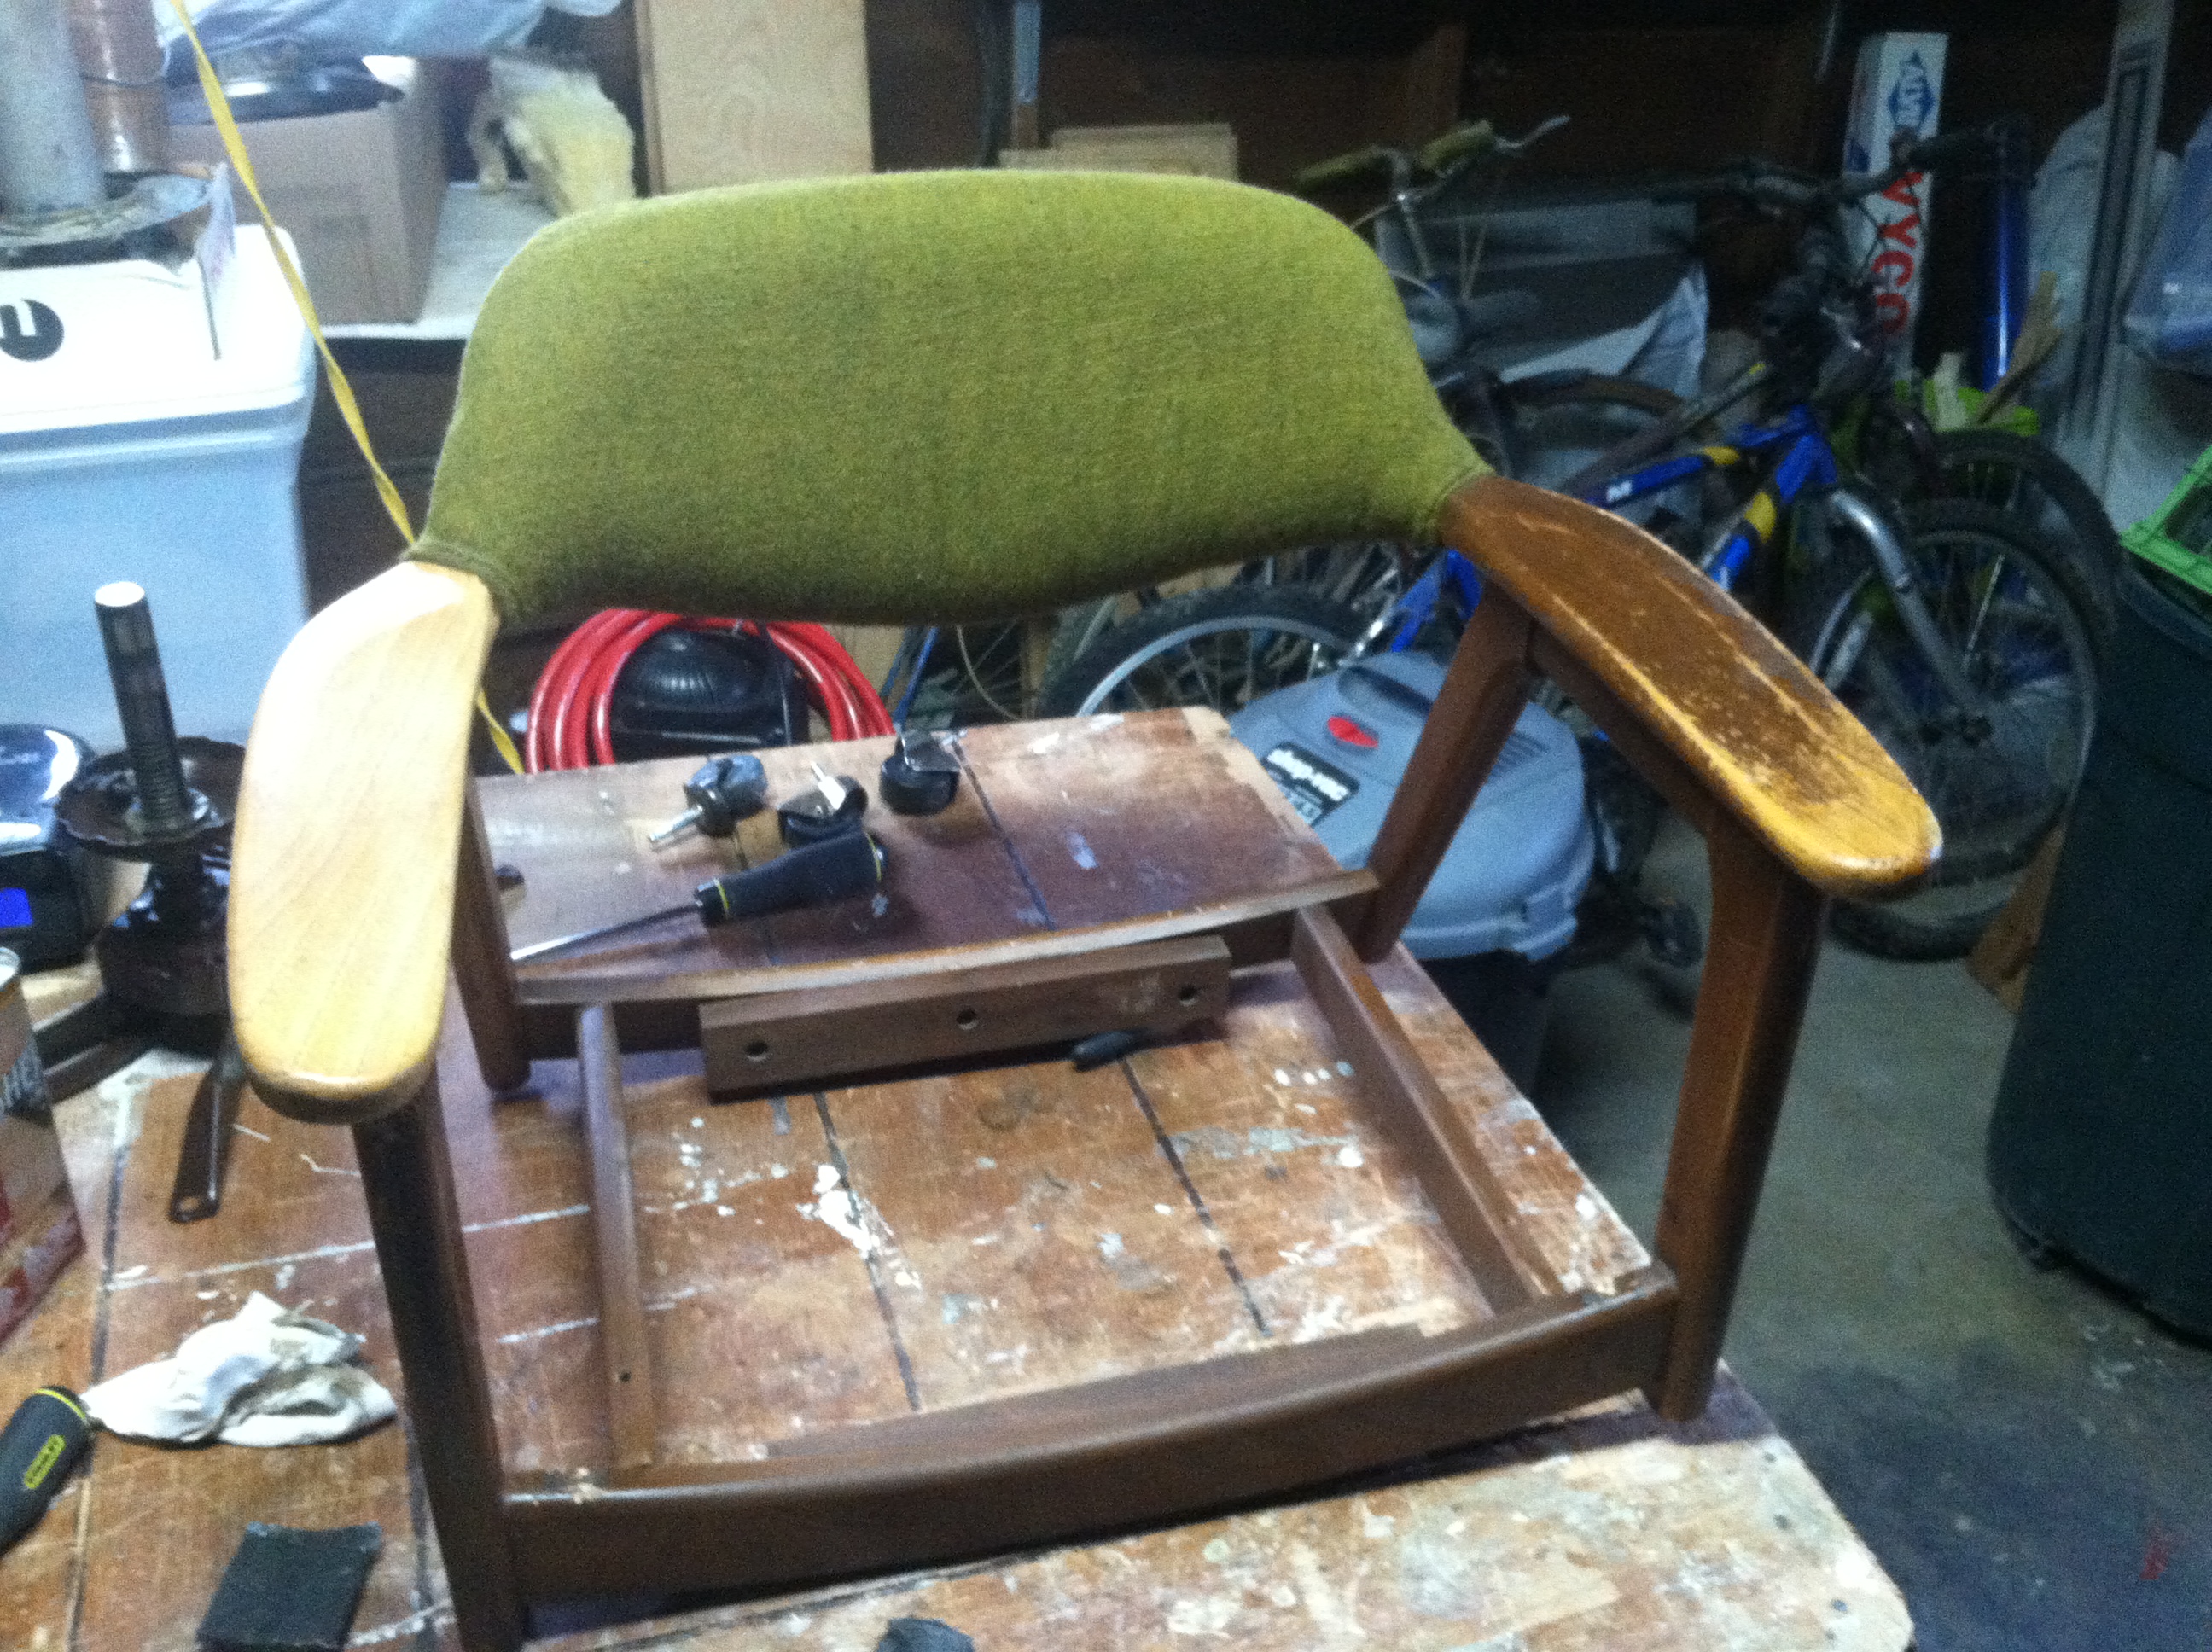
So here is the main body of the chair, seat removed, and starting to strip the finish.
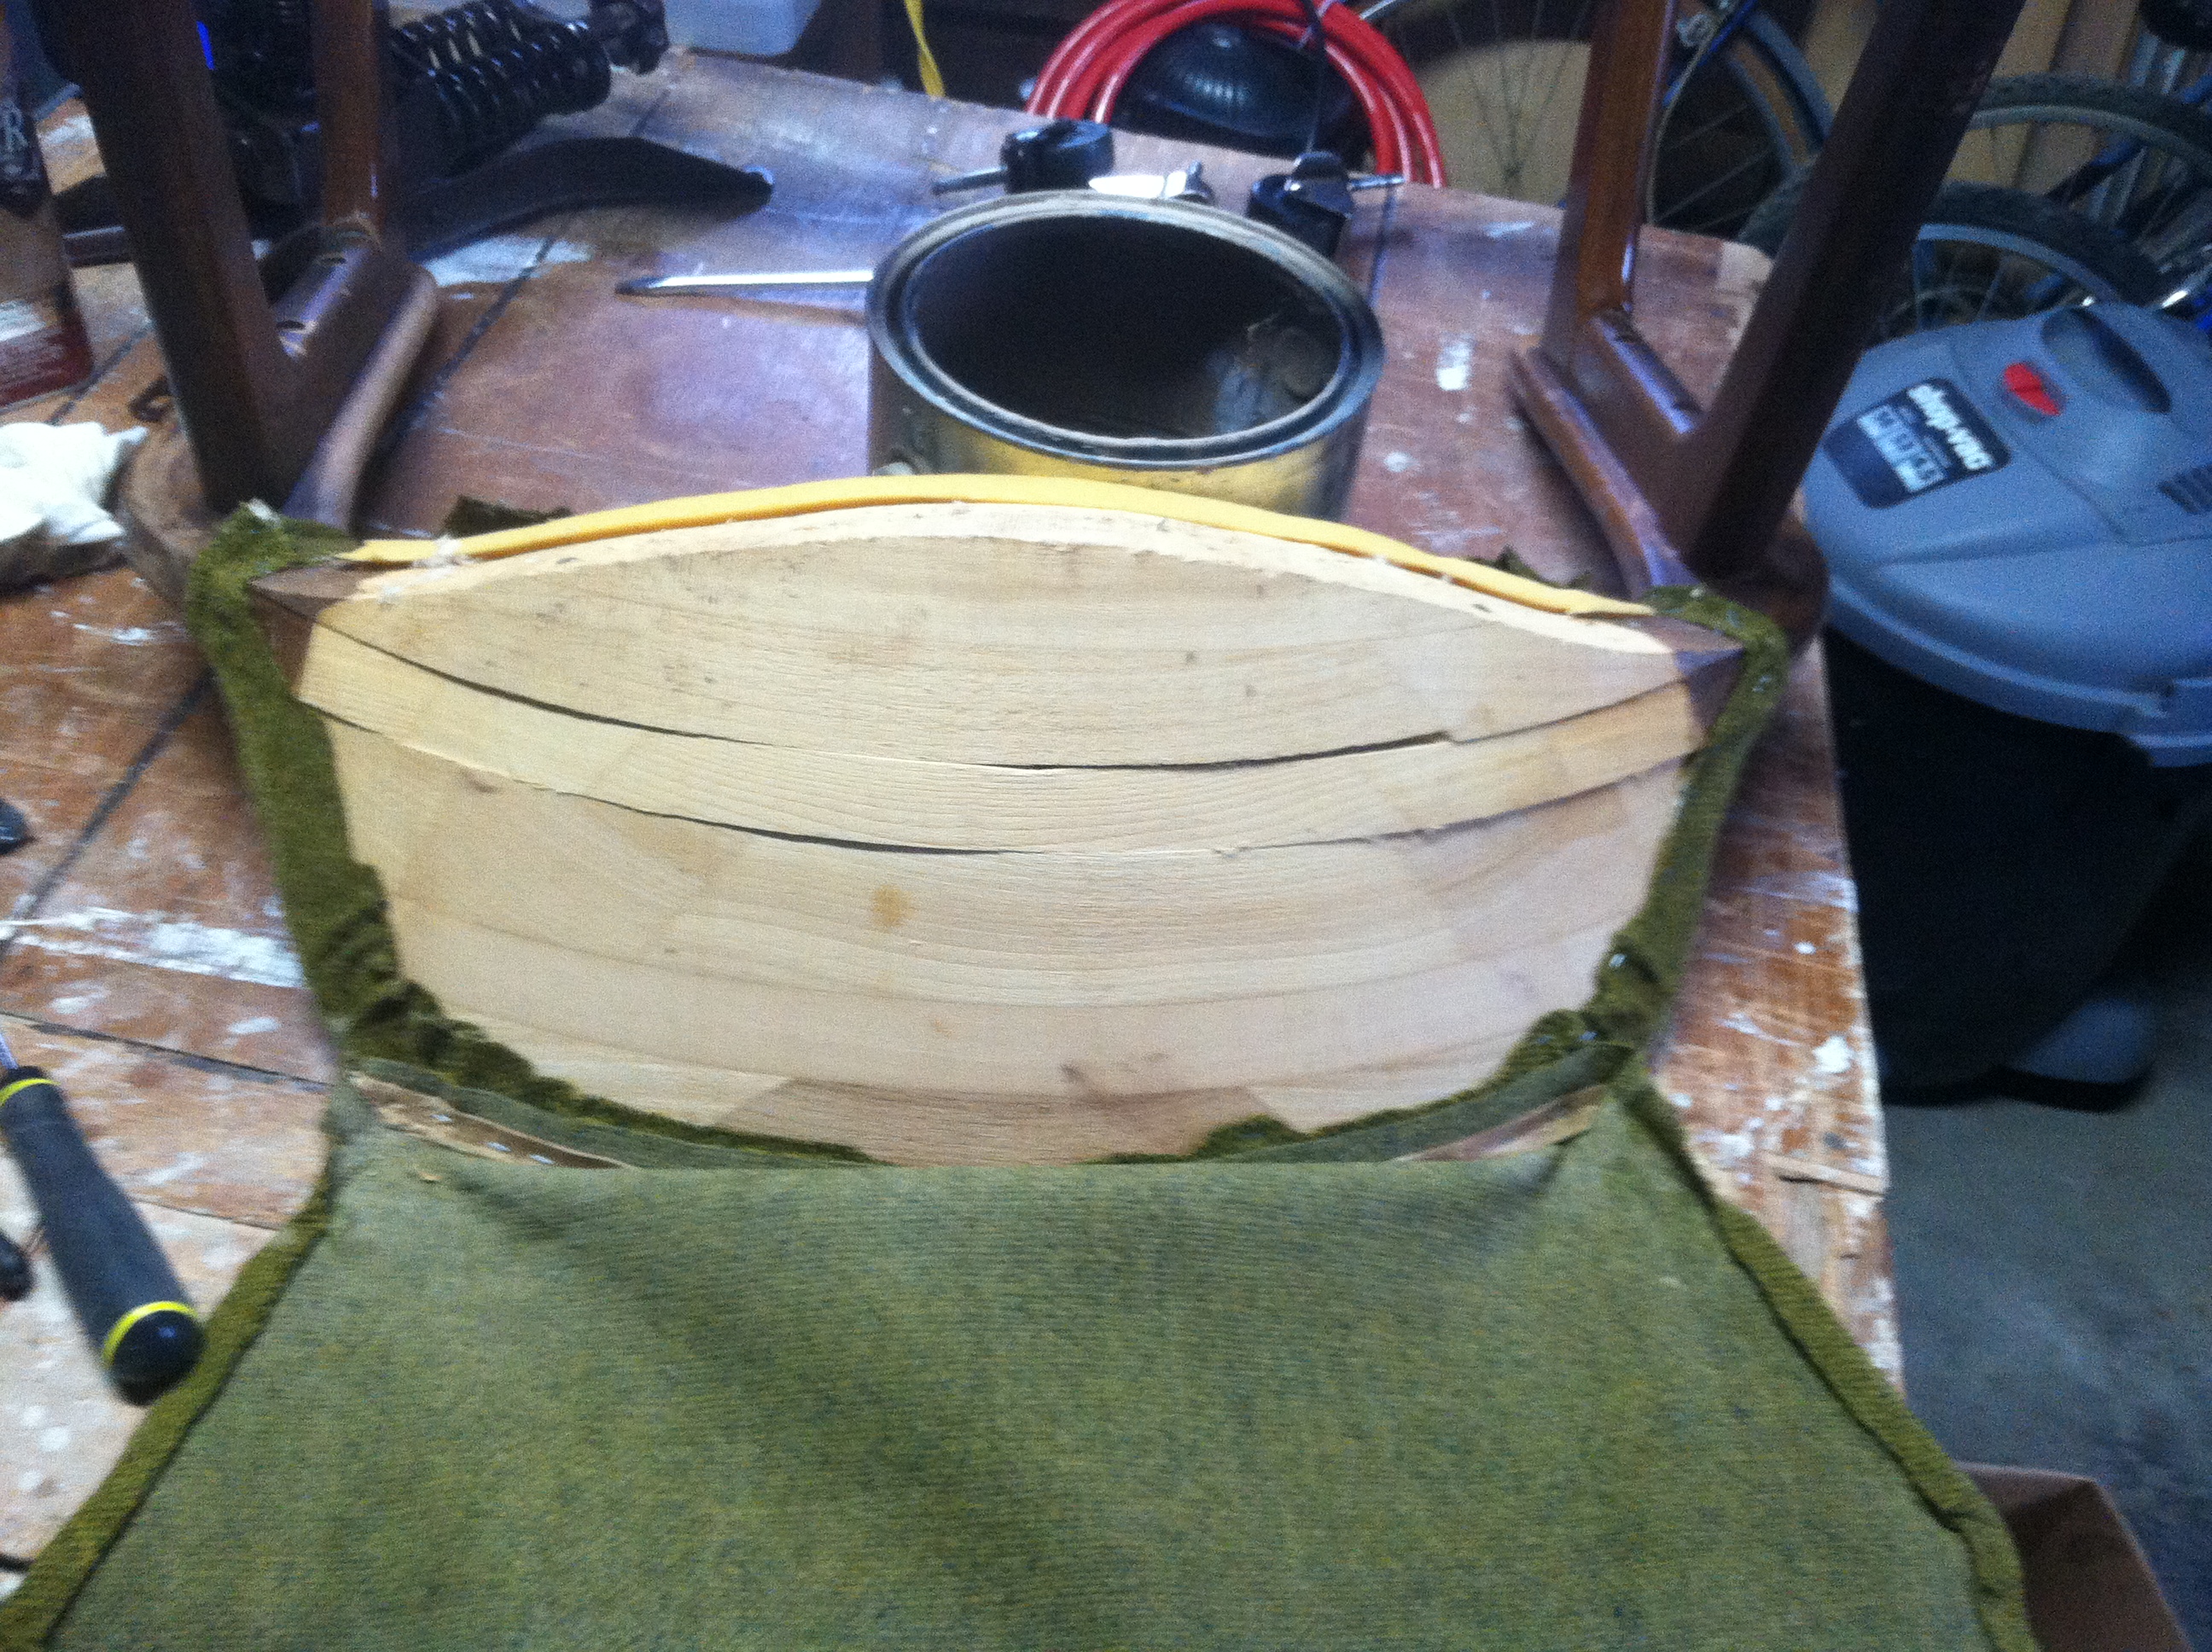
I even took photos of removing the upholstery, to make sure I could re-upholster it the same way and get it looking as professional as possible.

I also saved the fabric. Why? I knew I wasn’t going to re-use it on the chair, but by saving the pieces I have an exact pattern of each piece to use when cutting the new fabric I plan to use.
Once the fabric and all of those staples were removed, I used a liquid furniture refinisher to strip all of the stain off of the chair Then I wiped the wood clean with mineral spirits and a clean rag. This cleans any remaining refinishing liquid off the wood. Then I let the wood dry completely.
Next comes sanding. You could tell where the old chair had constantly banged up against a desk or wall, it almost looked as if a dog had chewed on it. I knew I couldn’t sand those spots out completely without altering the shape of the chair, but I smoothed the spots over best I could. The rest of the chair needed just light sanding. A few spots will still show a little when it is re-stained, but that gives the chair character. It shows the piece of furniture has been used and loved before I came along. When refinishing furniture, I’m not trying to make a piece look brand new, but rather respect the craftsmanship and give it another life.
I’ll reveal the finished chair in the next post. But below is a very similar chair by the same company that I used as inspiration for the finished product.

I’ve always been a fan of monochromatic gray, and I think gray together with wood tones results in a masculine look. The gray fabric on this one is a little light, but I really like how the back rest and seat are upholstered with the stitched lines to give it a little interest. I’m not entirely sure how to obtain that effect, especially since I’ve never done anything more than a simple fabric covered board for a seat. But I strive for perfection, and I’ll post photos of the finished chair here soon, because it turned out great!
