Archive for February, 2015
Stripping takes Work
Posted by Adam A. Ries in DIY, Uncategorized on February 2, 2015
Stripping PAINT, that is!
Every preservation, renovation, and old-house enthusiast book says it is inevitable. In almost every older home where the woodwork is worth saving, there will be paint to strip. And the humble bungalow is no exception (check out the photo tour to see the woodwork & built-ins, noticing almost all if it is painted). And most likely, layer upon layers of old paint. If I could meet the owner who first took a paintbrush to nearly every piece of trim and floorboard in my home…
So as I tackle room by room, it is my goal to strip the paint and reveal the wood underneath. Worth the work? I’m not sure. But it will be a good test in patience. Besides, long tedious work like that is therapy for my OCD tendencies.
Since I removed all the woodwork from the bathroom before demo, I could strip them piece by piece in the garage. My weapons of choice?
Heat gun and an old school Red Devil paint scraper.
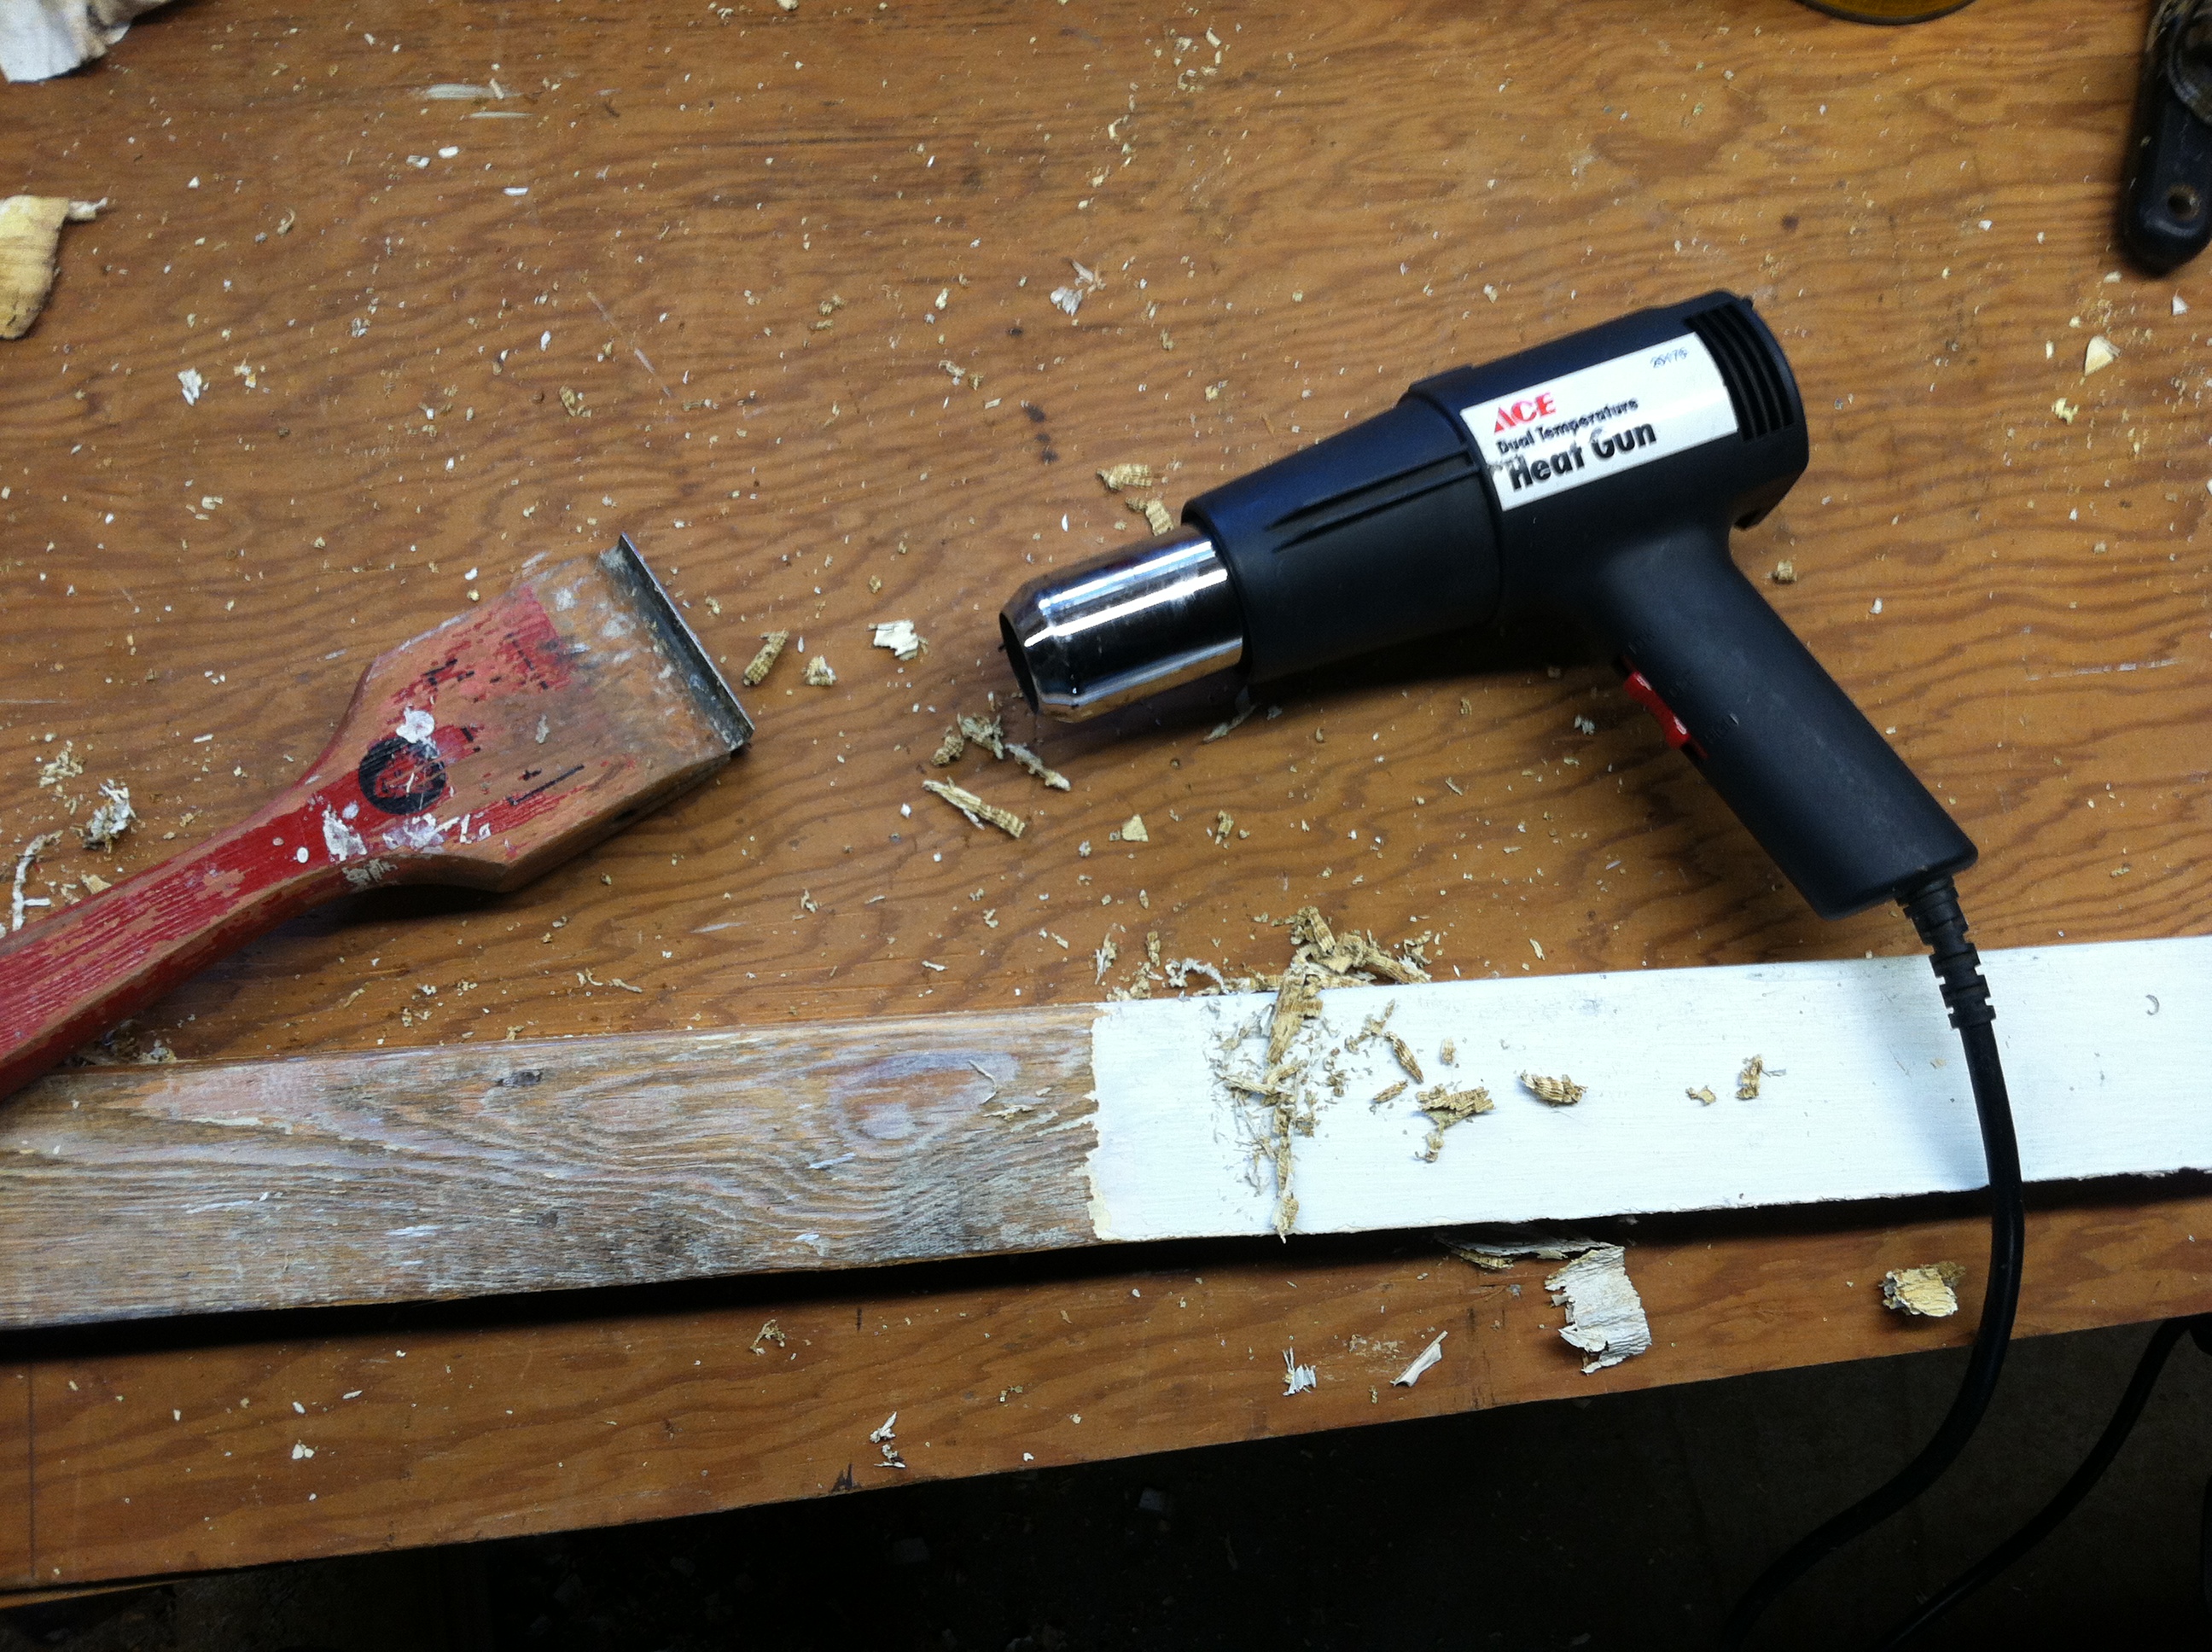
Heat, scrape, repeat. And try not to scorch the wood underneath the paint. Luckily those dark spots sanded out pretty well.
Then it was time to find the perfect stain. I don’t have photos of this process, but it involved about 17 different cans of Minwax stain. Just imagine wiping on, wiping off, applying a 2nd layer, letting them dry, applying a 3rd layer, overlapping different colors in more than a dozen color combinatinos. And still no luck. So I hit my local Sherwin Williams store armed with a piece of unpainted trim as my sample color, and a piece of stripped & sanded board to have them mix a custom color. Sure enough, she walked over to the shelf and grabbed the only can of Minwax I apparently don’t already own (Rich Mahogony Gel Stain) and it turned out the be the perfect color.
So away I went, using a soft rag to stain each board with 2 coats, then brushing on 2 coats of polyurethane semi-gloss. I decided to stain & poly them before re-installing around the door & window frame so I wouldn’t have to be so careful not to get any on the recently painted bathroom walls.
I had to cut down the window trim quite a bit. As a refresher, here was the window before bathroom demo:

Now with the tub moved, I tiled up about 3/4 the height of the window. I found this photo early on of another bathroom with a window in the rub/shower area, and decided I liked the look:
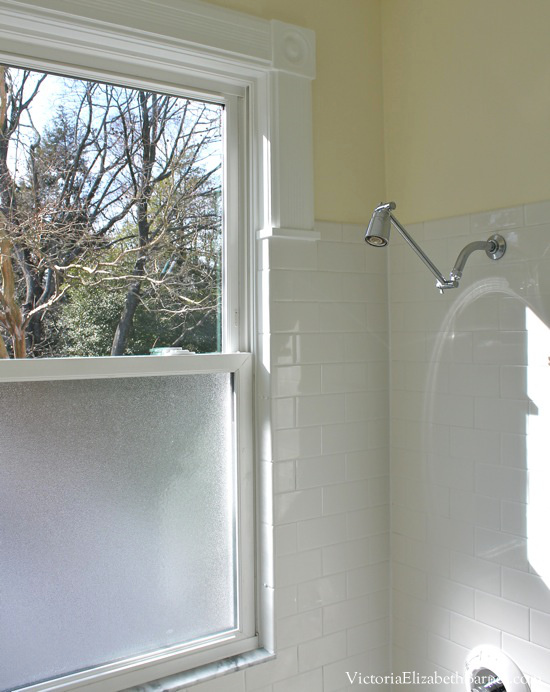
The tile ends and the woodwork finishes around the upper part of the window just like if it were any other window frame in the house. Of course my house doesn’t have bulls-eye rosettes, but I followed the same idea using the craftsman trim in my house.

I am still on the fence about the stained wood look in the bathroom. It’s a little old school but I like how masculine it looks. Granted these photos were taken at night so the lighting isn’t great, but the woodwork does help make the walls look navy and not black. And I still have to fill the little holes made by the trim nailer. I found this photo when I was looking for bathroom inspiration, and this contrast is the look I’m after:

Perhaps if I throw in some pale green towels & artwork as accent color, it will start to feel perfect. Until then, I’m still admiring how far the bathroom has come – and trying not to think back on how long it has taken.

