Posts Tagged Closet
The Lion, the Witch, and the Wardrobe
Posted by Adam A. Ries in DIY, Furniture, Home Improvement, Interior Design on January 8, 2016
Great book from my childhood. And the original BBC movie was the best back in the day. But for the title of this post, there actually is no witch. There is the Lion who thinks he owns my house, and keeps an eye on all my renovation projects:

And then the wardrobe:
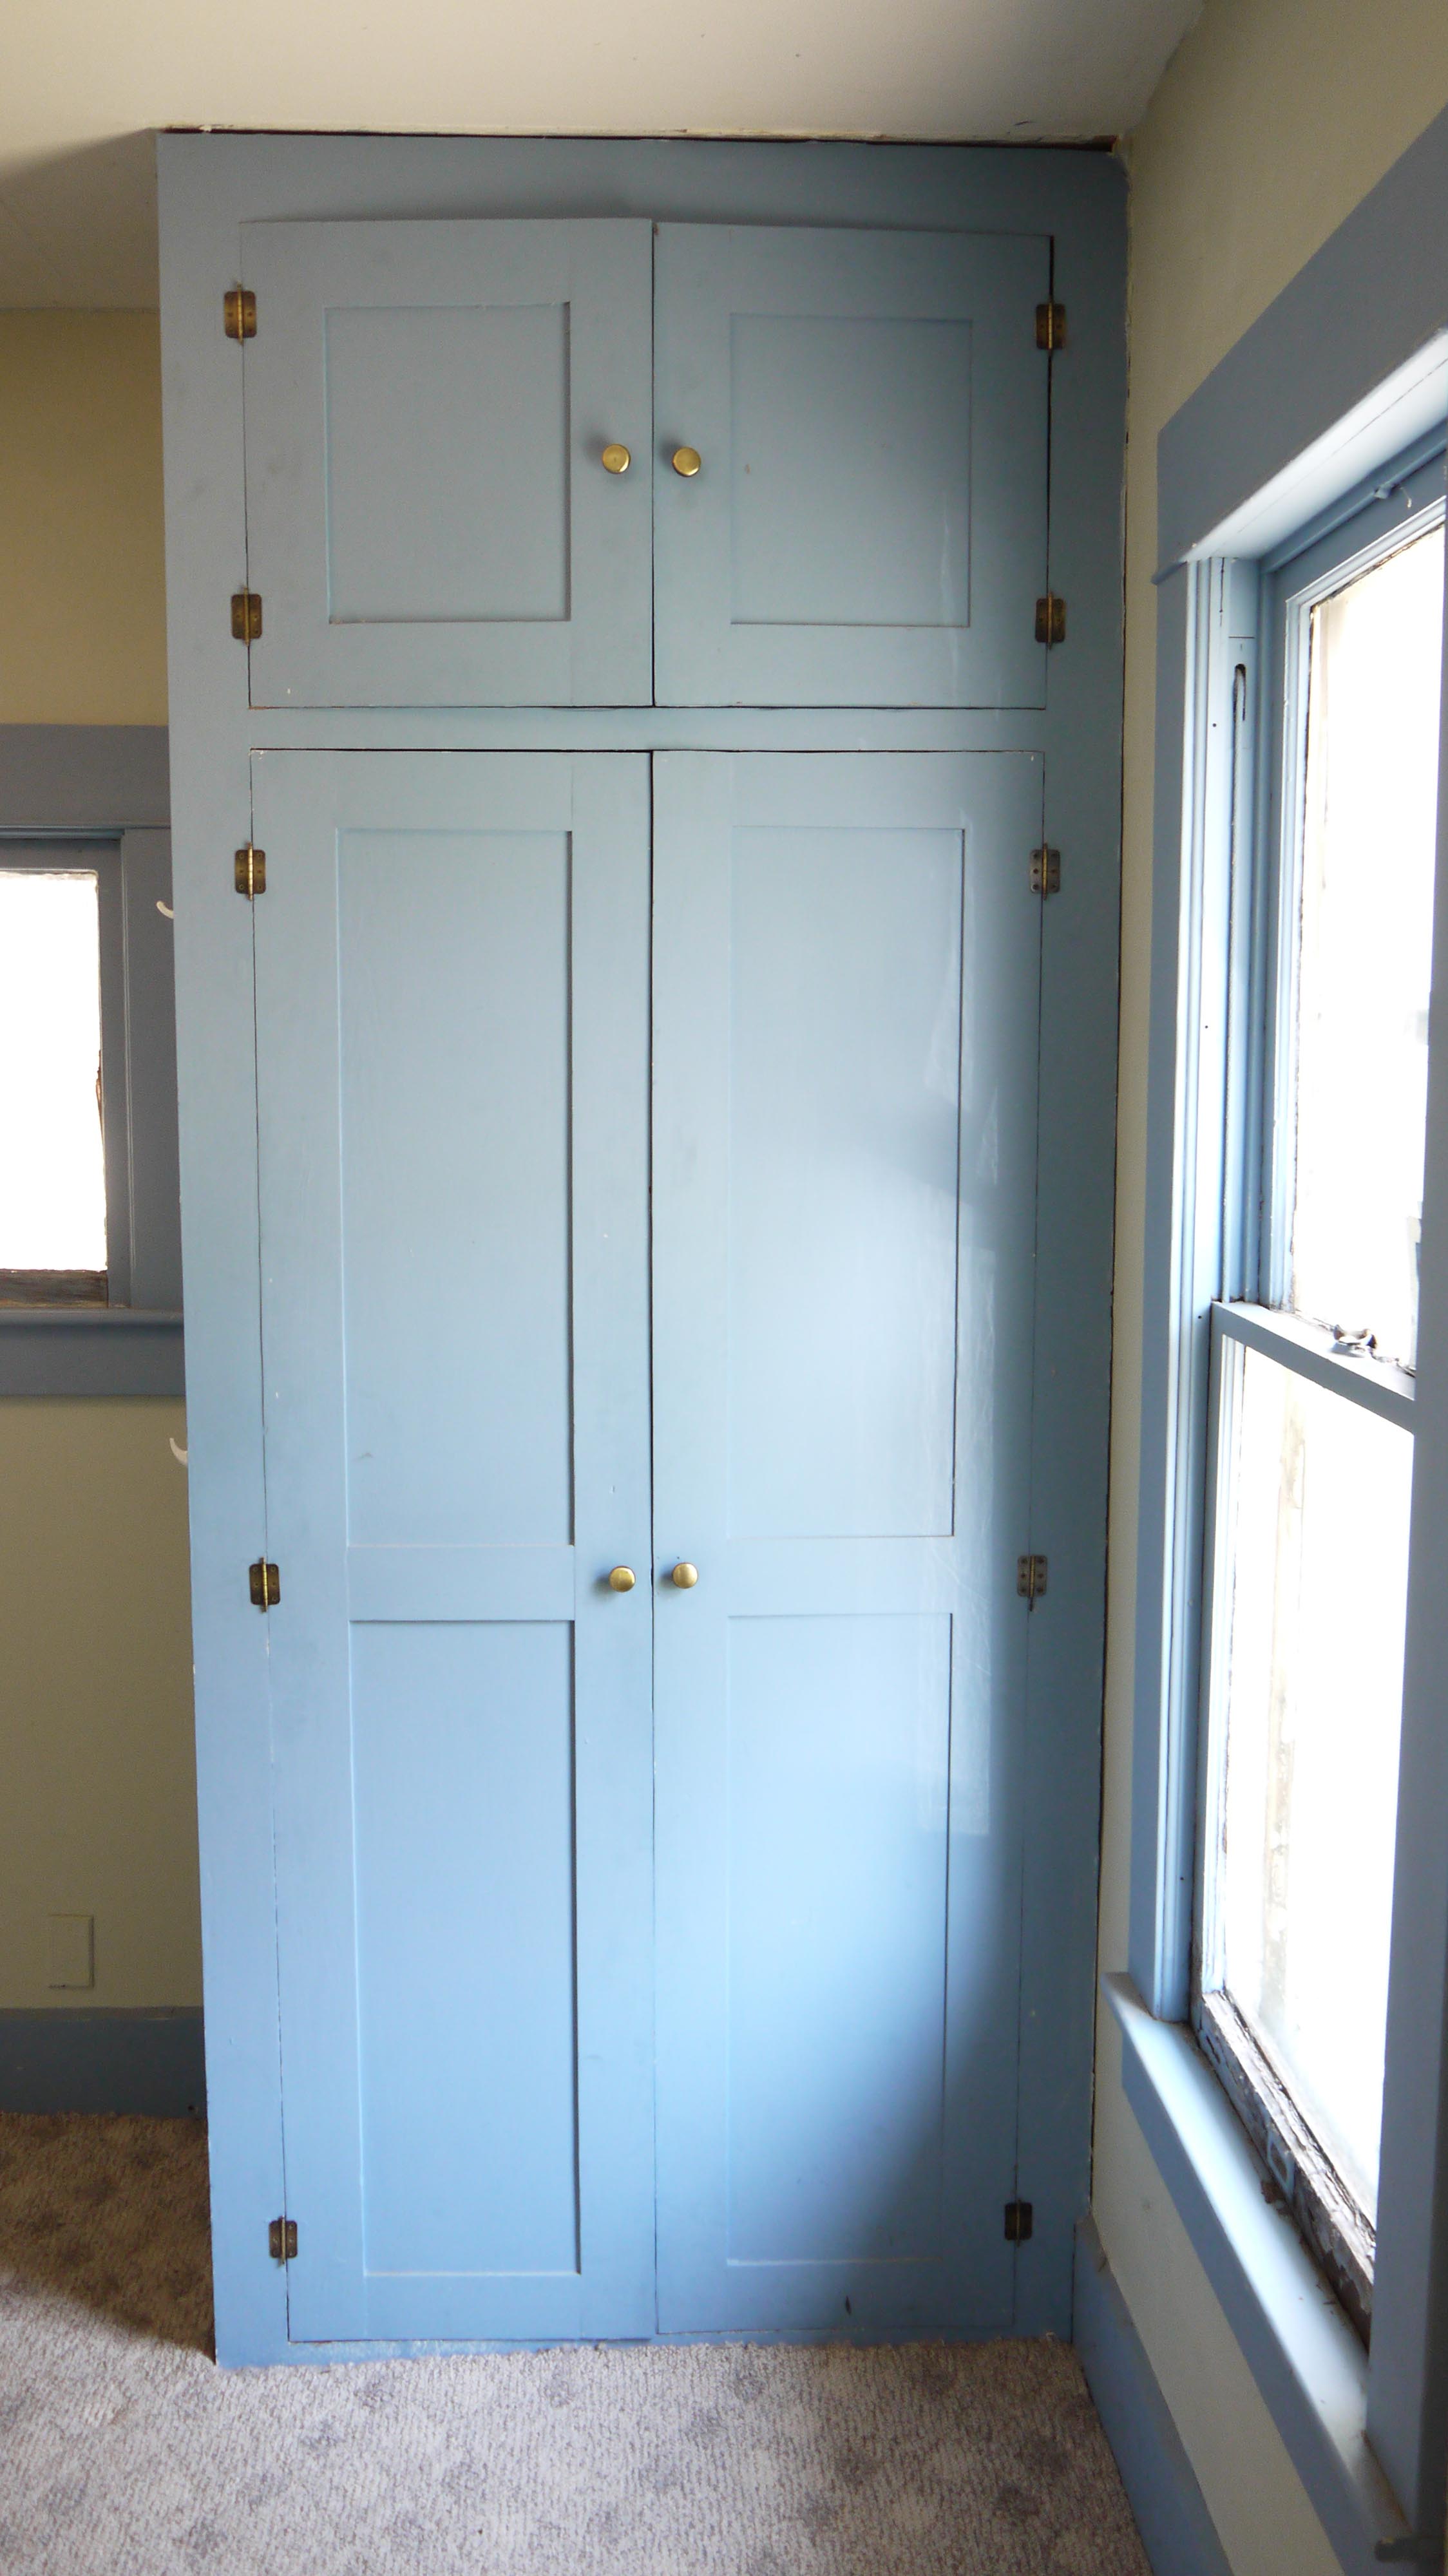

I don’t think the wardrobe was originally here. Firstly, the baseboard in the room runs behind the wardrobe. Secondly, inside the wardrobe there was part of an inside door latch screwed into the floor – but it was against the back wall. And lastly, the wardrobe is almost the exact size of the opening that was unfinished in the bathroom when I first bought the house:
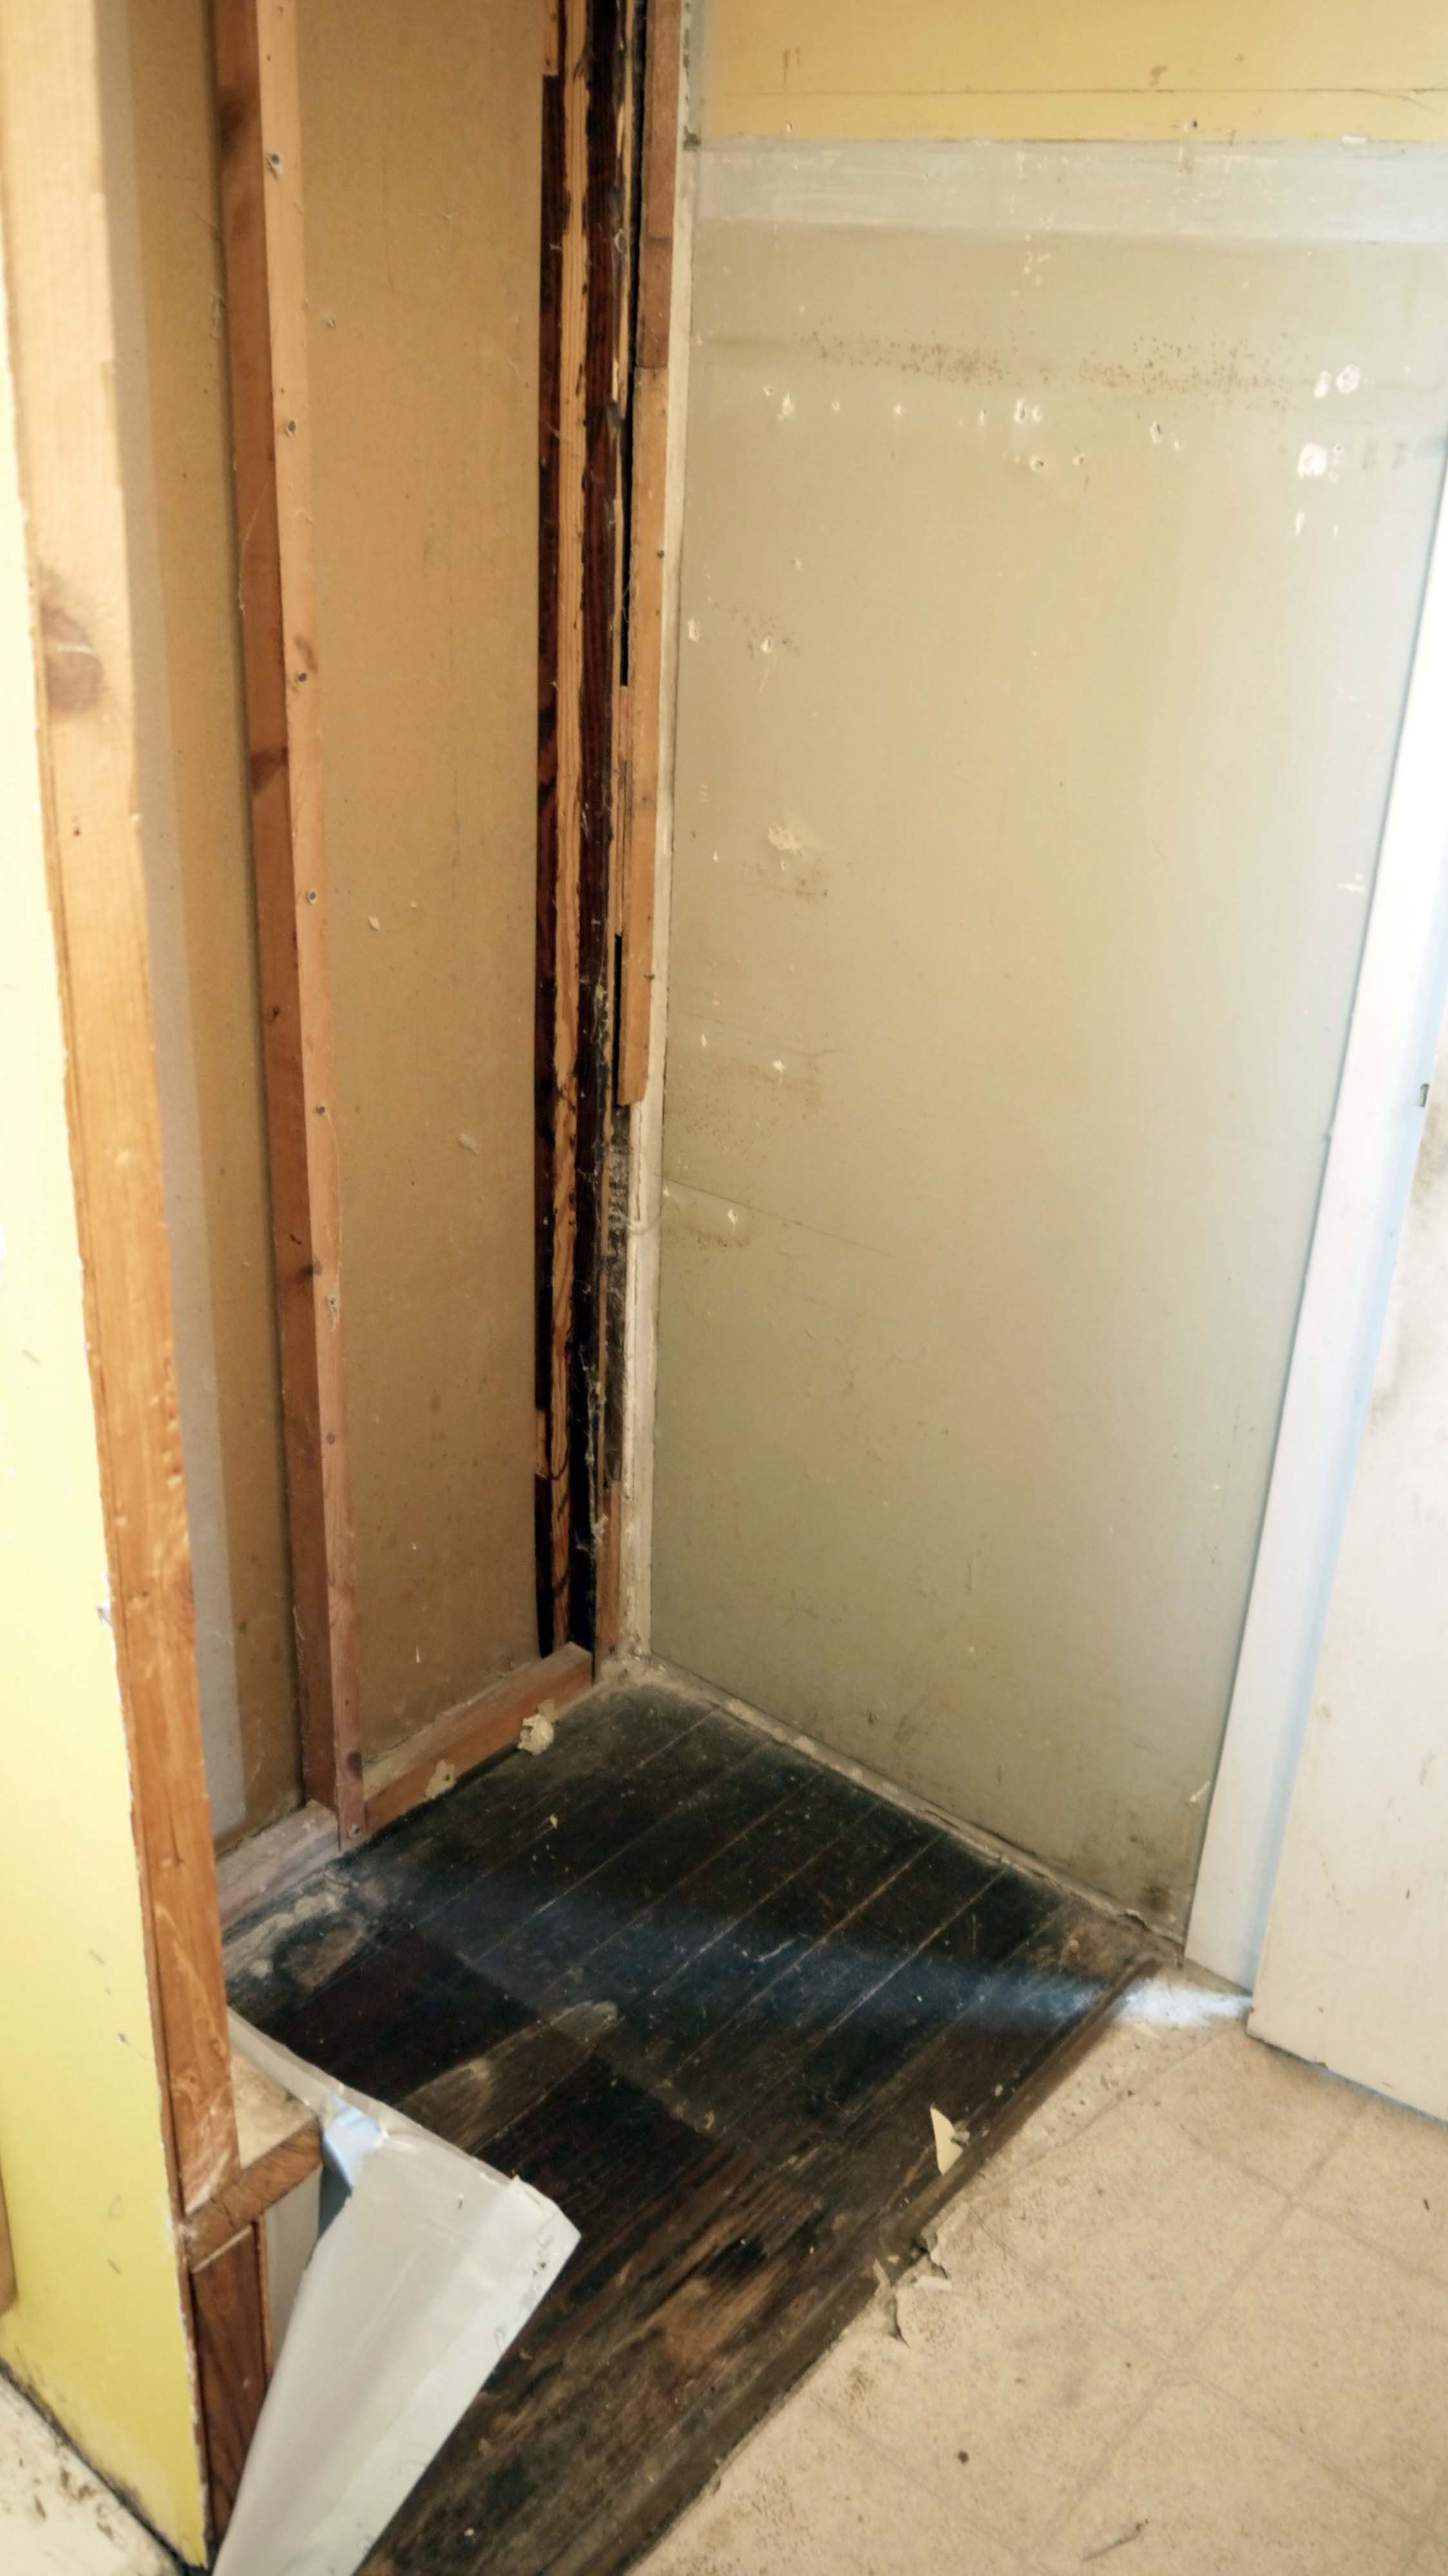
I actually think this wardrobe was inside the bathroom in this space. And that it wasn’t a doorway from this bedroom into the bathroom, but rather the wardrobe had doors on both sides. I did find spare doors in the rafters of my garage, but they don’t fit, so the mystery continues. Anyways, I plan to keep the wardrobe in the bedroom where I found it, but it needed a major overhaul.
So I removed the doors (I didn’t like the hinges anyways), and tore out the inside closet organizer too. The previous owner had glued melamine panels to each of the walls & ceiling inside, but I tore it out also – it wasn’t cut well, leaving unfinished corners throughout. Once removed, it revealed the plaster walls not in such great shape – and the adhesive tore the finish plaster off with it. So I beefed up the cabinet itself by screwing wood supports along each of the corners into the walls, and then nailing the frame of the cabinet to these cleats.
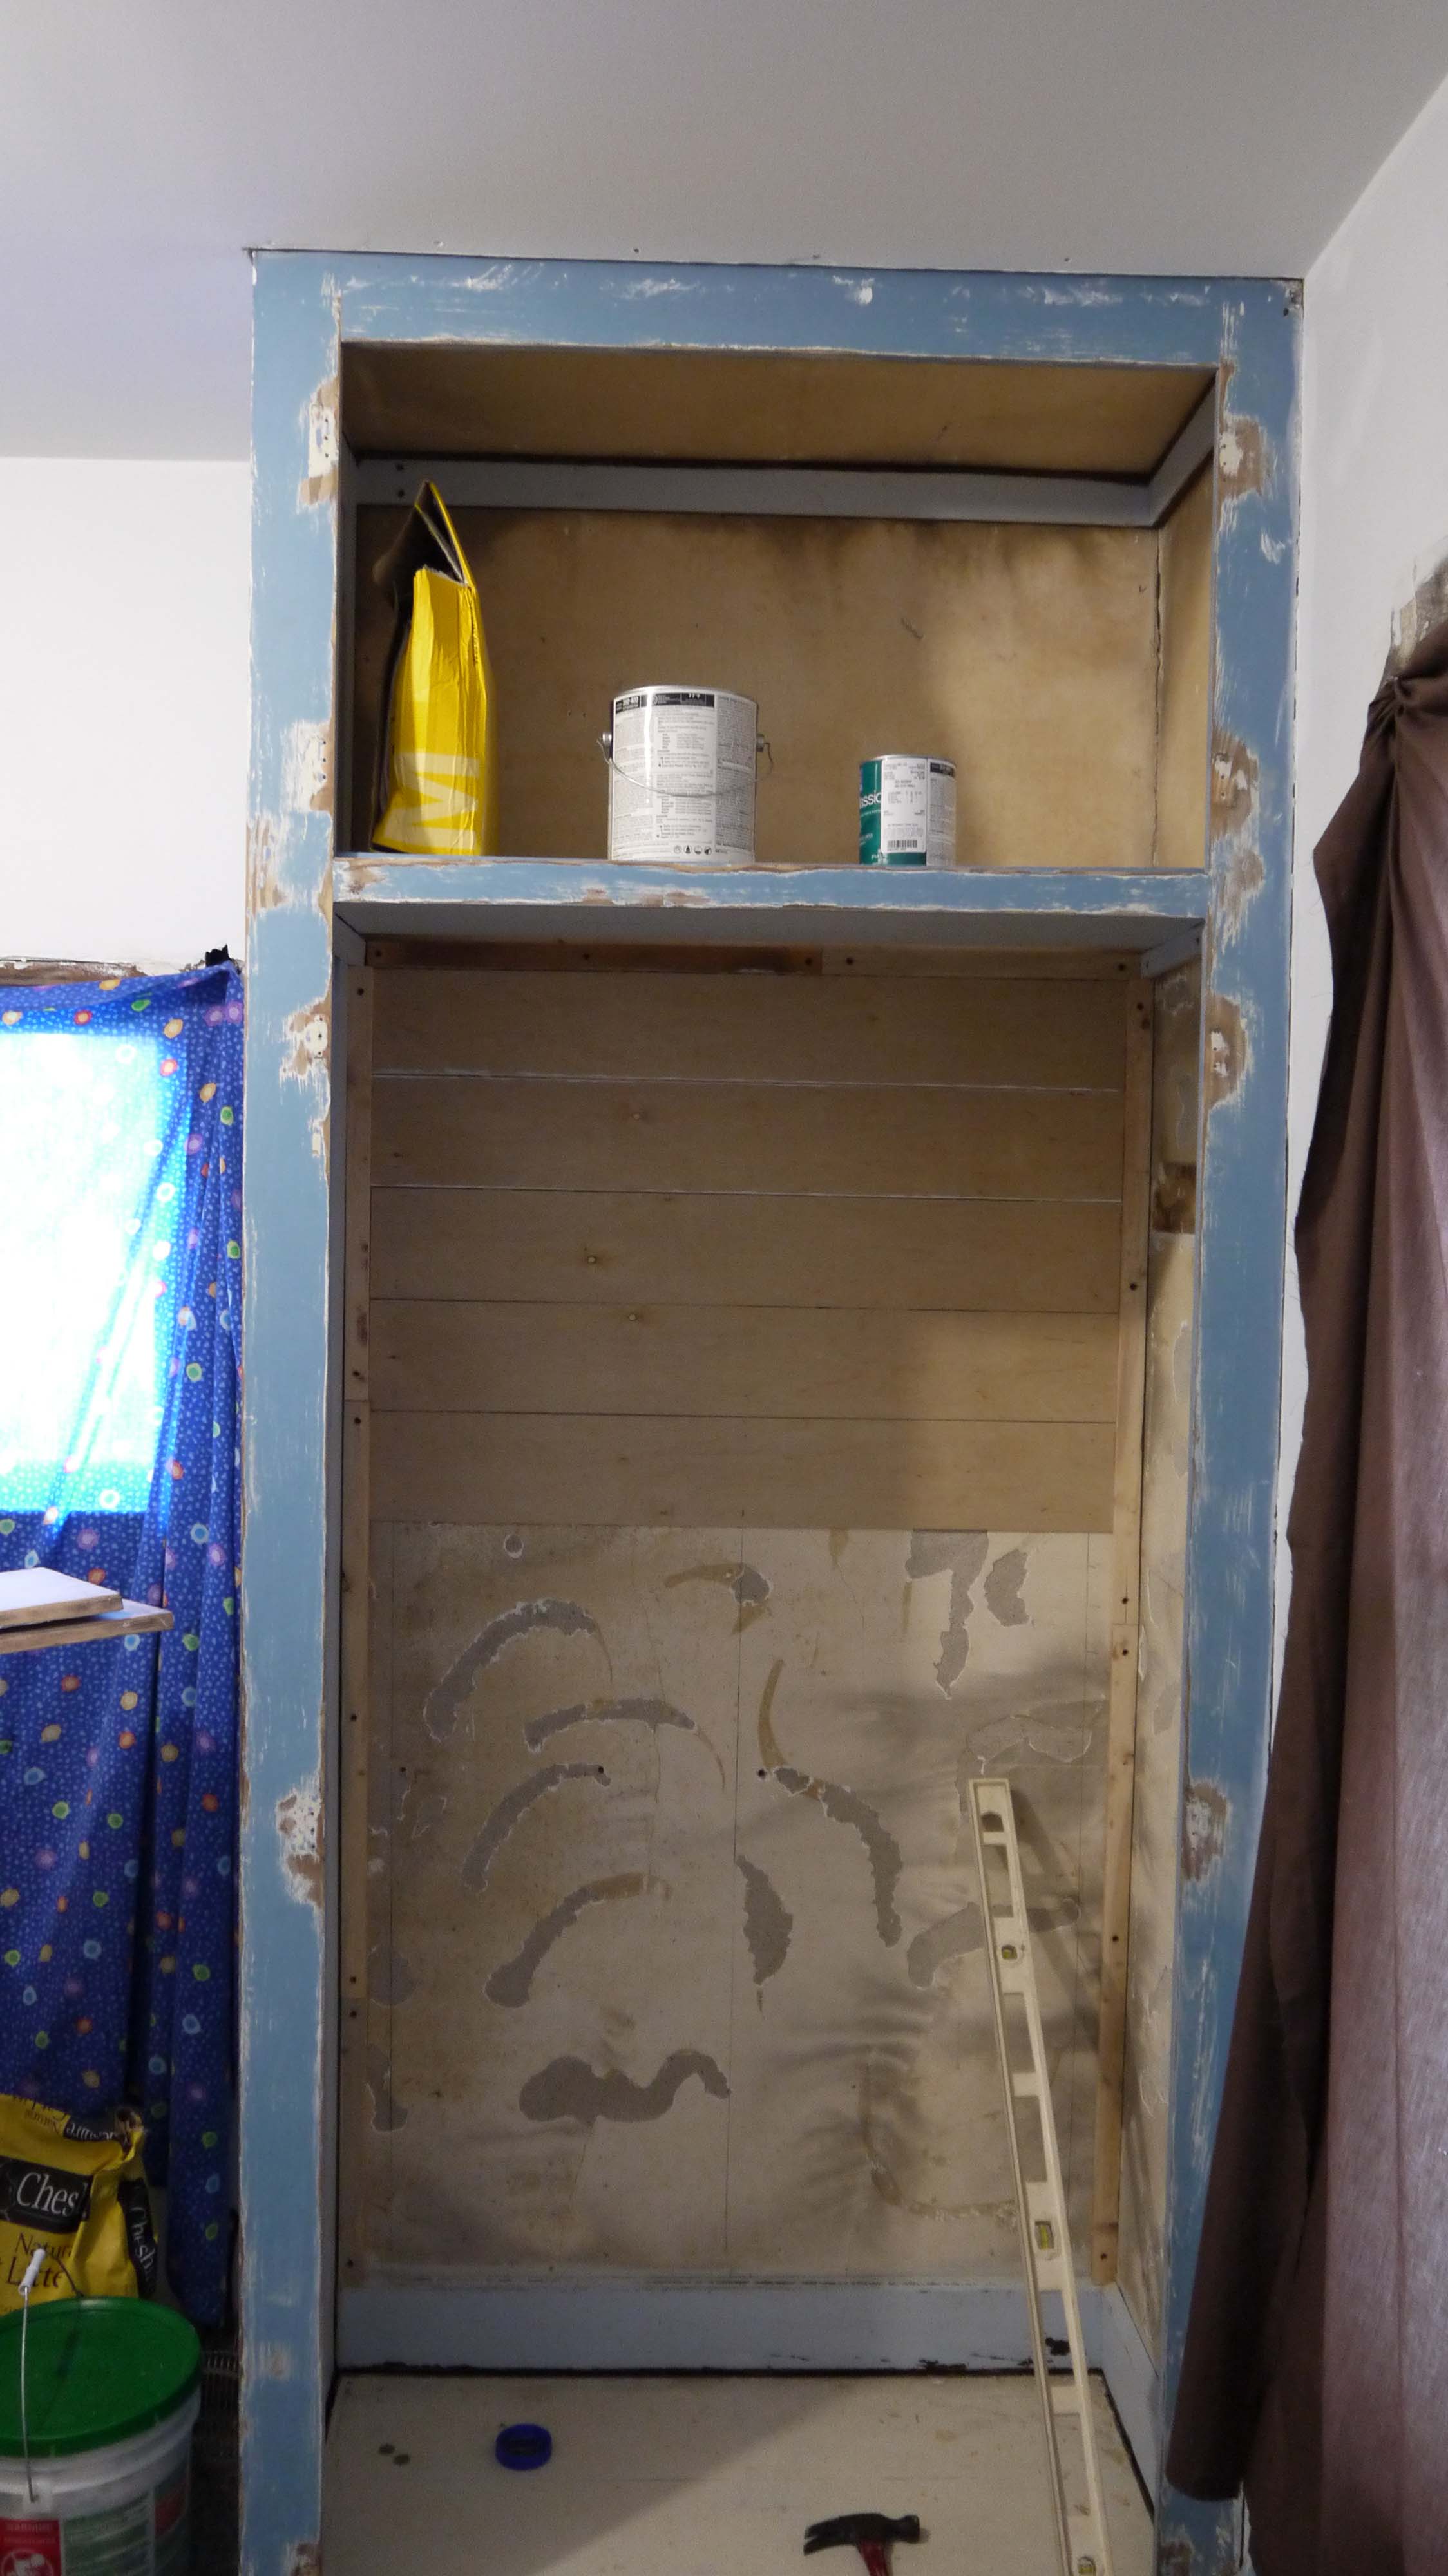
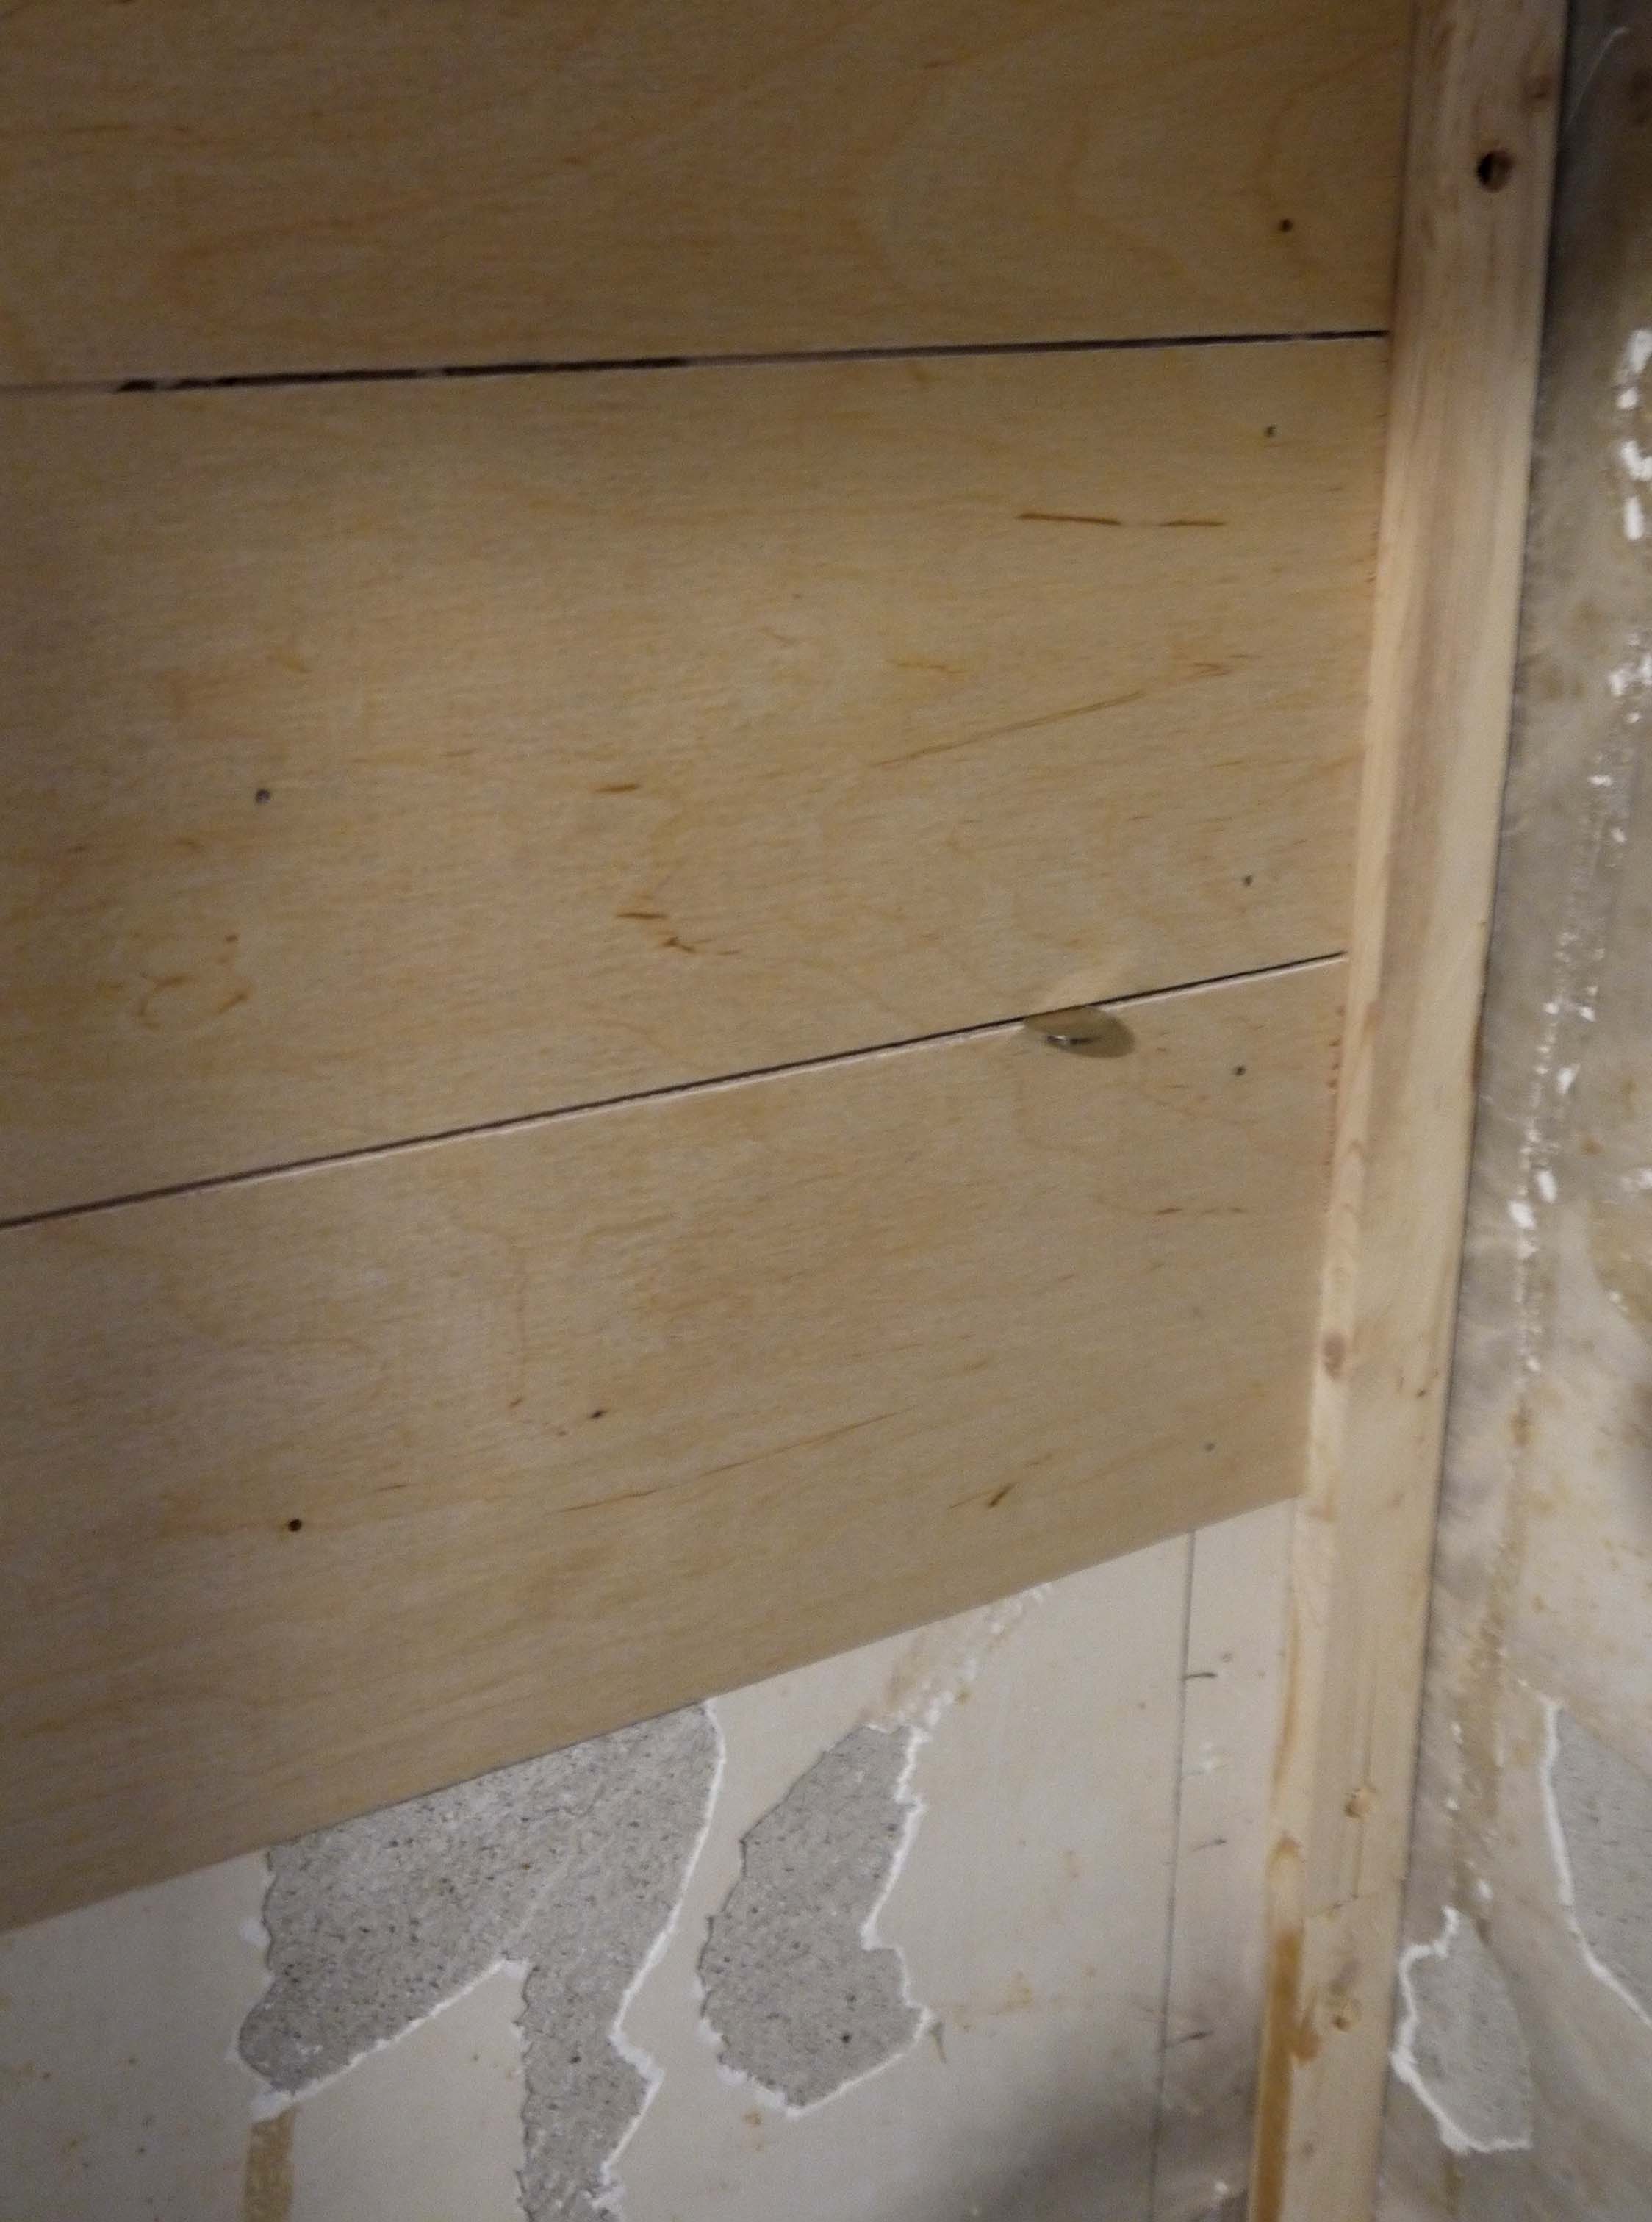
Rather than repair the plaster inside (not worth the time in my opinion), I took 2 sheets of underlayment and ripped them into 6″ planks and nailed them inside the closet to make it look like a wood lined closet. I used nickels as spacers to keep the planks in line.
The wardrobe was never varnished before it was painted, so sanding it down to bare wood would have been way too time consuming, and for a rather cheaply built cabinet, not worth the time. So I decided early on that I would just repaint it – but not blue. I did spend a bit of time sanding the cabinet and doors, since the previous coats of paint had drips, runs, and thick brush strokes. I painted the inside walls white, and the floor the dark color of the outside.

Apparently the original cabinet hinges in my house are impossible to find – every online restoration resource, eBay, and even architectural salvage shops – nothing. So I bought the most similar ones I could find to hang the wardrobe doors.

I’m even thinking of building some custom interior dividers to allow for 2 hanger bars, and maybe a few low shelves for shoes. But that’s not priority. To finish it off, I need to make a few pieces of cove crown molding for where it meets the ceiling, and also find some nice cabinet handles. But otherwise, I’m really happy with how it turned out.
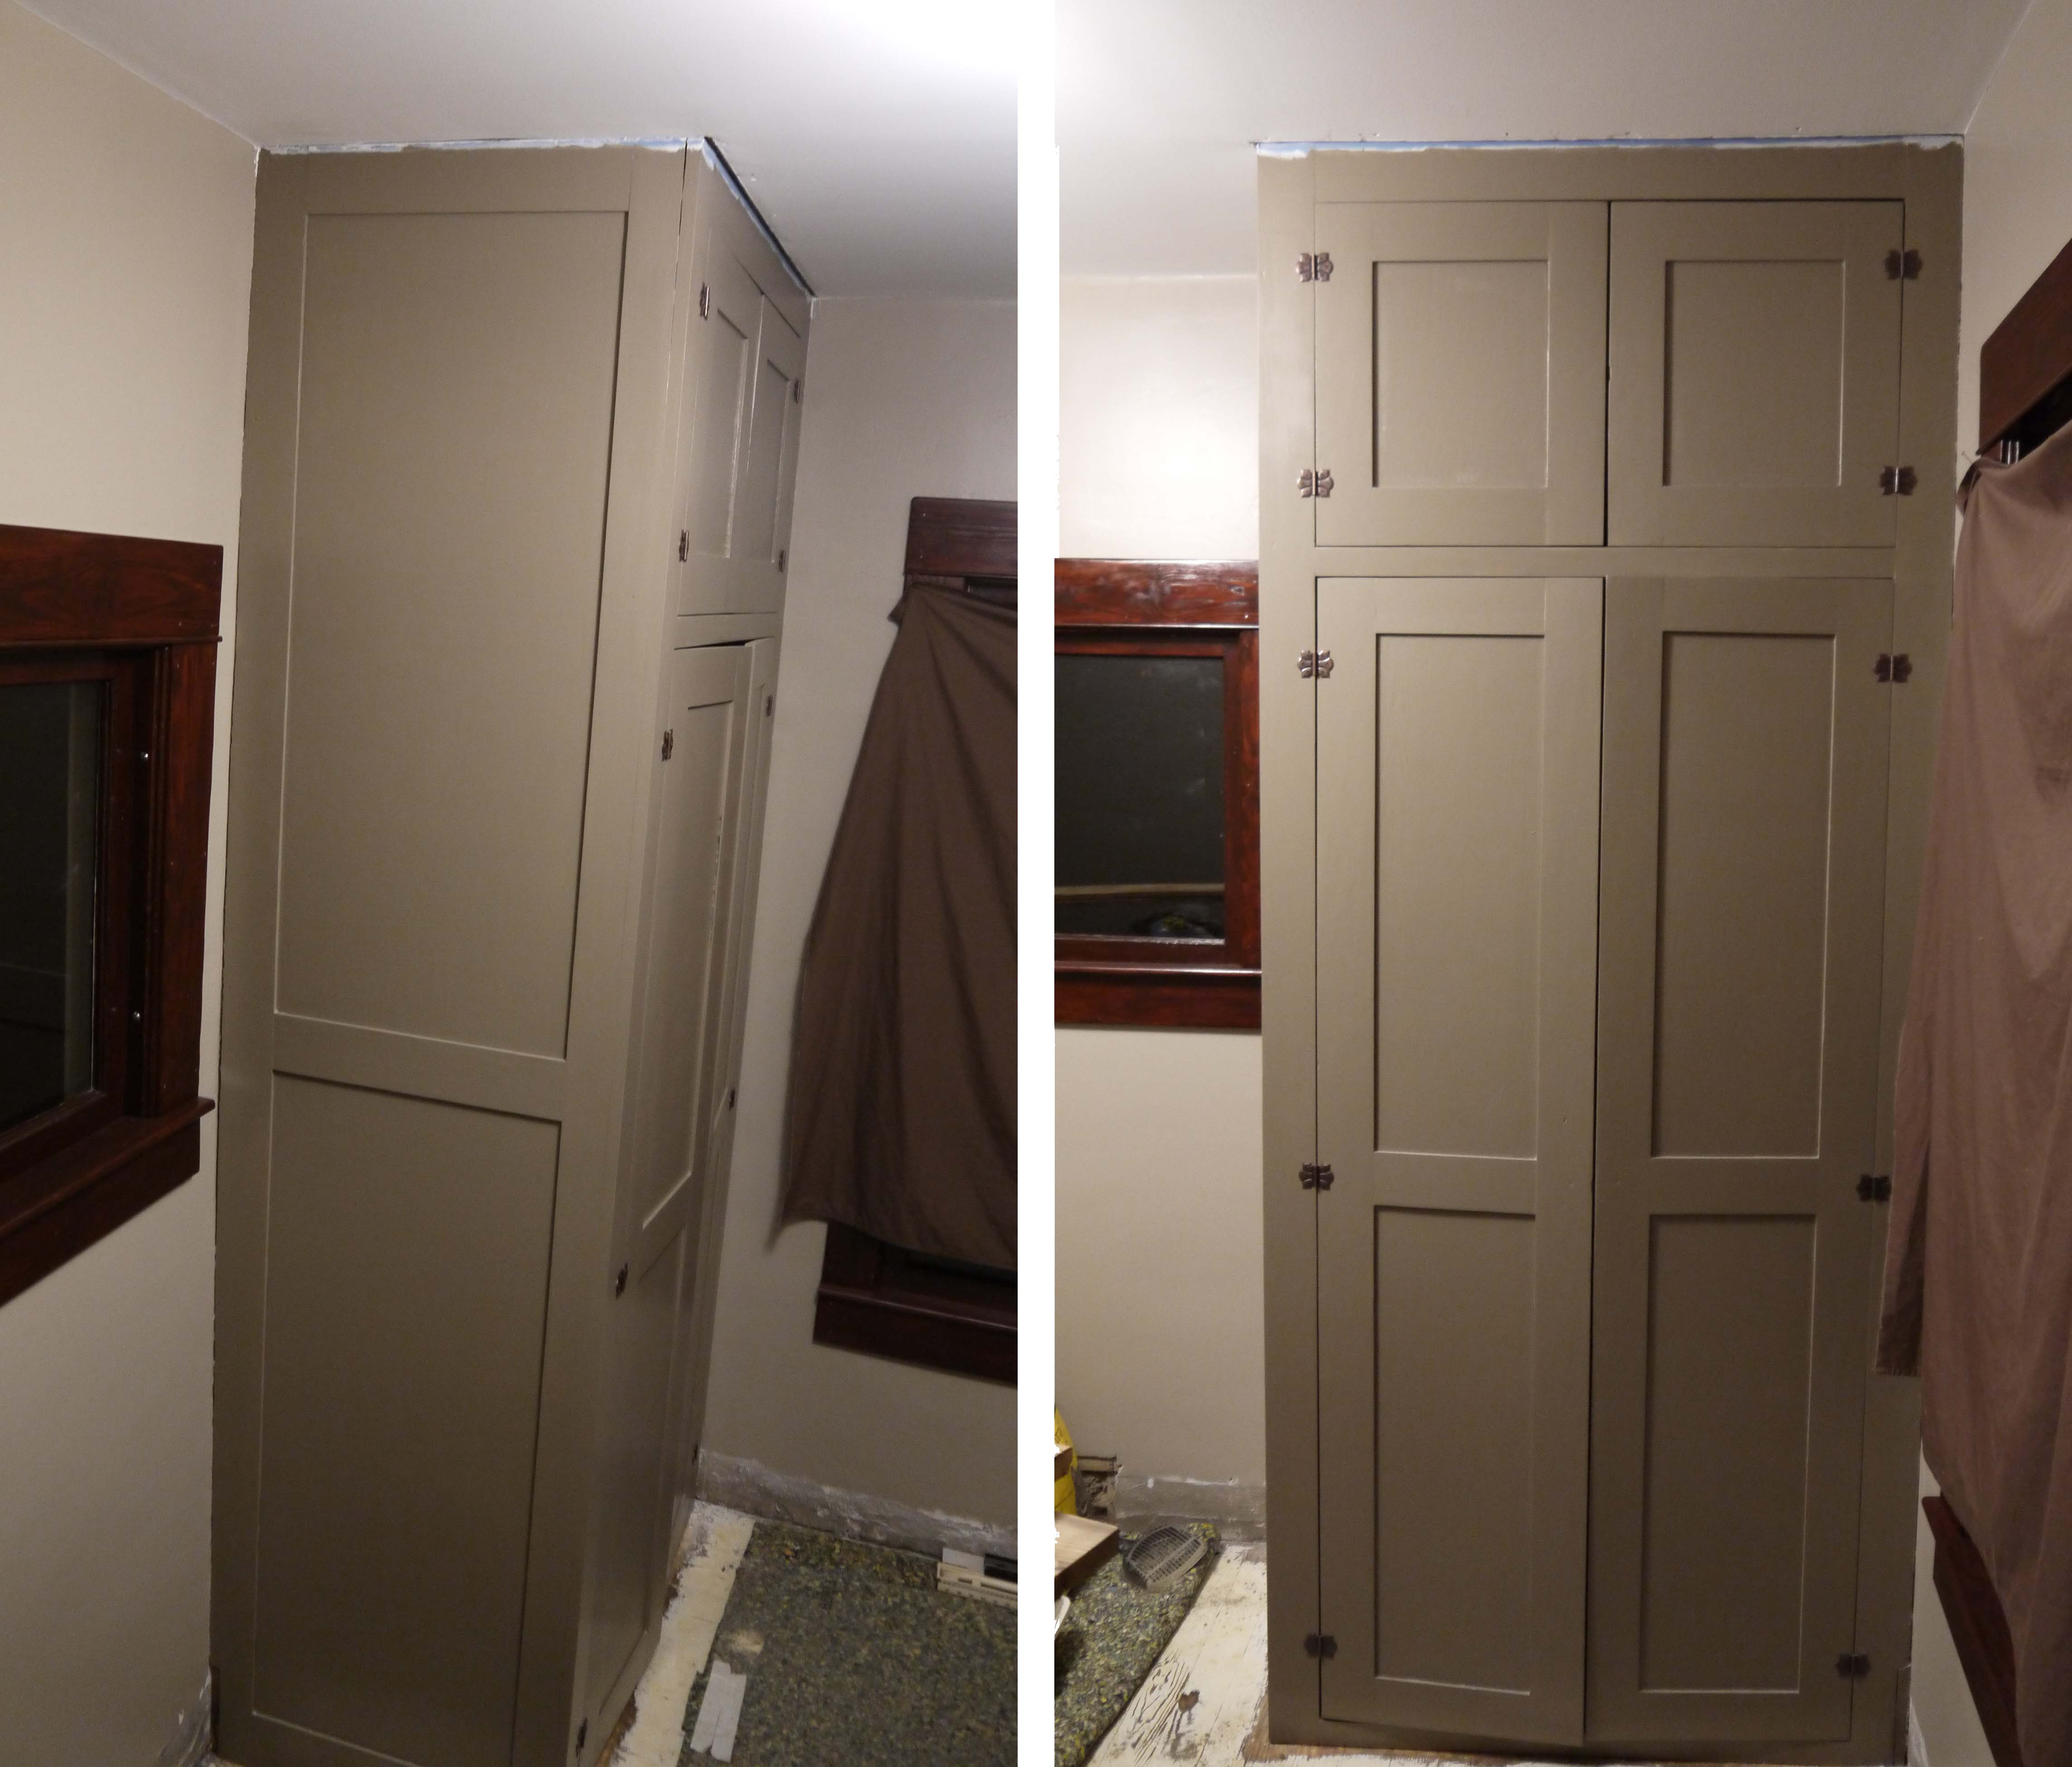 The wardrobe is Sherwin Williams Backdrop, and the walls are Morris Room Grey. Photographs don’t do justice to the color combo. To me, the colors are dark and light mushroom. Along with the rich mahogany stained woodwork, I feel like the room is an old-school study or library, very warm and masculine.
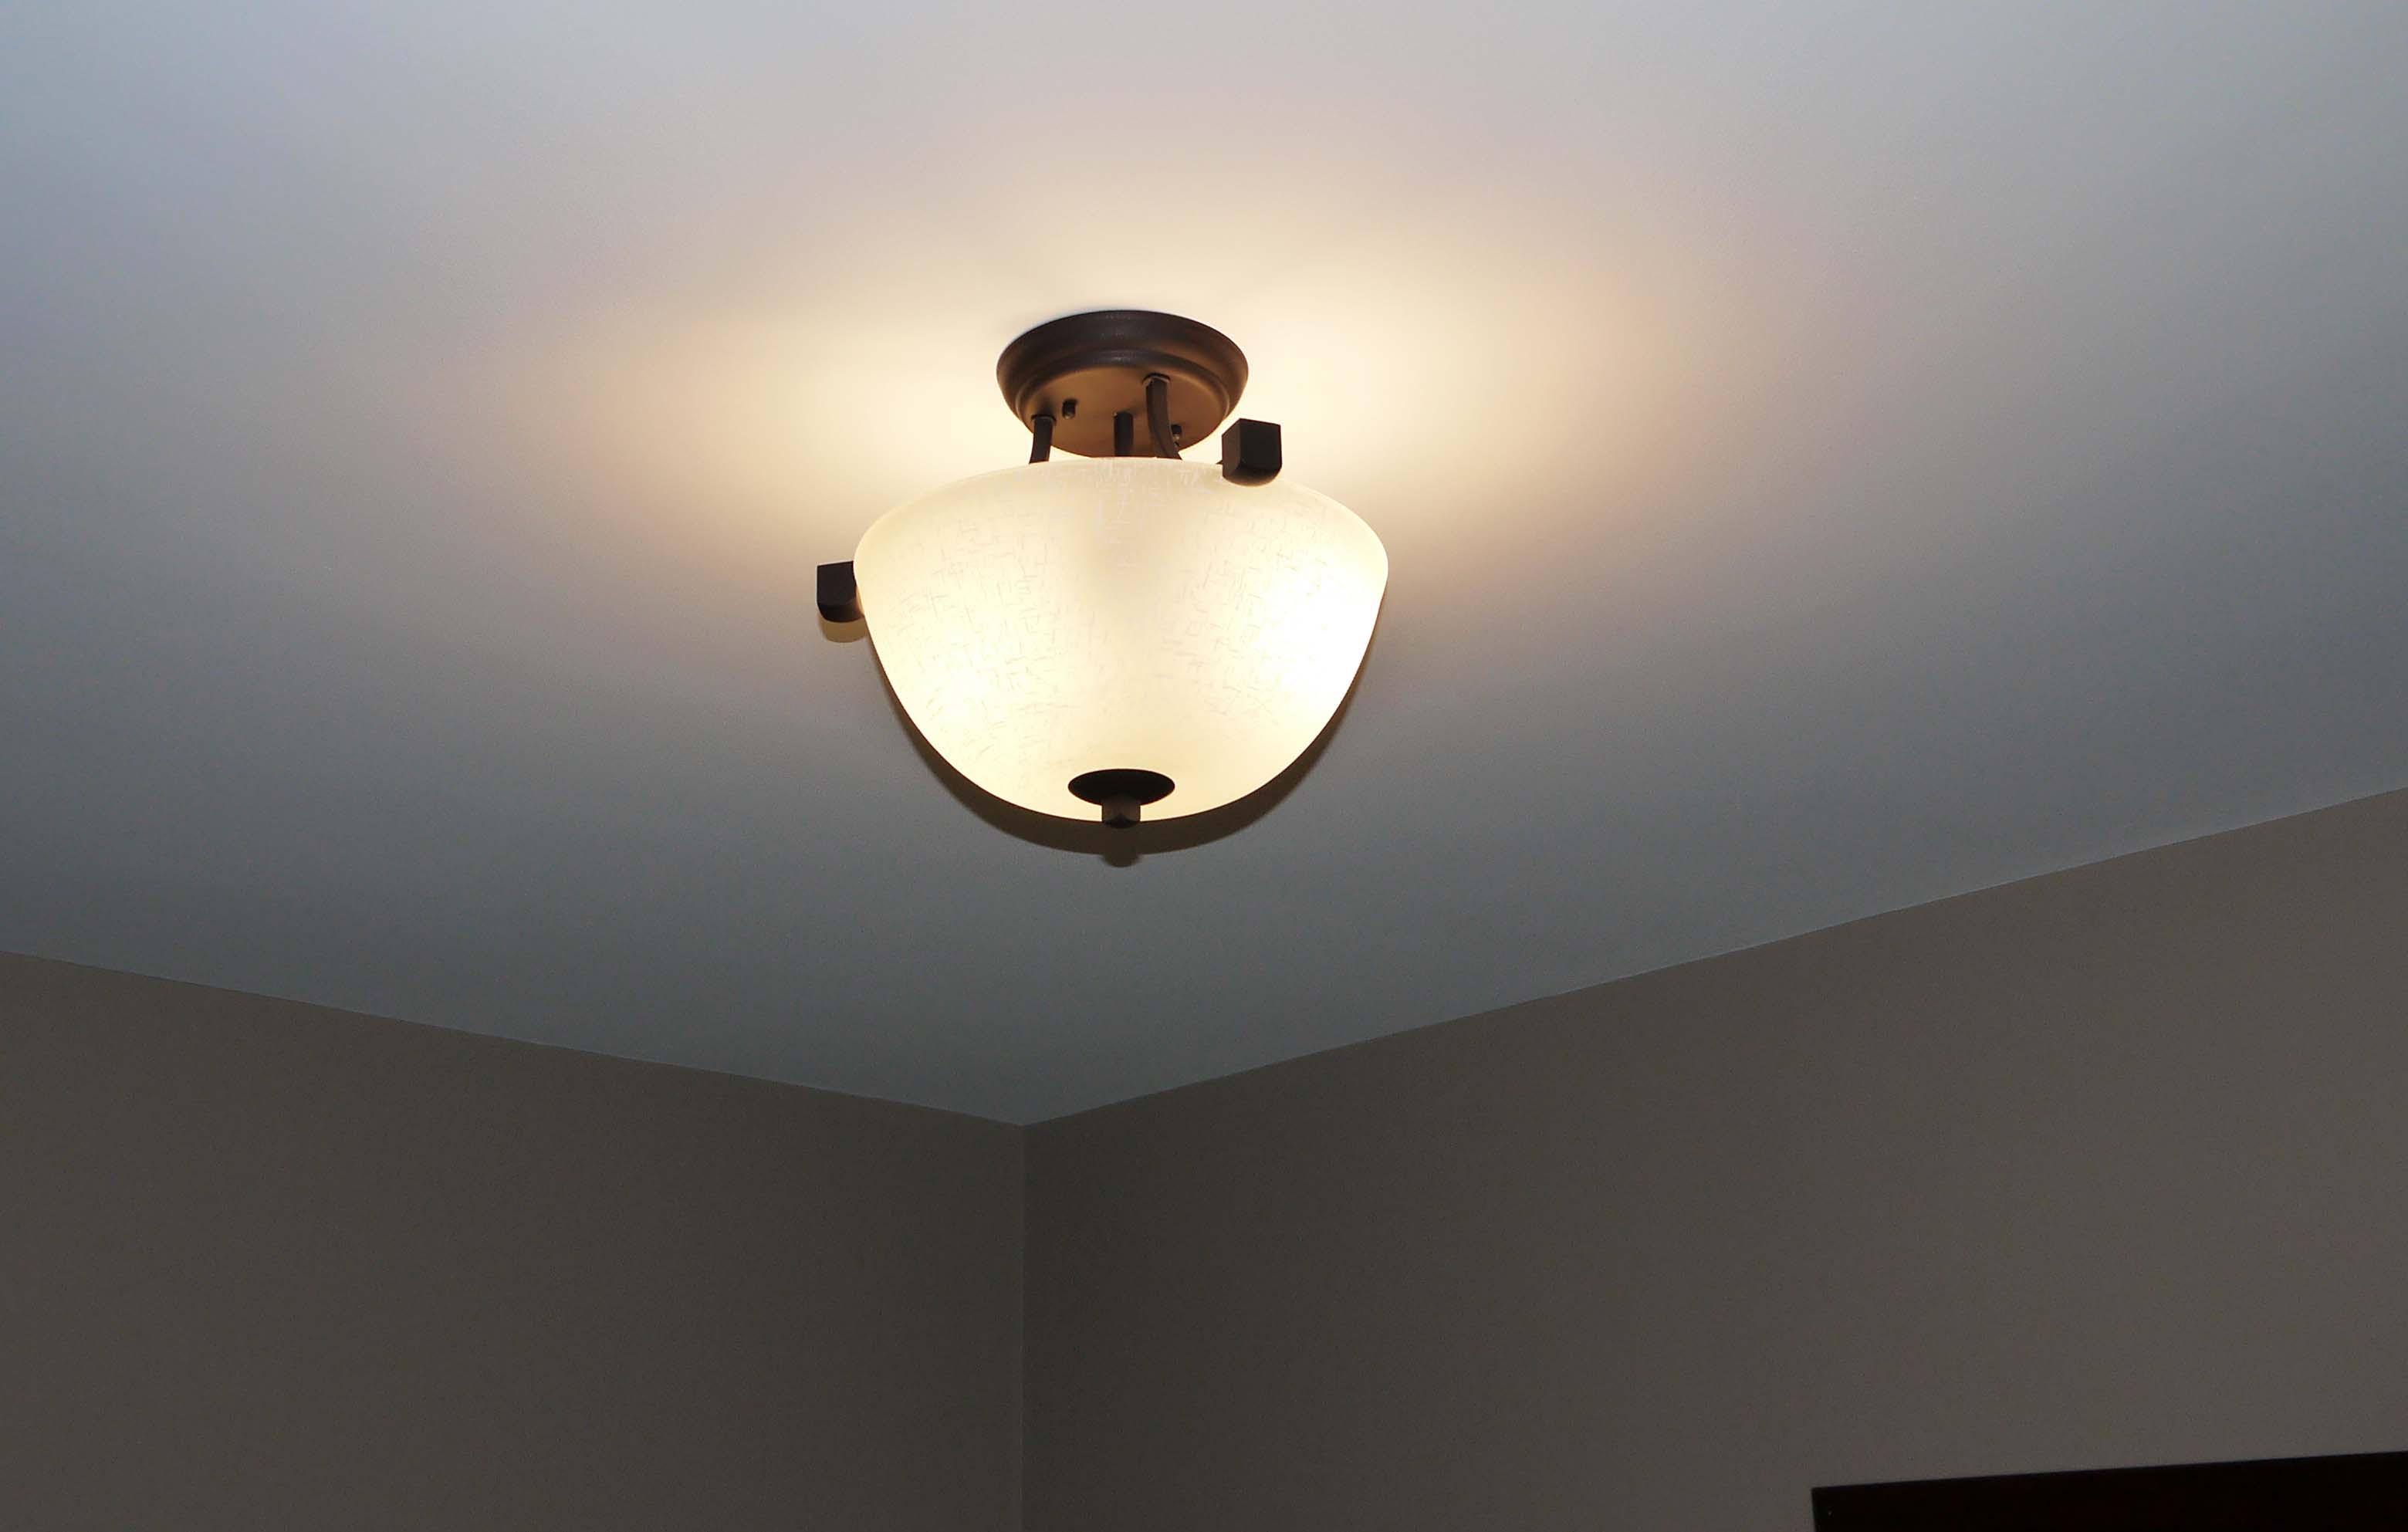
I even found a light fixture I liked and installed it this past weekend.
Next will be staining & varnishing the baseboards, wiring up the outlets, and this room will be finished. The lion seems to approve.

Swinging Again (or, “All that for a broom closet?”)
Posted by Adam A. Ries in DIY, Home Improvement on June 24, 2015
“All that for a broom closet?”
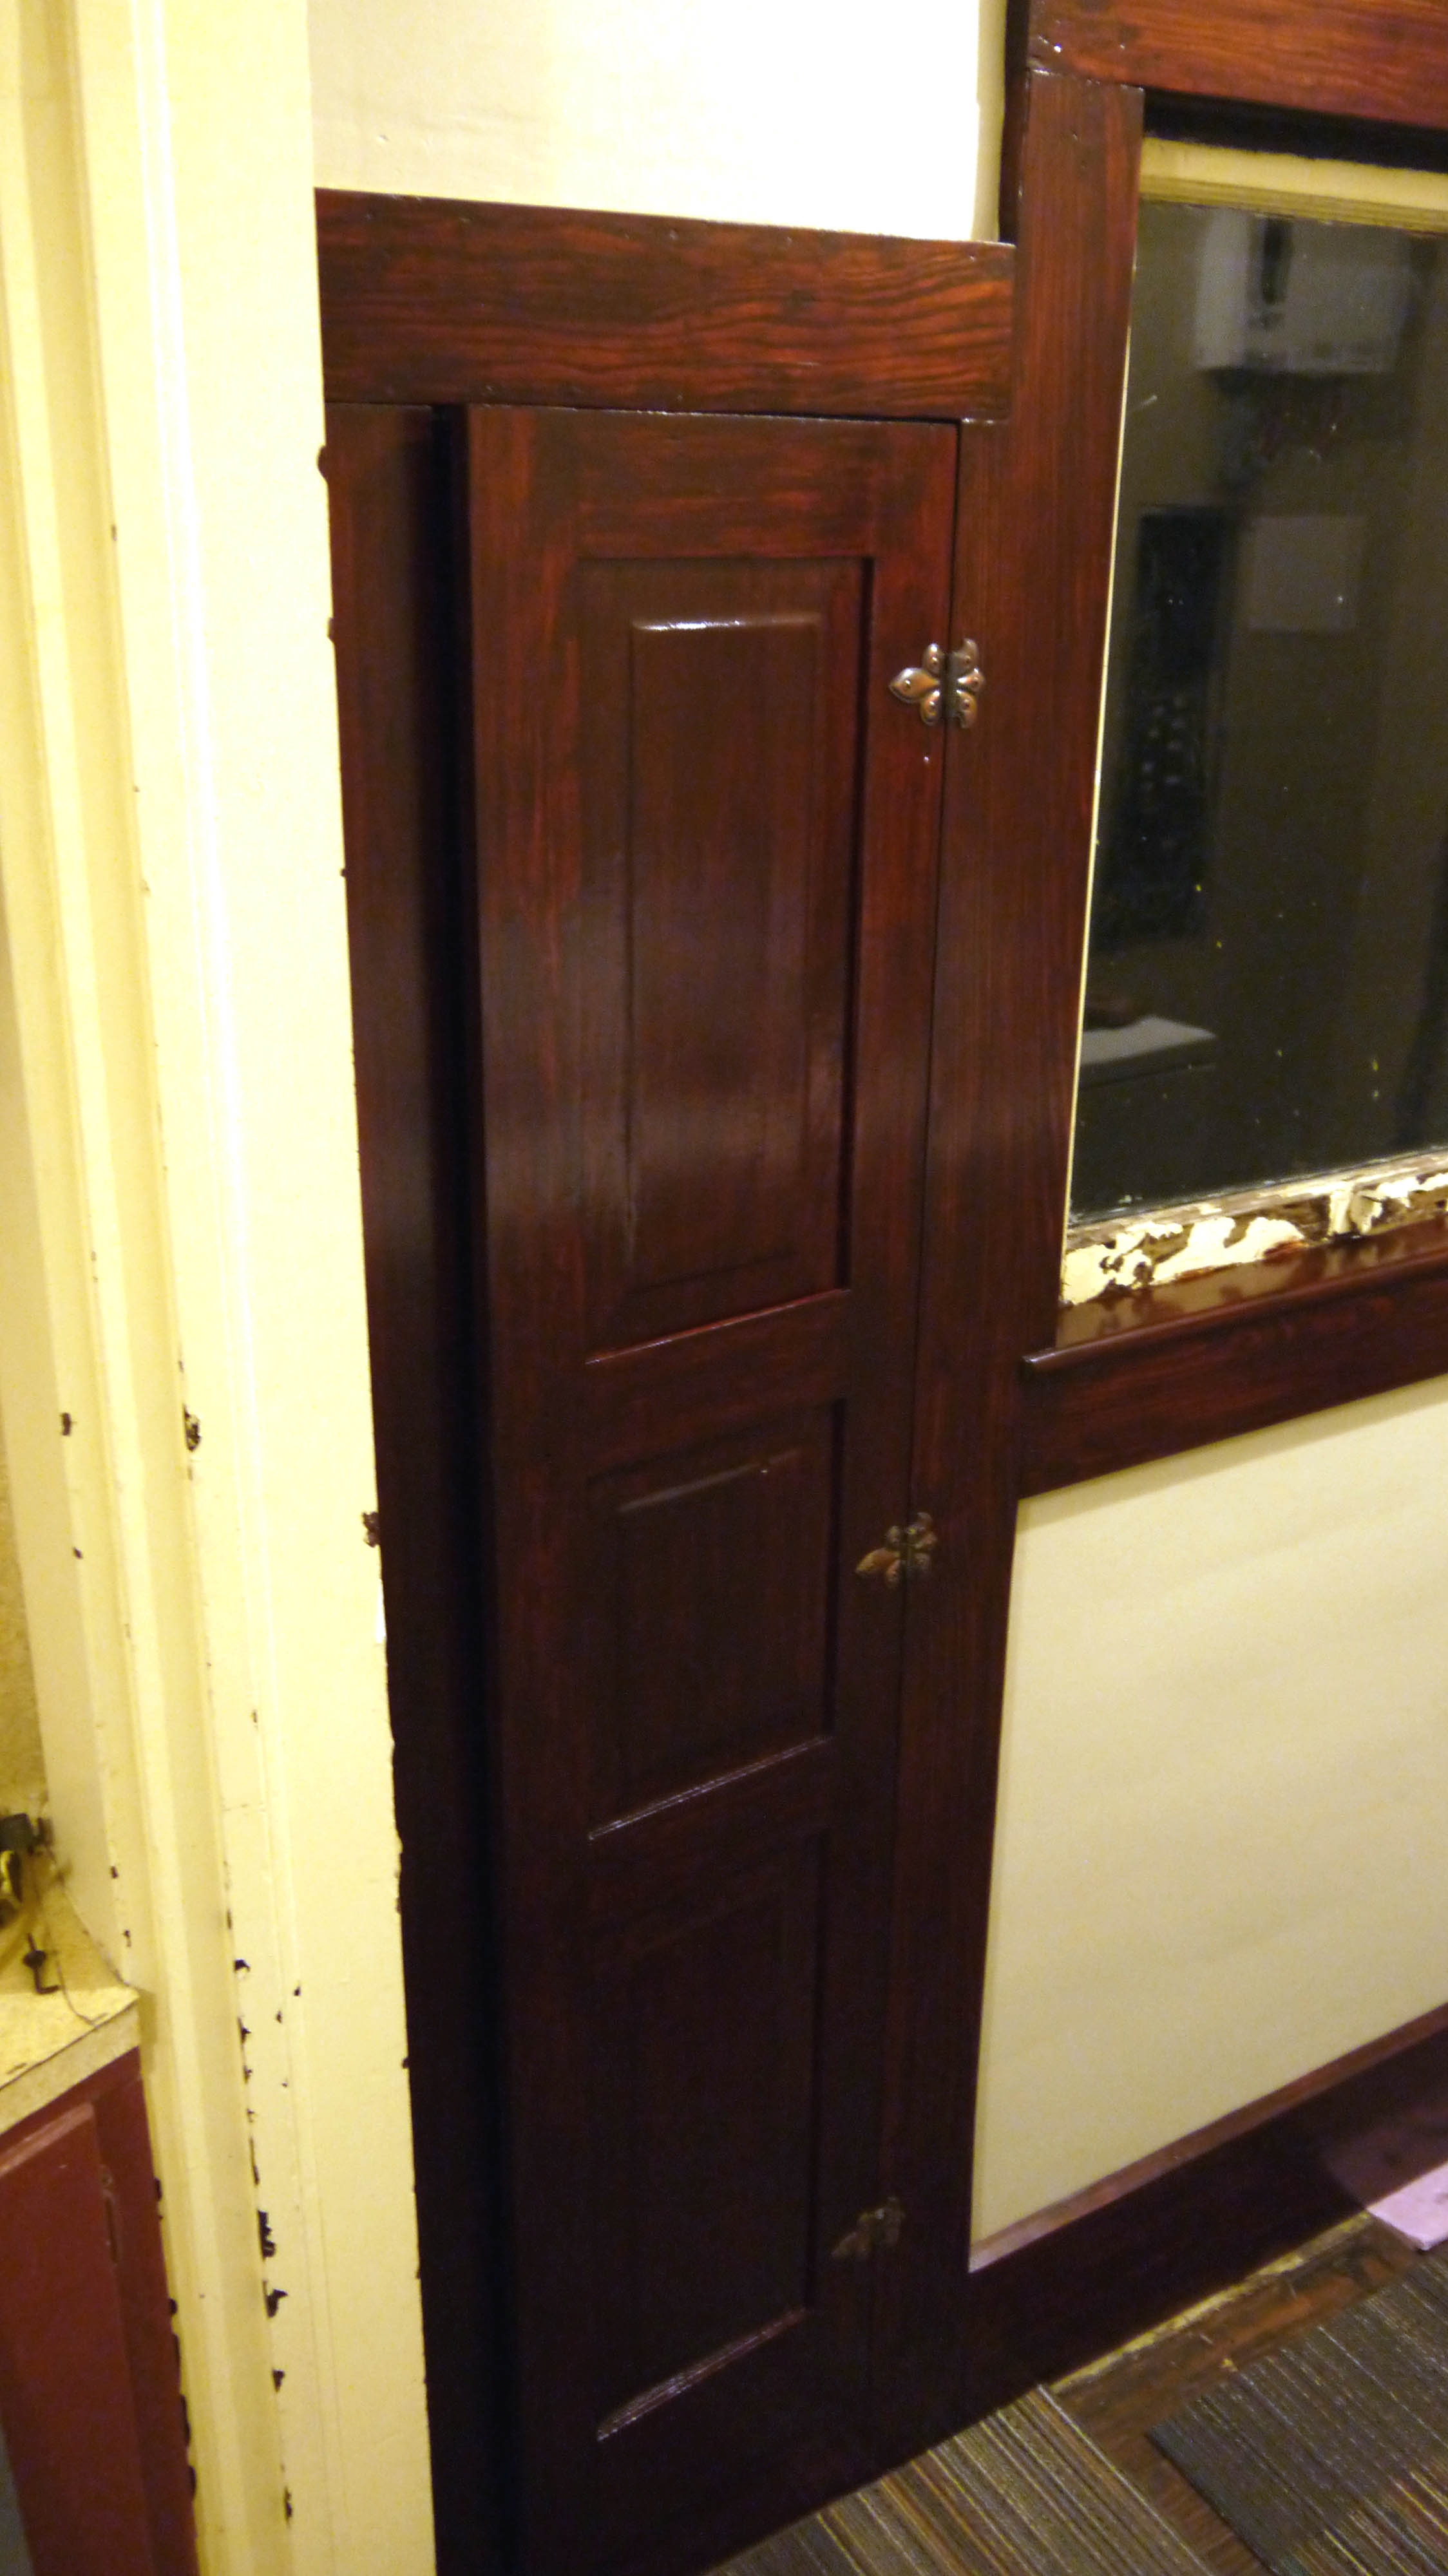
That is exactly what my friend said Monday evening when she was over for dinner. I showed her the finished broom closet door compared to the “before” photo.
“Wouldn’t it have been easier just to build and stain a new door?”

Well, maybe. I’d like to think it would’ve been the same amount of work. But a new door would have been “fake.” It wouldn’t have the gauge near the top hinge, where perhaps the guy who installed the door slipped with his screwdriver. Or the chip on the middle raised panel, from when a little kid running to play outside hit the door with the toy in his hand. And I’d have to have found a couple special boards with wormholes dotting one side, like on the inside of the door frame. Gauged, chipped, and wormholes? Yes. Flat, smooth, perfect; no. Once again, it’s something I like to call “character.”
A quick visit to my local friendly Ace Hardware and I found specialty screws that were a perfect fit & color match for the original hinges, and the door was “swinging again” (It’s like when they say the title of the movie in the movie!) in just 5 minutes.
Unfortunately the cabinet door latch was busted – didn’t have a knob at all, and from all the paint it didn’t have it’s spring action either. (In fact, to open this cabinet, someone had folded over a piece of duct tape & stapled it to the edge of the door to make a pull tab. That’s one solution.) So I’ll keep looking through rummage piles until I find a door latch the same style. For now, the door wants to naturally stay open about 1/2 an inch, so I can use it without a knob.

Lastly, I didn’t like how the back wall of the cabinet looked. The paint is chipping, and whatever is under the paint doesn’t even look or feel like wood- it’s almost flexible like thin hard-board paneling. So I bought a sheet of plywood beadboard panel and ripped it down to the exact width to fit inside. Once it was stained & poly’d, it looks like it has always been there. Yes, I lost 3/8 inch in cabinet depth, but there is still plenty of room for a broom, dustpan, and even a small mop handle. On my next run to the hardware store I’ll pick up a couple broom handle clips, a small hook to hold the dustpan, and I’ll be in business.