Posts Tagged Color Scheme
Restoring Wood Windows – Putty, Prime, & Paint
Posted by Adam A. Ries in Home Improvement on January 10, 2016
Part 2 of restoring my home’s original wood windows. Part 1 is here.
Setting the glass means getting handsy with some glazing putty. Now some contractors say you can lay the glass into the rabbit using caulking or an adhesive. But I feel like that is a shortcut. The professionals who have been restoring windows for a while make a bed of the same putty that’s used on the outside of the glass, which is how wood windows would have been assembled originally 100 years ago. Recommended by all the pro’s, I use Sarco Glazing Putty, type M. I found it easy to work with, kind of like play dough. Working it like play dough for a minute or so with my hands makes it so much softer.

I lay an even thickness of putty along the rabbit on the inside the sash, using more than I need. I just move a ball of putty around the rabbit, pressing it in a few inches at a time with my palm. It’s a little messy, and it results in a lot of excess, but I wan’t squeeze out so that’s ok. Then I lay the glass on top. As carefully as I can, and often while holding my breath, I slowly work my hands around the perimeter of the glass, pressing firmly to set the glass into the putty. Also as carefully as I can, I use my glazing tool to press 2 or 3 glazing points into the groove on each side of the glass. I use these newer glazing points:

I think they are easier to set into place – and also because my first experience using the more original triangle glazier points resulted in slipping and cracking an original piece of glass, at which point I nearly gave up. (Instead I found an old glass window sash at a yard sale and was able to cut this piece of glass to fit.) The squeeze out putty can be scraped off and re-used, but using more than enough is important so that the glass makes a tight seal. Then I kind of repeat the process of pushing more putty into the rabbit with my palm, working my hand around the entire sash. I first use a glazing knife to simply push the putty tight into the groove, then it’s time time tool it smooth.
Tooling the putty is an art. Especially in the many videos online of professionals who can flawlessly tool an entire window in seconds. I spend a few minutes on each side of the glass, pressing the putty firmly into place while trying to achieve a smooth texture. Corners are a pain in the ass, I have yet to “master” a corner, but I’m getting better on each window.

Once the putty is tooled smooth – or as close as I can get it without losing my patience – I clean up the oily residue the putty leaves on the glass. This step is kind of fun, like painting only using a white powder called (what else), whiting. It’s the same whiting the professionals use, ordered online from the same company that sells the glazing putty. My understanding is that it’s pure limestone powder – it’s not cheap, but it goes a long way. With a very soft brush it really does clean the oil residue off of the glass that the putty leaves behind. It also skins the putty to encourage it to dry faster in prep for painting.
(I feel the need to insert here that yes, I have had to order many of these window restoration supplies and materials through the internet. The hardware stores around me don’t sell and can’t get many of these products. With as much time and energy I’m investing into these windows, I don’t want to substitute on inferior quality materials and take a chance of lessening how long these repairs last.)
Now onto painting – I’ve read a few different opinions, but the professionals I worked with said that using a good latex paint does not require priming the putty – the putty is manufactured to accept paint. For paint, I went by the recommendation of The Craftsman Blogger (an incredible resource for all things old house restoration!). Instead of a regular exterior latex, I went with Sherwin Williams’ Porch & Floor Enamel. It is a latex paint, but it is formulated to dry to a hard durable finish and unlike many latex paints, it doesn’t stick to other painted surfaces once cured.
I chose my paint colors for the outside of the window to stand out. Although I couldn’t tell the original color of the outside frames, while scraping paint from the sashes I could see that most original coat of paint was actually black. I love to see old houses with colorful window & frame combinations, and I really believe the “all white” or “all beige” window & trim combinations that plague so many homes is a negative result of the replacement window industry.

While scraping I found the original paint color to be black.
Although not black, I did choose a dark color for the sashes and a lighter color for the frames.
In my mind, I’m picturing a finished product something like this:
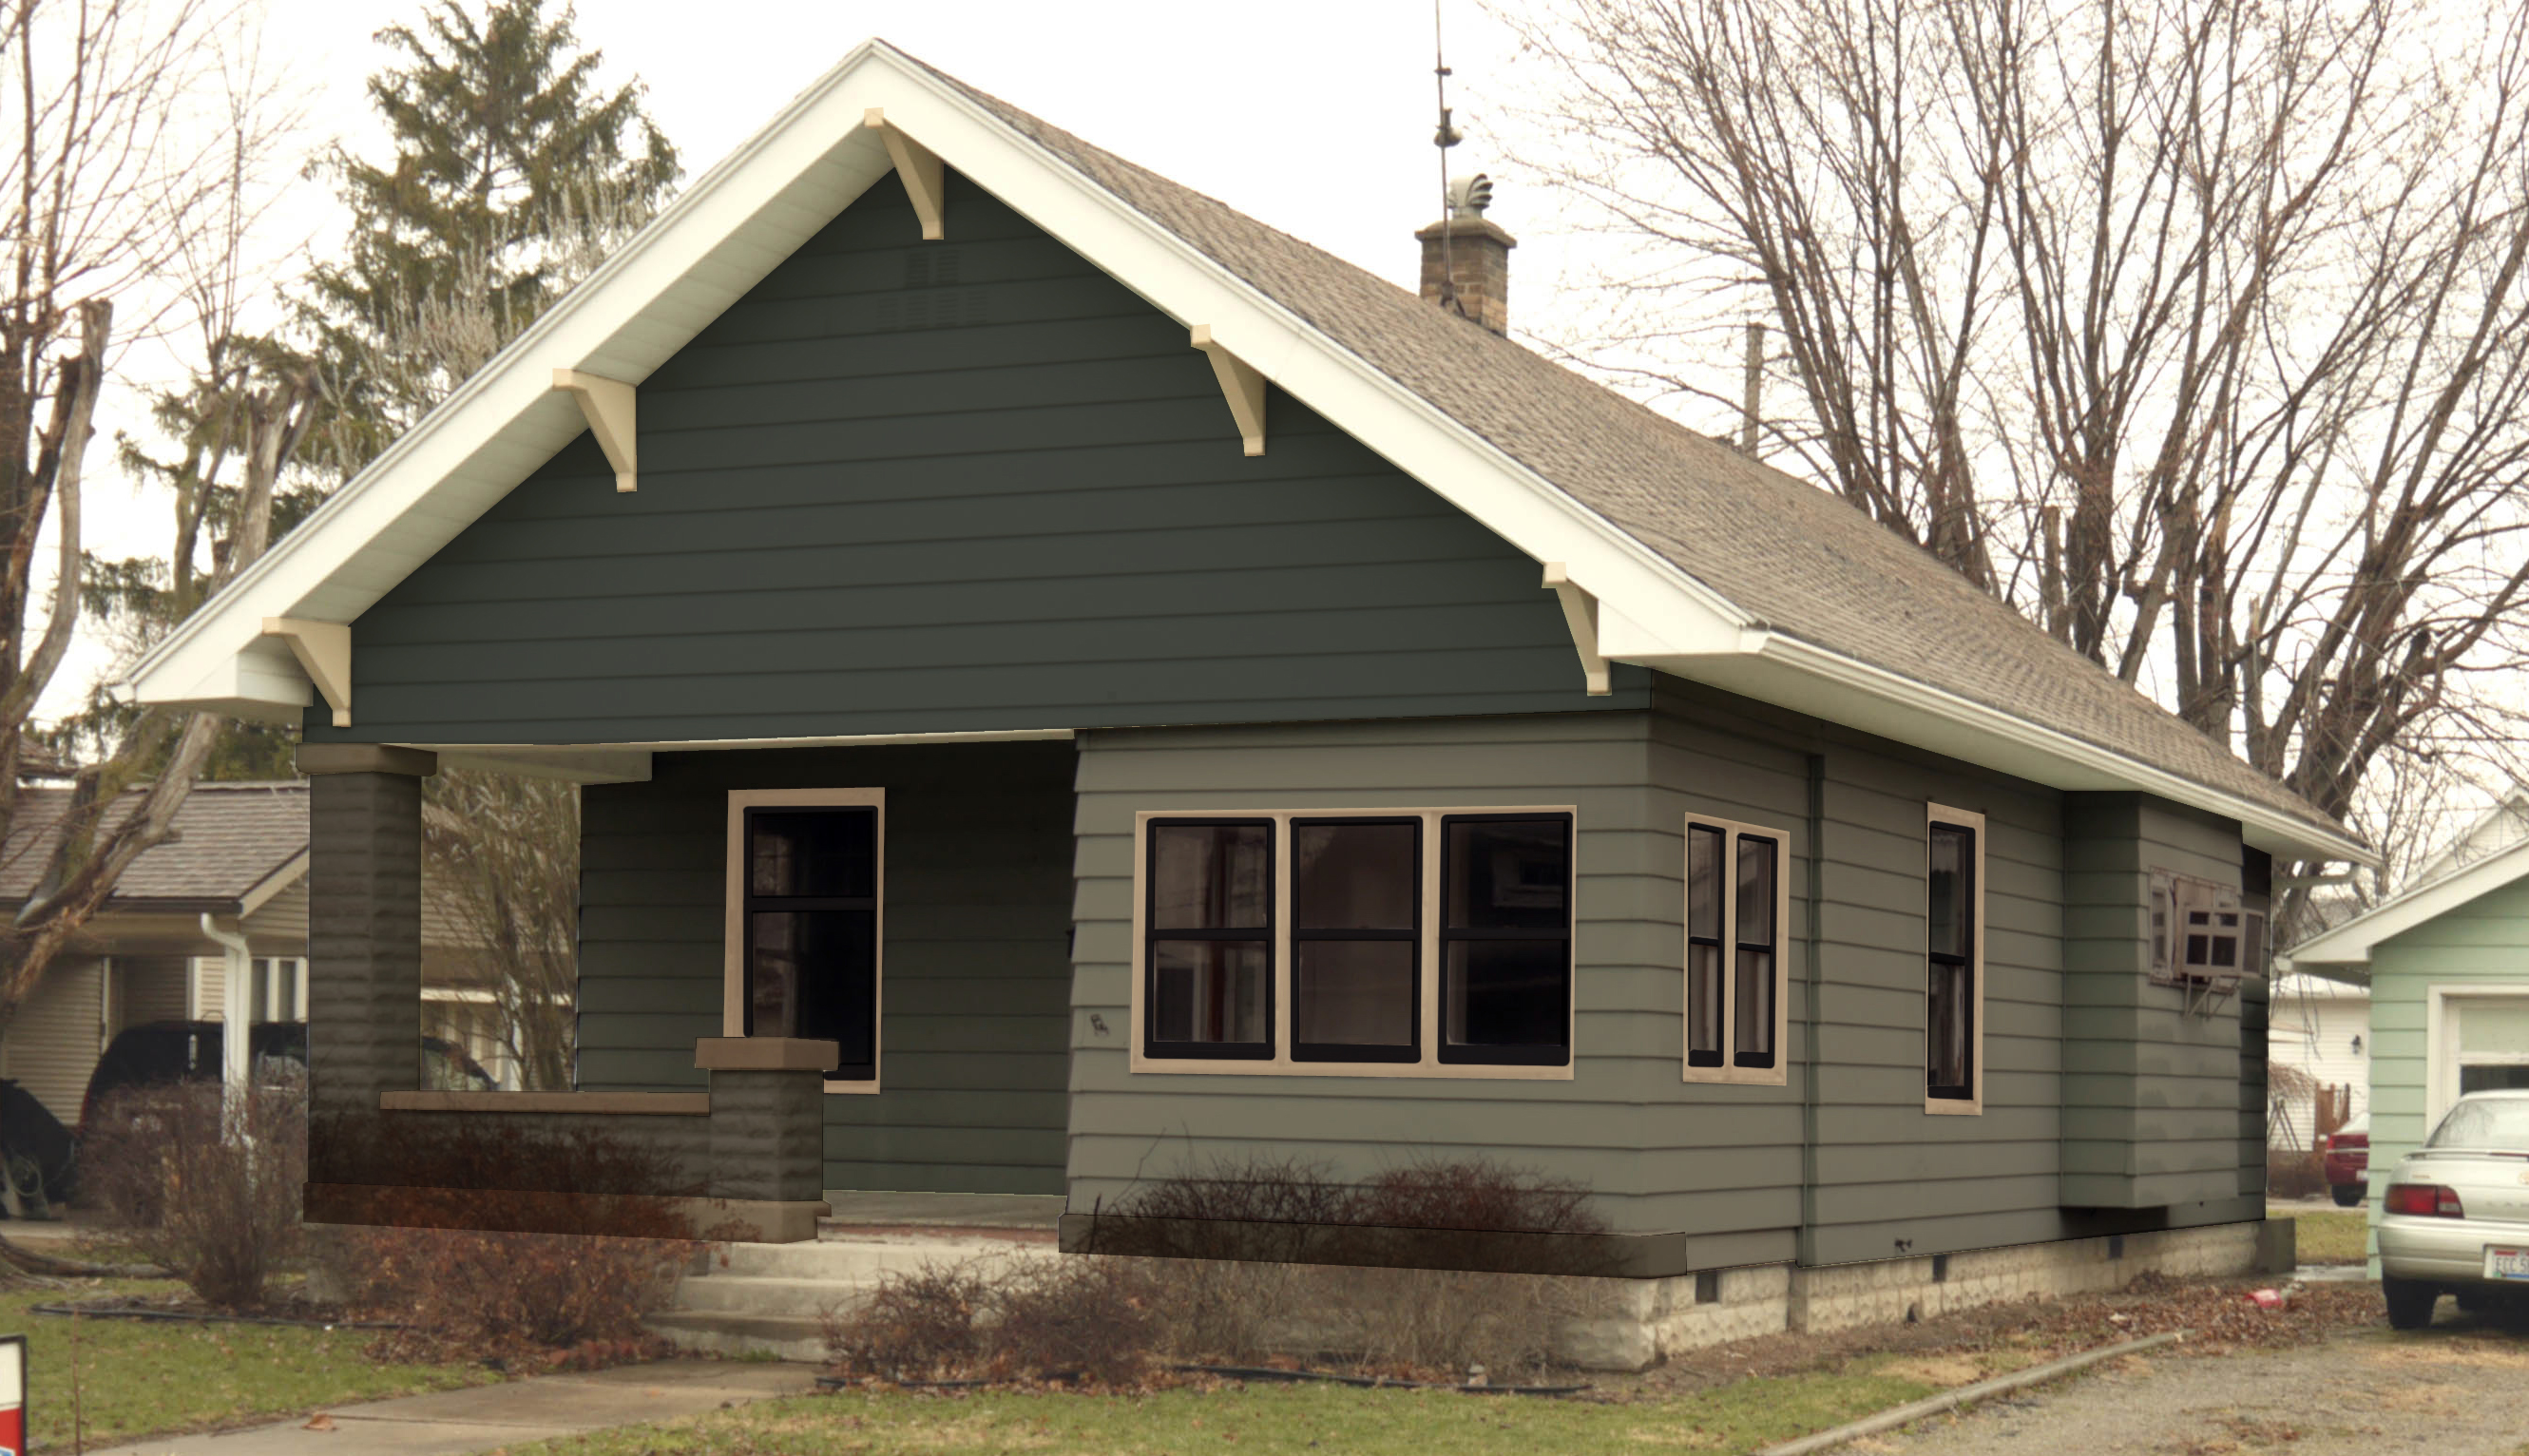
I had to work up an entire exterior color scheme before I could decide on paint colors, even though I’m quite awhile away from painting the outside of my house. But planning ahead, I was able to pinpoint the right colors for the outside of the windows. I decided on SW7069 Iron Ore for the sashes:

and SW 6105 Divine White for the window frames.

It looks more blue in this photo below, but in person its a deep navy/charcoal.

Now the secret to a long lasting window restoration? When painting the angled surface of the glazing putty, it is essential that the paint actually goes just a little bit onto the glass around the entire perimeter. Even if only 1/16 of an inch, lapping the paint onto the glass seals the putty to the glass and, from what I’ve read, makes the difference between a glazing job that lasts 5 years and one that lasts 25+ years. So many people finish their paint job with a glass scraper and scrape off the excess paint to make a perfectly clean line at the glazing putty. This ruins that seal the paint creates.
After 2 coats of paint, I wait a full week to make sure all the paint & putty is cured completely, then it’s time to put the windows back together. I bet I spent at least 3 weeks with each window tore apart. Like I said earlier, it’s all the waiting in between priming, glazing, and painting that takes the longest. Plus the fact that I get most of my work done on the weekends, so M-F of a full work week doesn’t see much progress either.
At this point I’m close to putting the window back together, but there are still a few more steps to ensure the window is air-tight. These include the original type of weatherstripping as well as 2 different types of modern weatherstripping.
Turning Gray & Choosing Paint
Posted by Adam A. Ries in DIY, Home Improvement on July 20, 2014
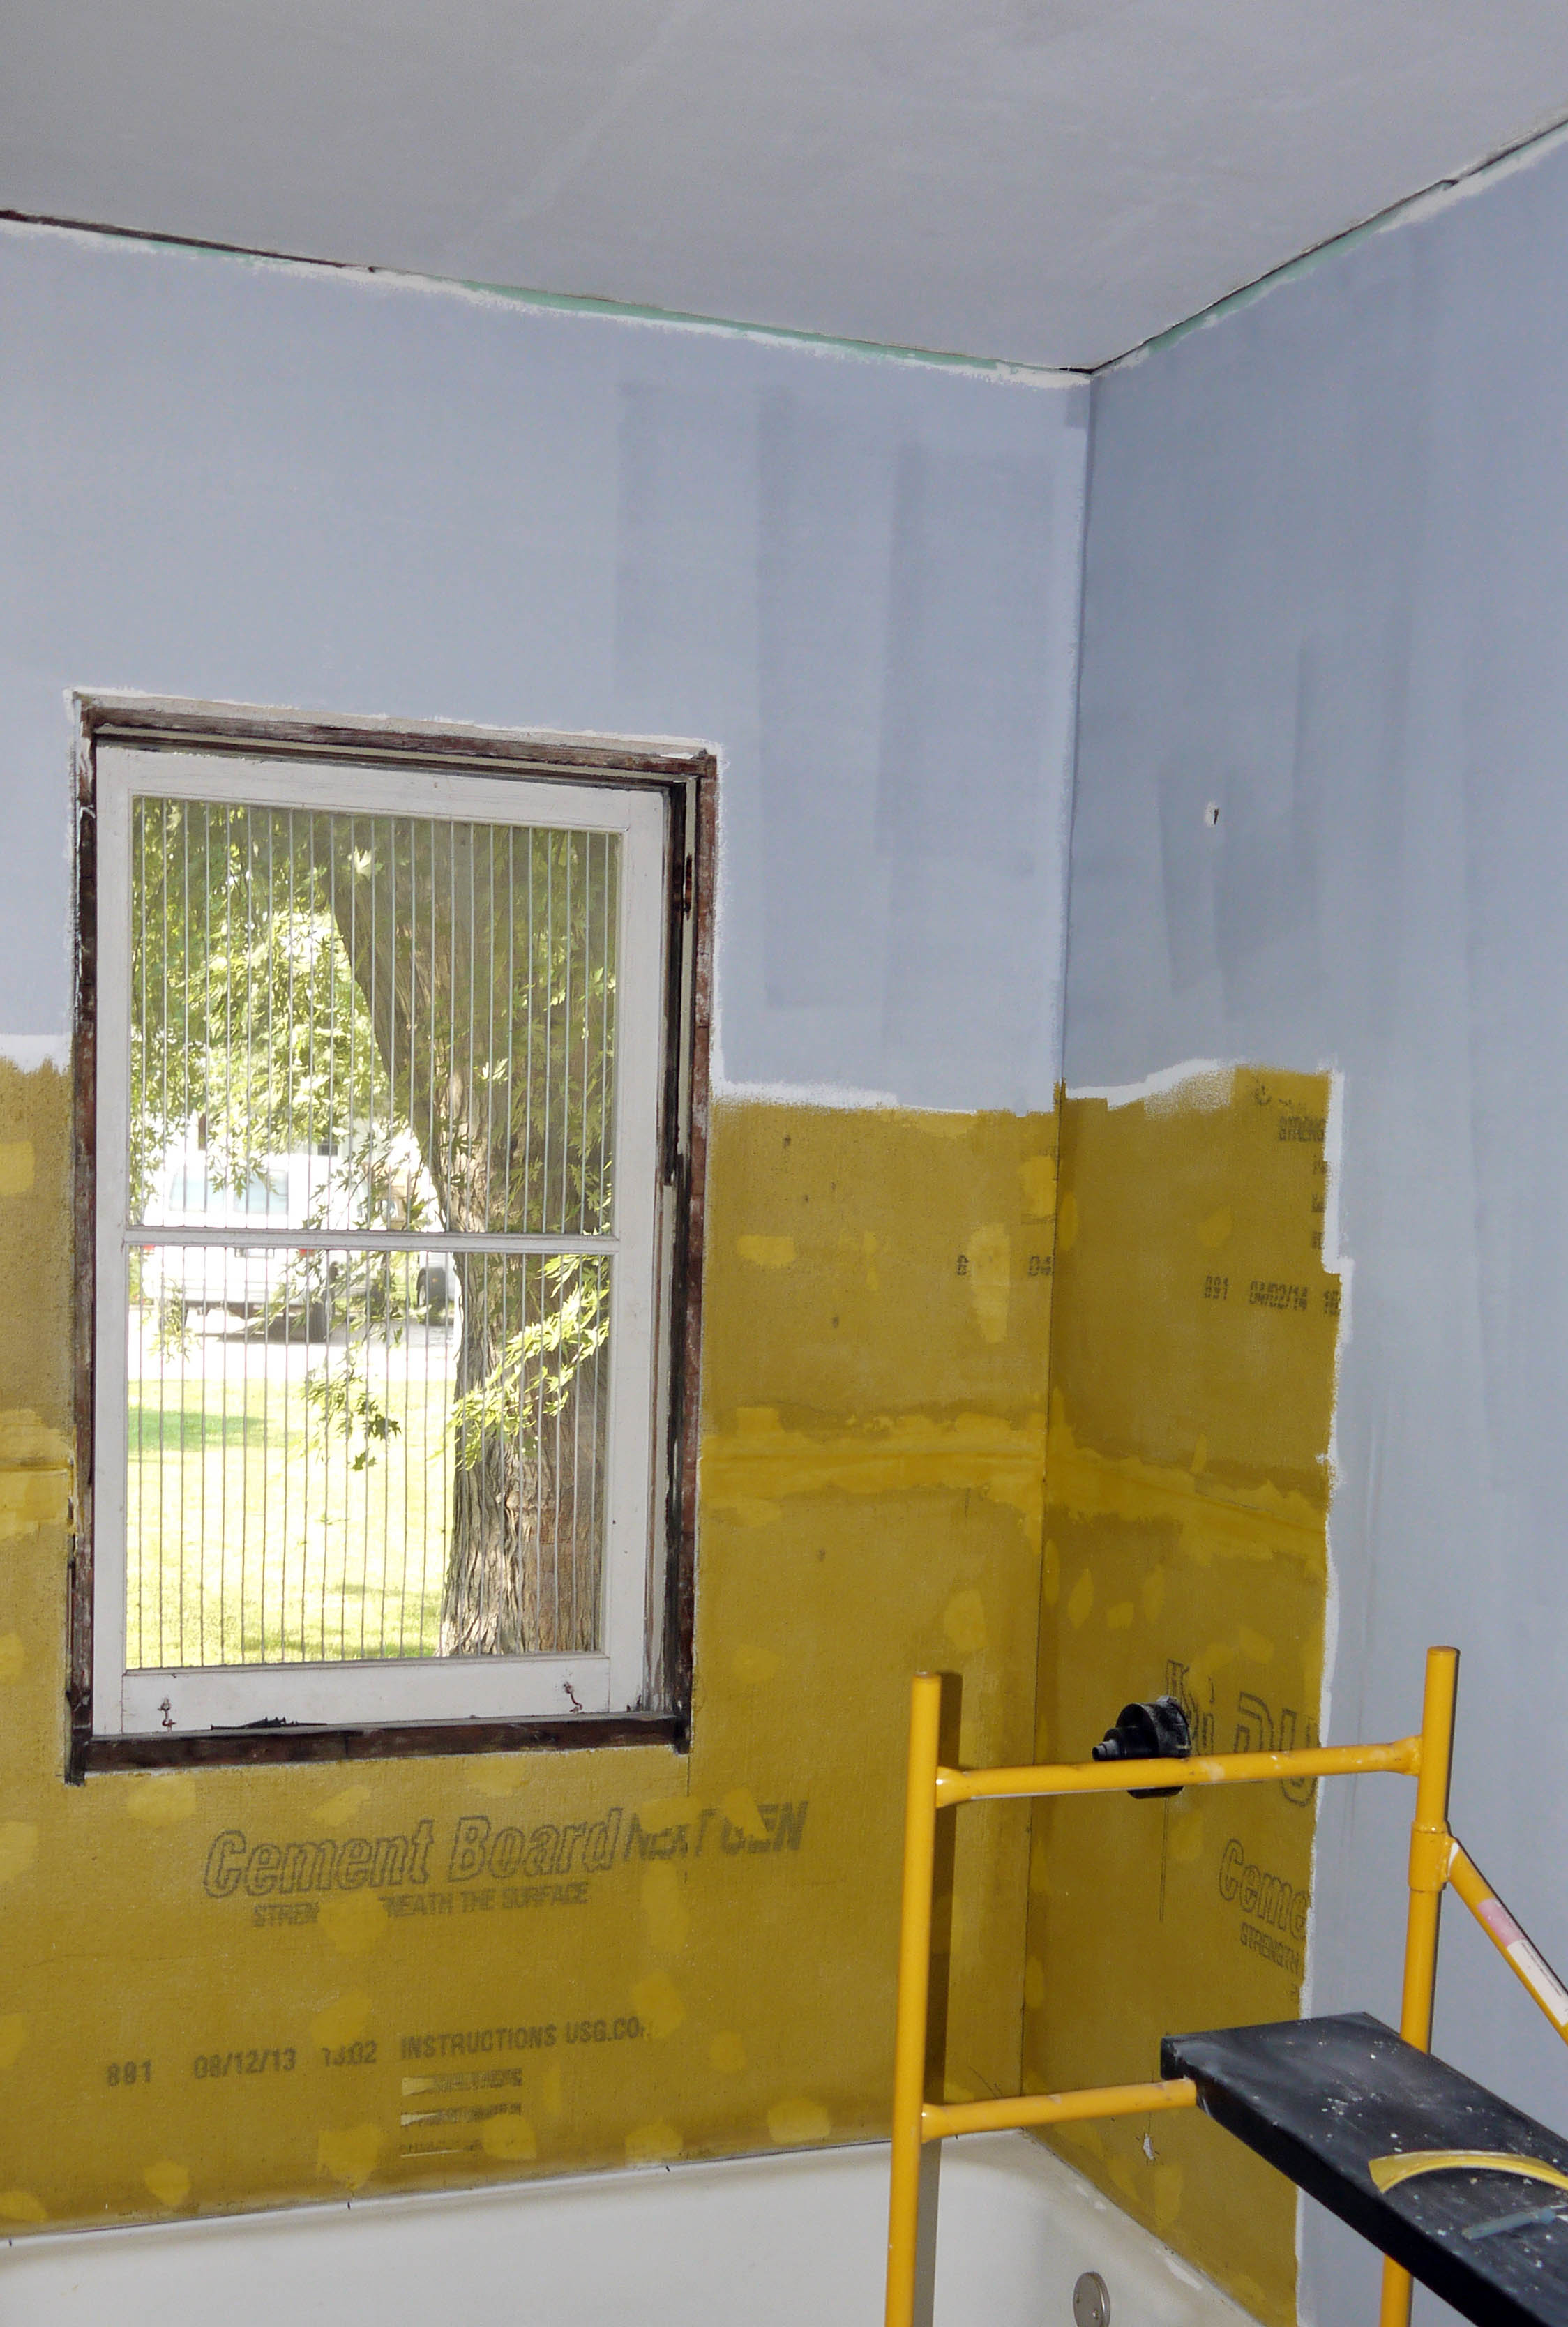
Since last weekend, I put a 2nd coat of primer on the bathroom walls, this one was tinted gray to ready the walls for the final paint color.
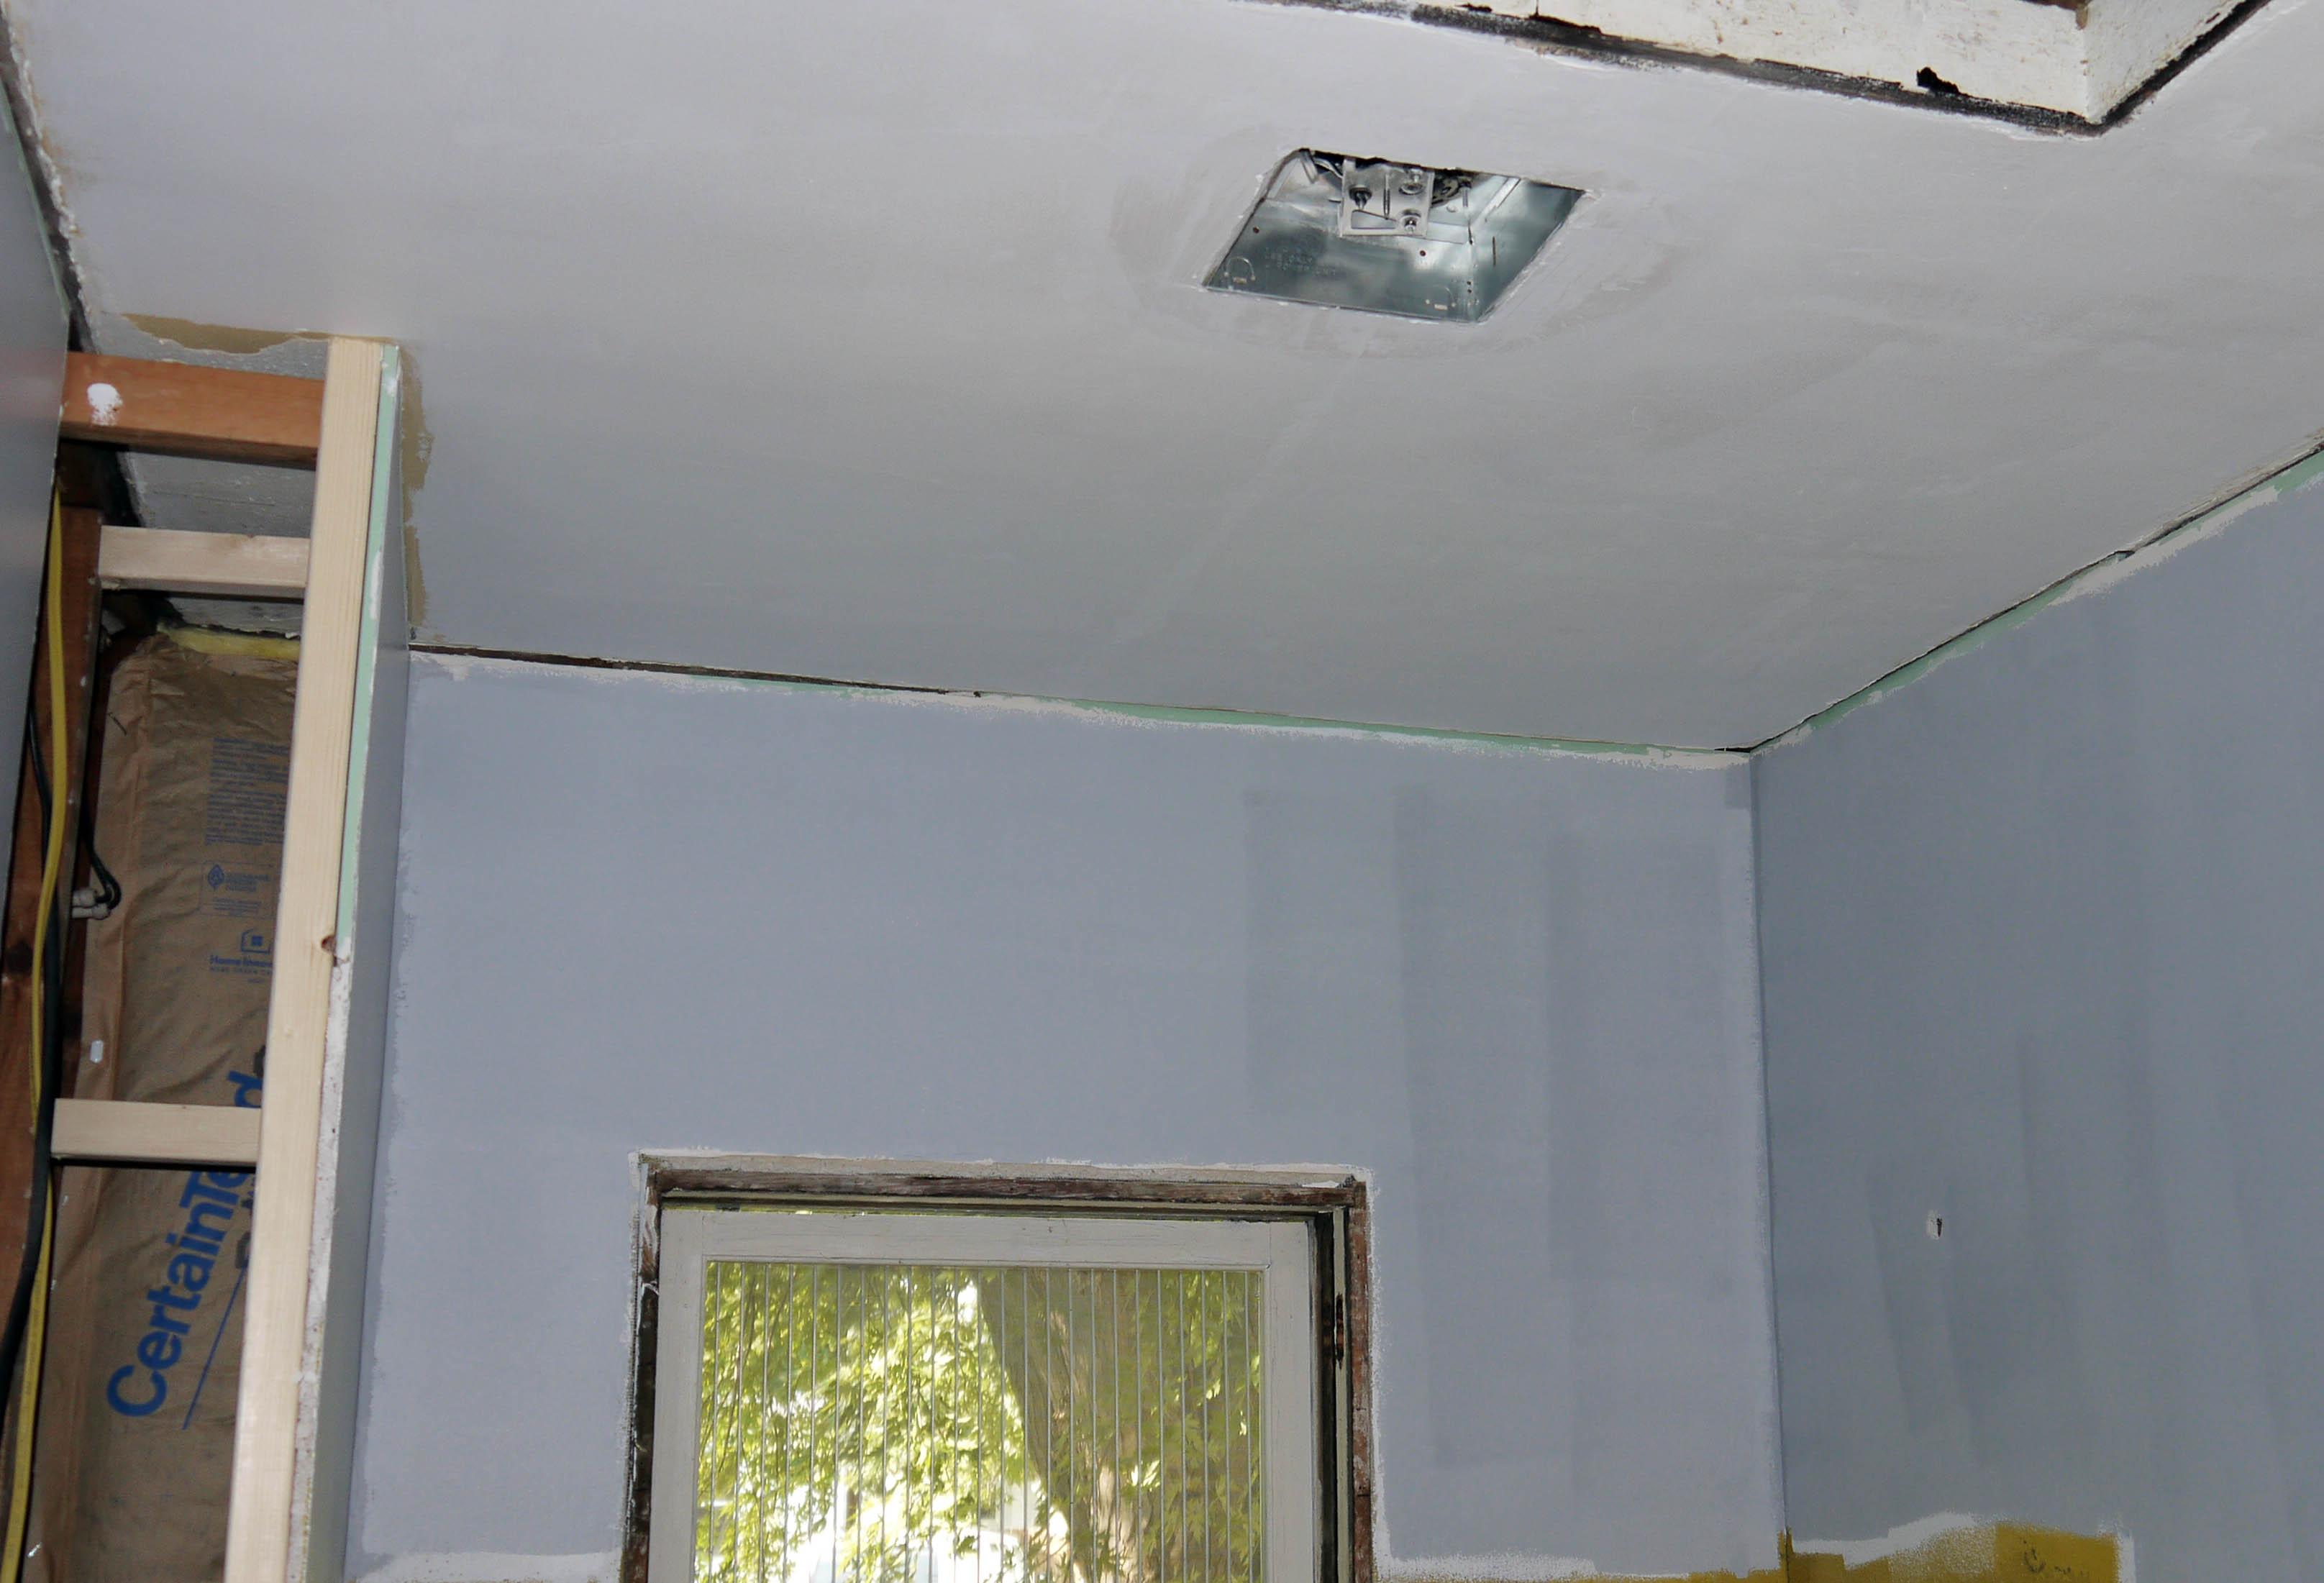
At this point, both the walls and ceiling are ready for paint!
So it was time to select the final paint colors. I basically knew what I wanted, but I have the unique ability to choose 50 paint samples (that anyone else would say all look identical) and mull over just how different they each look!
But our local Sherwin-Williams store was having a sale this weekend only – 40% Sale on all paints meant I had to make a decision! Although I considered almost a dozen wall colors, I decided to go bold or go home – Black Magic is the color name. For the ceiling, I chose a very pale gray named First Star, because I want the ceiling to be a bit in contrast to the white crown molding around the room. Both the ceiling and wall paint are Duration in Satin finish, which I’ve used in the past and really enjoy painting with. It’s like painting with whipped cream – it rolls and brushes on smooth and covers really well. And rather than white right out of the can for the trim, I went with a soft-white titled Snowbound, which I think will look a little less stark. For this, the store manager recommended ProClassic for trim & woodwork. It’s their best interior enamel, and supposed to dry to a super smooth but very hard finish. I like woodwork to be just 1 step shinier than the walls, so I purchased a full gallon in Semi-Gloss knowing I might use it in other rooms as well.
I put the sample board together to show what all of the room finishes will look like together:

The wood represents the dresser I will transform into a vanity, as well as the bathroom door. I went through my stash of salvaged doors – (what, doesn’t everyone have a stash of salvaged woodwork, doors, light fixtures, and other random antique home parts and pieces?) – and I have a 5 panel door that should work great. It will need cut down about 2 inches in height, but the width is almost perfect. I’ll probably have to re-align the hinges, and perhaps the striker plate too. A few dings and chips, but it will look great with a little patching, sanding, and some stain to even out the imperfections. Almost all of the hardware in the bathroom will be brushed nickel – silver with almost a pink/gold hue. And how about that light bulb? I had a very successful shopping trip to two different architectural salvage stores in Fort Wayne. I mixed and matched some vintage light fixtures and cylindrical globes to assemble what will be an awesome pair of wall sconces once refurbished. Not exactly what I was picturing, but $15/sconce feels so much better than $100/sconce – and they will give much the same effect. But for now they are safely stored away until the walls are ready. Now begins the week of bathroom tile!
Optimus Prime-r
Posted by Adam A. Ries in DIY, Home Improvement on July 14, 2014
Tonight after work I swung by our friendly local Sherwin-Williams store to ask which primer would be best for fresh drywall. There’s nothing worse than spending hours prepping and painting a room, only to see each and every patch once the paint is dry because the primer didn’t prepare the walls like it was supposed to. Drywall paper will absorb paint differently than sanded joint compound, and I wanted to make sure I used the right primer so that these areas wouldn’t be noticeable with the final coat of paint.
Although they do carry a primer specifically for drywall, the friendly saleswoman assured me their Multi-Purpose primer would work great for the drywall and the existing ceiling both. Sure enough, the can lists that it will work on everything from glossy surfaces to patched surfaces to fresh drywall. Winner.
I already had roller covers and brushes, so I immediately went to work. I was a little apprehensive to prime the walls, because there is no hiding the imperfections of my drywall seams and patching once the primer goes on. Not to say I couldn’t fix those spots later, but it would point out any areas I hadn’t paid enough attention to.

But in reality, I had very little to be worried about. If I do say so myself, I am quite the drywall master! I barely did any sanding, yet the seams turned out almost invisible, and there are just a few tiny little areas of bubbles or lines that I might go back and put a thin layer of joint compound over. But even if I don’t, the areas are so small and hidden that probably no one except me would ever notice them.

I did not tape the seams between the walls and ceiling, because I know I will line the room with crown molding, which will end up covering this gap. That also means not having to prime all the way up to the ceiling.
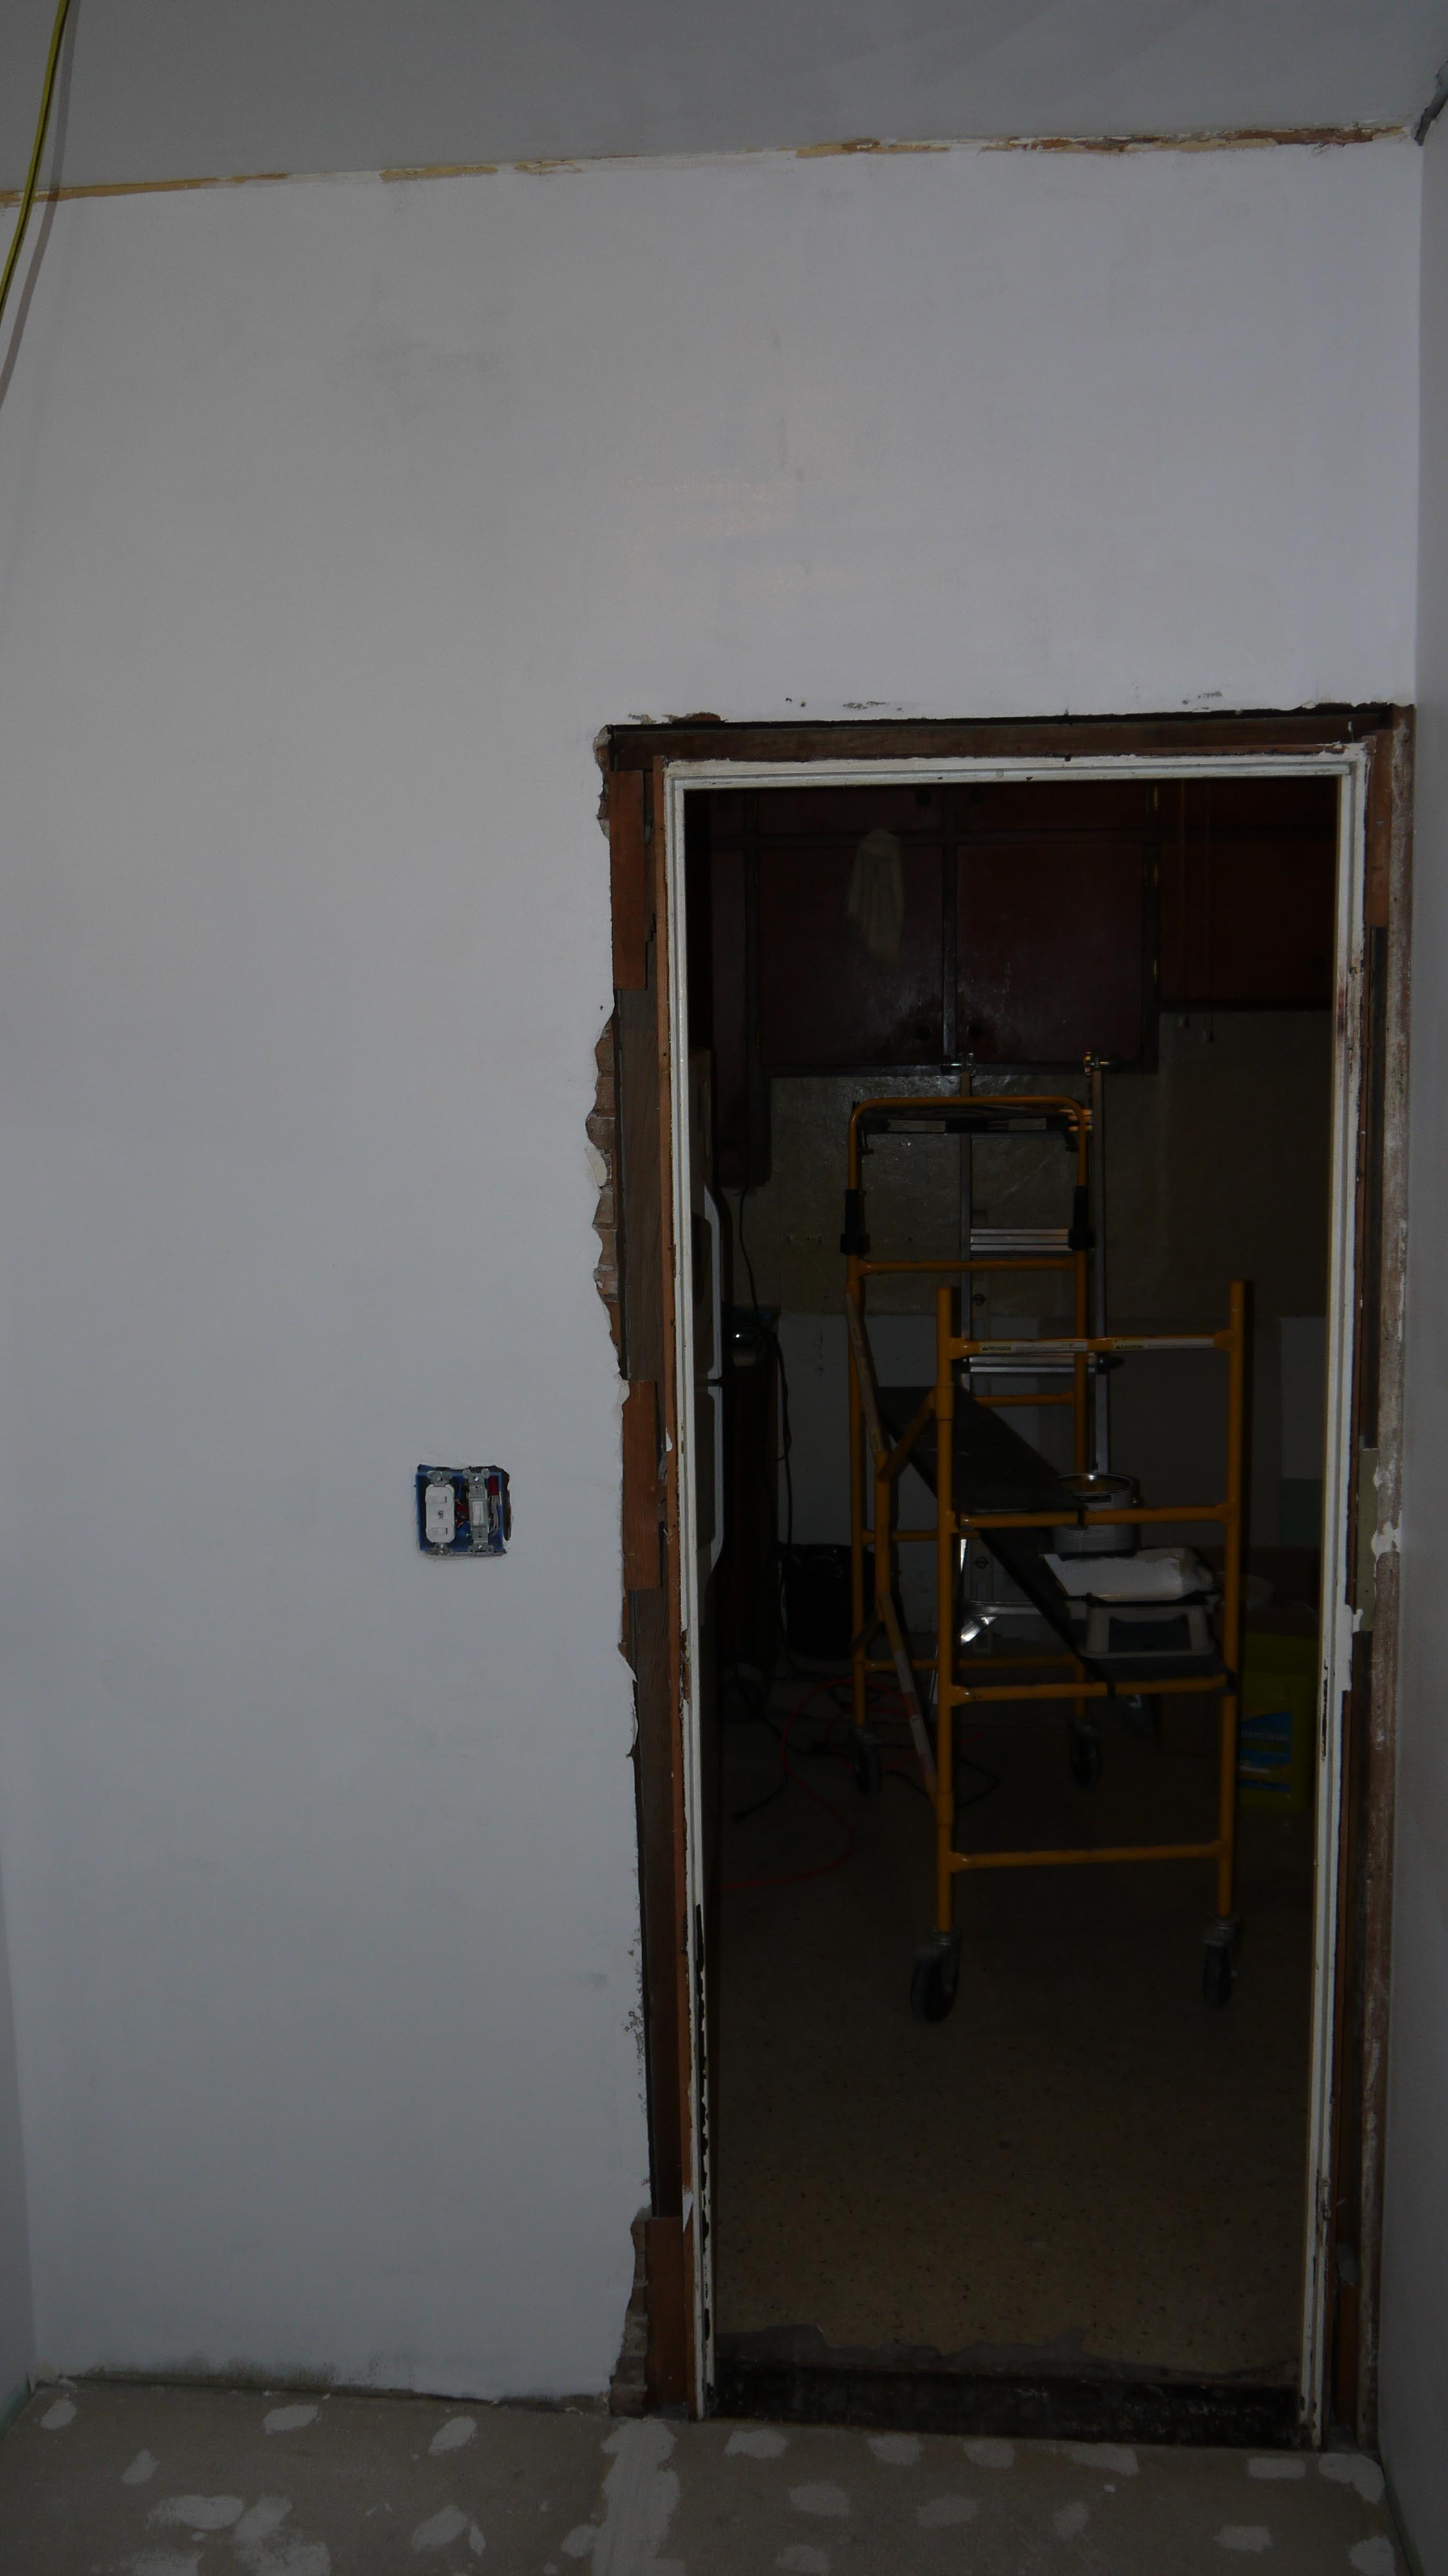
The perimeter of the attic opening looks a little unfinished, but that’s because I removed the trim pieces since they were so caked with thick ugly layers of paint. I’m not going to strip them down to natural wood, but simply sand them a bit so they aren’t so crude looking. The attic opening will be painted white to look the same as the rest of the trim in the room.

The primer I used is pure white. This will be ok for the ceiling, which will be a very pale gray. But for the walls, I’m going to apply a 2nd coat of primer that has been tinted gray. Painters recommend a gray tinted primer for most dark colors and even when painting reds, as it helps the actual paint color come through. I’m planning on very dark gray – almost black. Below is almost exactly the look I’m going for: dark walls, lots of white tile, black framed artwork.

It’s monochromatic, but in no way is it cold or dull. It’s masculine and bold, minimalist yet timeless. The only difference is that I’ll warm up the space with a stained wood vanity – (because if I went with just a pedestal sink, this bathroom would have almost zero storage space) – more on the vanity cabinet soon And maybe a stained wood door. Haven’t fully decided yet. And that is a whole separate conversation – I don’t have a bathroom door. The one I removed was a cheap hollow core door, with a few holes and about to fall off of its hinges. The one bedroom doesn’t have a door at all, so I want to find a style I can use for both. But more on that later. I mean, come on, without a working toilet why would I need a door yet?
