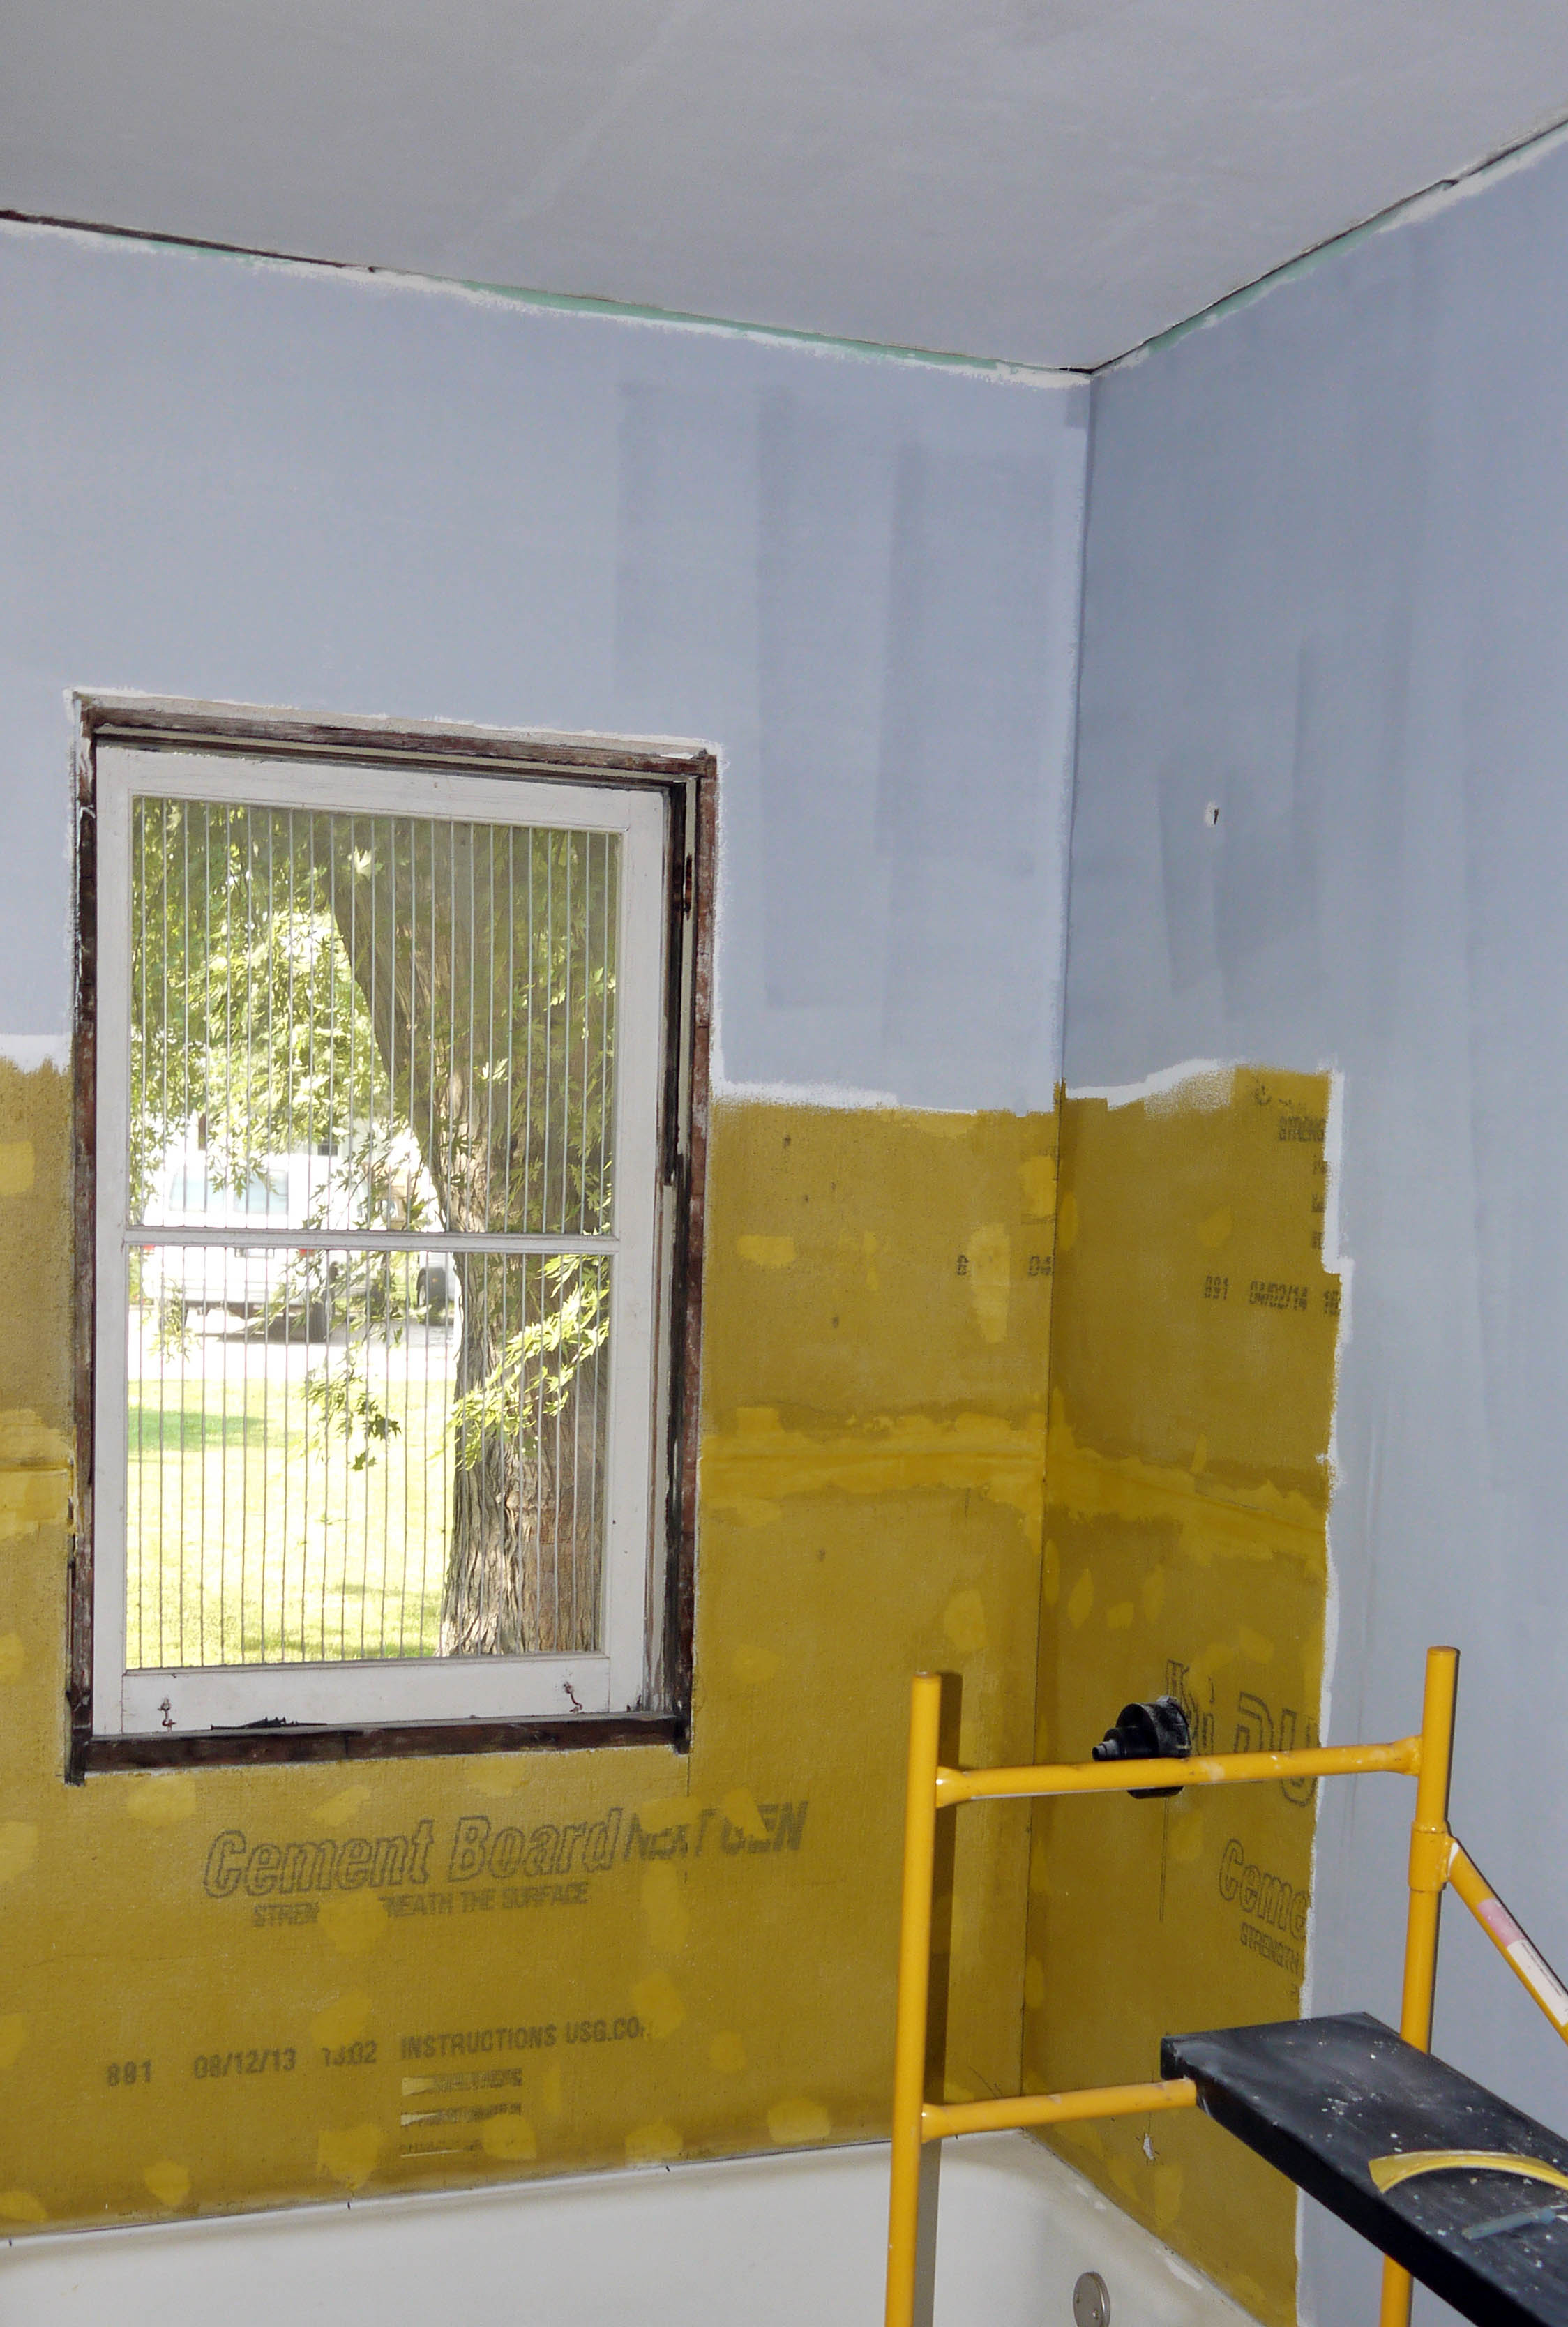
Since last weekend, I put a 2nd coat of primer on the bathroom walls, this one was tinted gray to ready the walls for the final paint color.
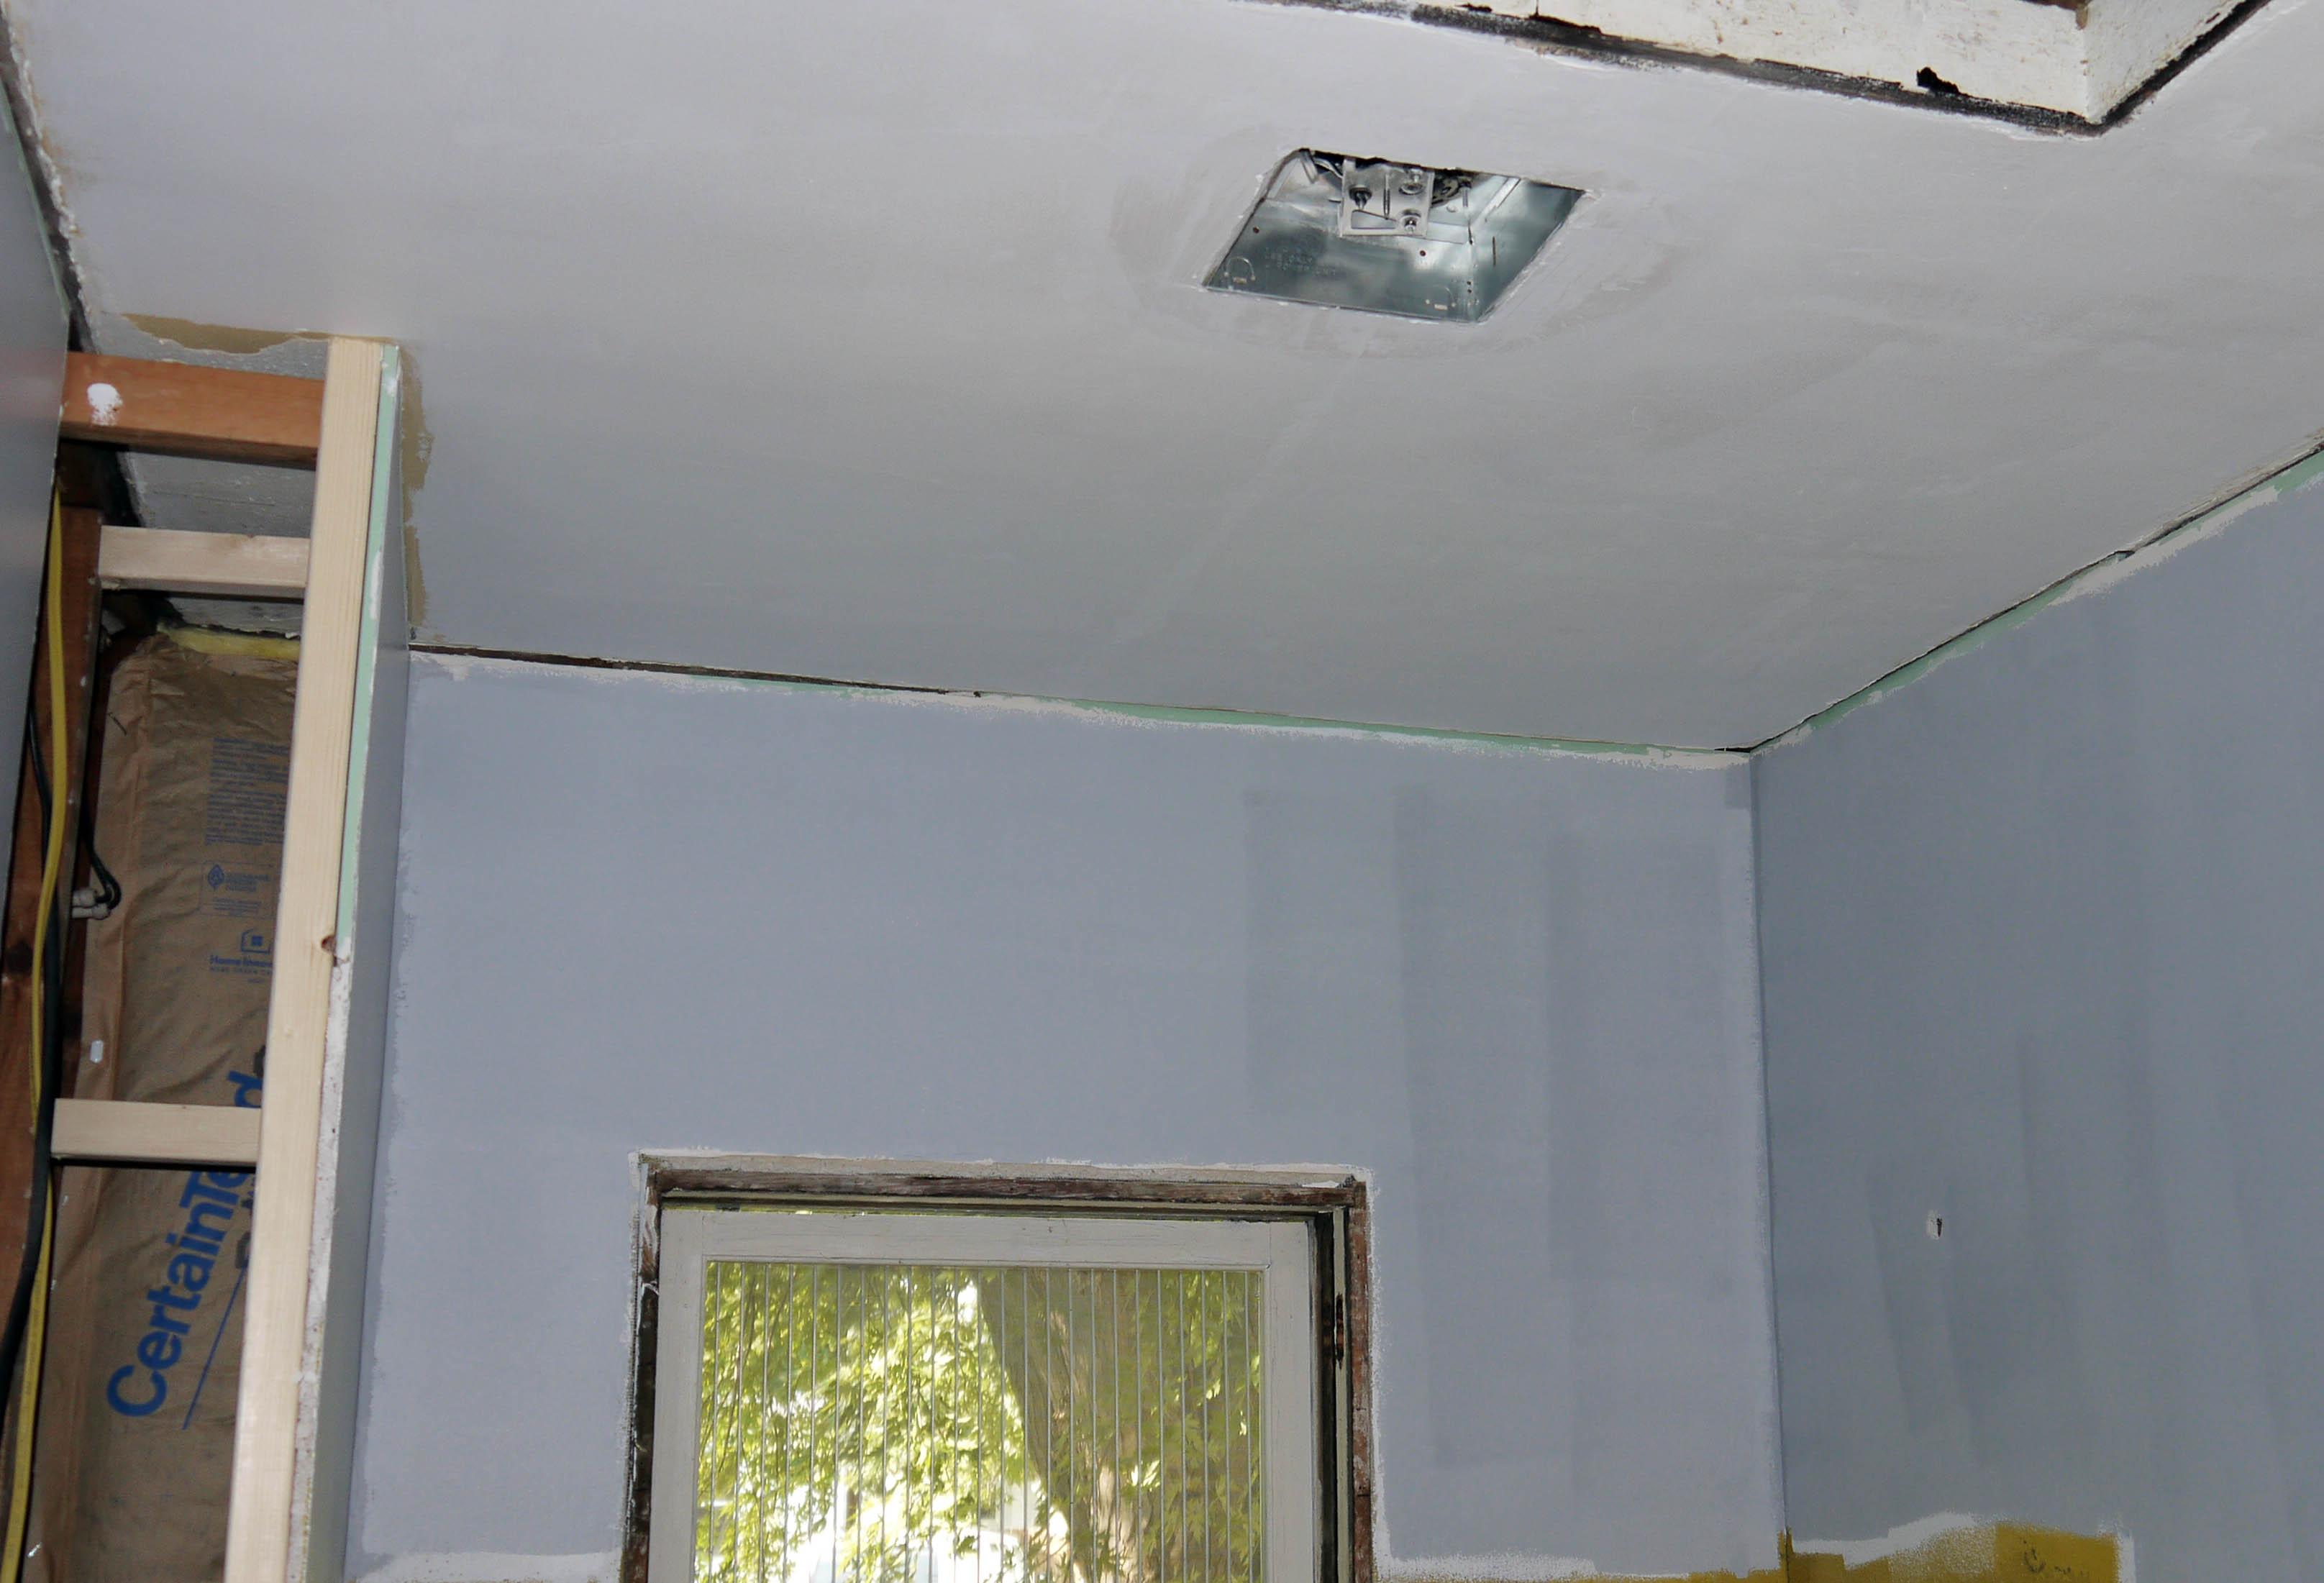
At this point, both the walls and ceiling are ready for paint!
So it was time to select the final paint colors. I basically knew what I wanted, but I have the unique ability to choose 50 paint samples (that anyone else would say all look identical) and mull over just how different they each look!
But our local Sherwin-Williams store was having a sale this weekend only – 40% Sale on all paints meant I had to make a decision! Although I considered almost a dozen wall colors, I decided to go bold or go home – Black Magic is the color name. For the ceiling, I chose a very pale gray named First Star, because I want the ceiling to be a bit in contrast to the white crown molding around the room. Both the ceiling and wall paint are Duration in Satin finish, which I’ve used in the past and really enjoy painting with. It’s like painting with whipped cream – it rolls and brushes on smooth and covers really well. And rather than white right out of the can for the trim, I went with a soft-white titled Snowbound, which I think will look a little less stark. For this, the store manager recommended ProClassic for trim & woodwork. It’s their best interior enamel, and supposed to dry to a super smooth but very hard finish. I like woodwork to be just 1 step shinier than the walls, so I purchased a full gallon in Semi-Gloss knowing I might use it in other rooms as well.
I put the sample board together to show what all of the room finishes will look like together:

The wood represents the dresser I will transform into a vanity, as well as the bathroom door. I went through my stash of salvaged doors – (what, doesn’t everyone have a stash of salvaged woodwork, doors, light fixtures, and other random antique home parts and pieces?) – and I have a 5 panel door that should work great. It will need cut down about 2 inches in height, but the width is almost perfect. I’ll probably have to re-align the hinges, and perhaps the striker plate too. A few dings and chips, but it will look great with a little patching, sanding, and some stain to even out the imperfections. Almost all of the hardware in the bathroom will be brushed nickel – silver with almost a pink/gold hue. And how about that light bulb? I had a very successful shopping trip to two different architectural salvage stores in Fort Wayne. I mixed and matched some vintage light fixtures and cylindrical globes to assemble what will be an awesome pair of wall sconces once refurbished. Not exactly what I was picturing, but $15/sconce feels so much better than $100/sconce – and they will give much the same effect. But for now they are safely stored away until the walls are ready. Now begins the week of bathroom tile!
