Tonight after work I swung by our friendly local Sherwin-Williams store to ask which primer would be best for fresh drywall. There’s nothing worse than spending hours prepping and painting a room, only to see each and every patch once the paint is dry because the primer didn’t prepare the walls like it was supposed to. Drywall paper will absorb paint differently than sanded joint compound, and I wanted to make sure I used the right primer so that these areas wouldn’t be noticeable with the final coat of paint.
Although they do carry a primer specifically for drywall, the friendly saleswoman assured me their Multi-Purpose primer would work great for the drywall and the existing ceiling both. Sure enough, the can lists that it will work on everything from glossy surfaces to patched surfaces to fresh drywall. Winner.
I already had roller covers and brushes, so I immediately went to work. I was a little apprehensive to prime the walls, because there is no hiding the imperfections of my drywall seams and patching once the primer goes on. Not to say I couldn’t fix those spots later, but it would point out any areas I hadn’t paid enough attention to.

But in reality, I had very little to be worried about. If I do say so myself, I am quite the drywall master! I barely did any sanding, yet the seams turned out almost invisible, and there are just a few tiny little areas of bubbles or lines that I might go back and put a thin layer of joint compound over. But even if I don’t, the areas are so small and hidden that probably no one except me would ever notice them.

I did not tape the seams between the walls and ceiling, because I know I will line the room with crown molding, which will end up covering this gap. That also means not having to prime all the way up to the ceiling.
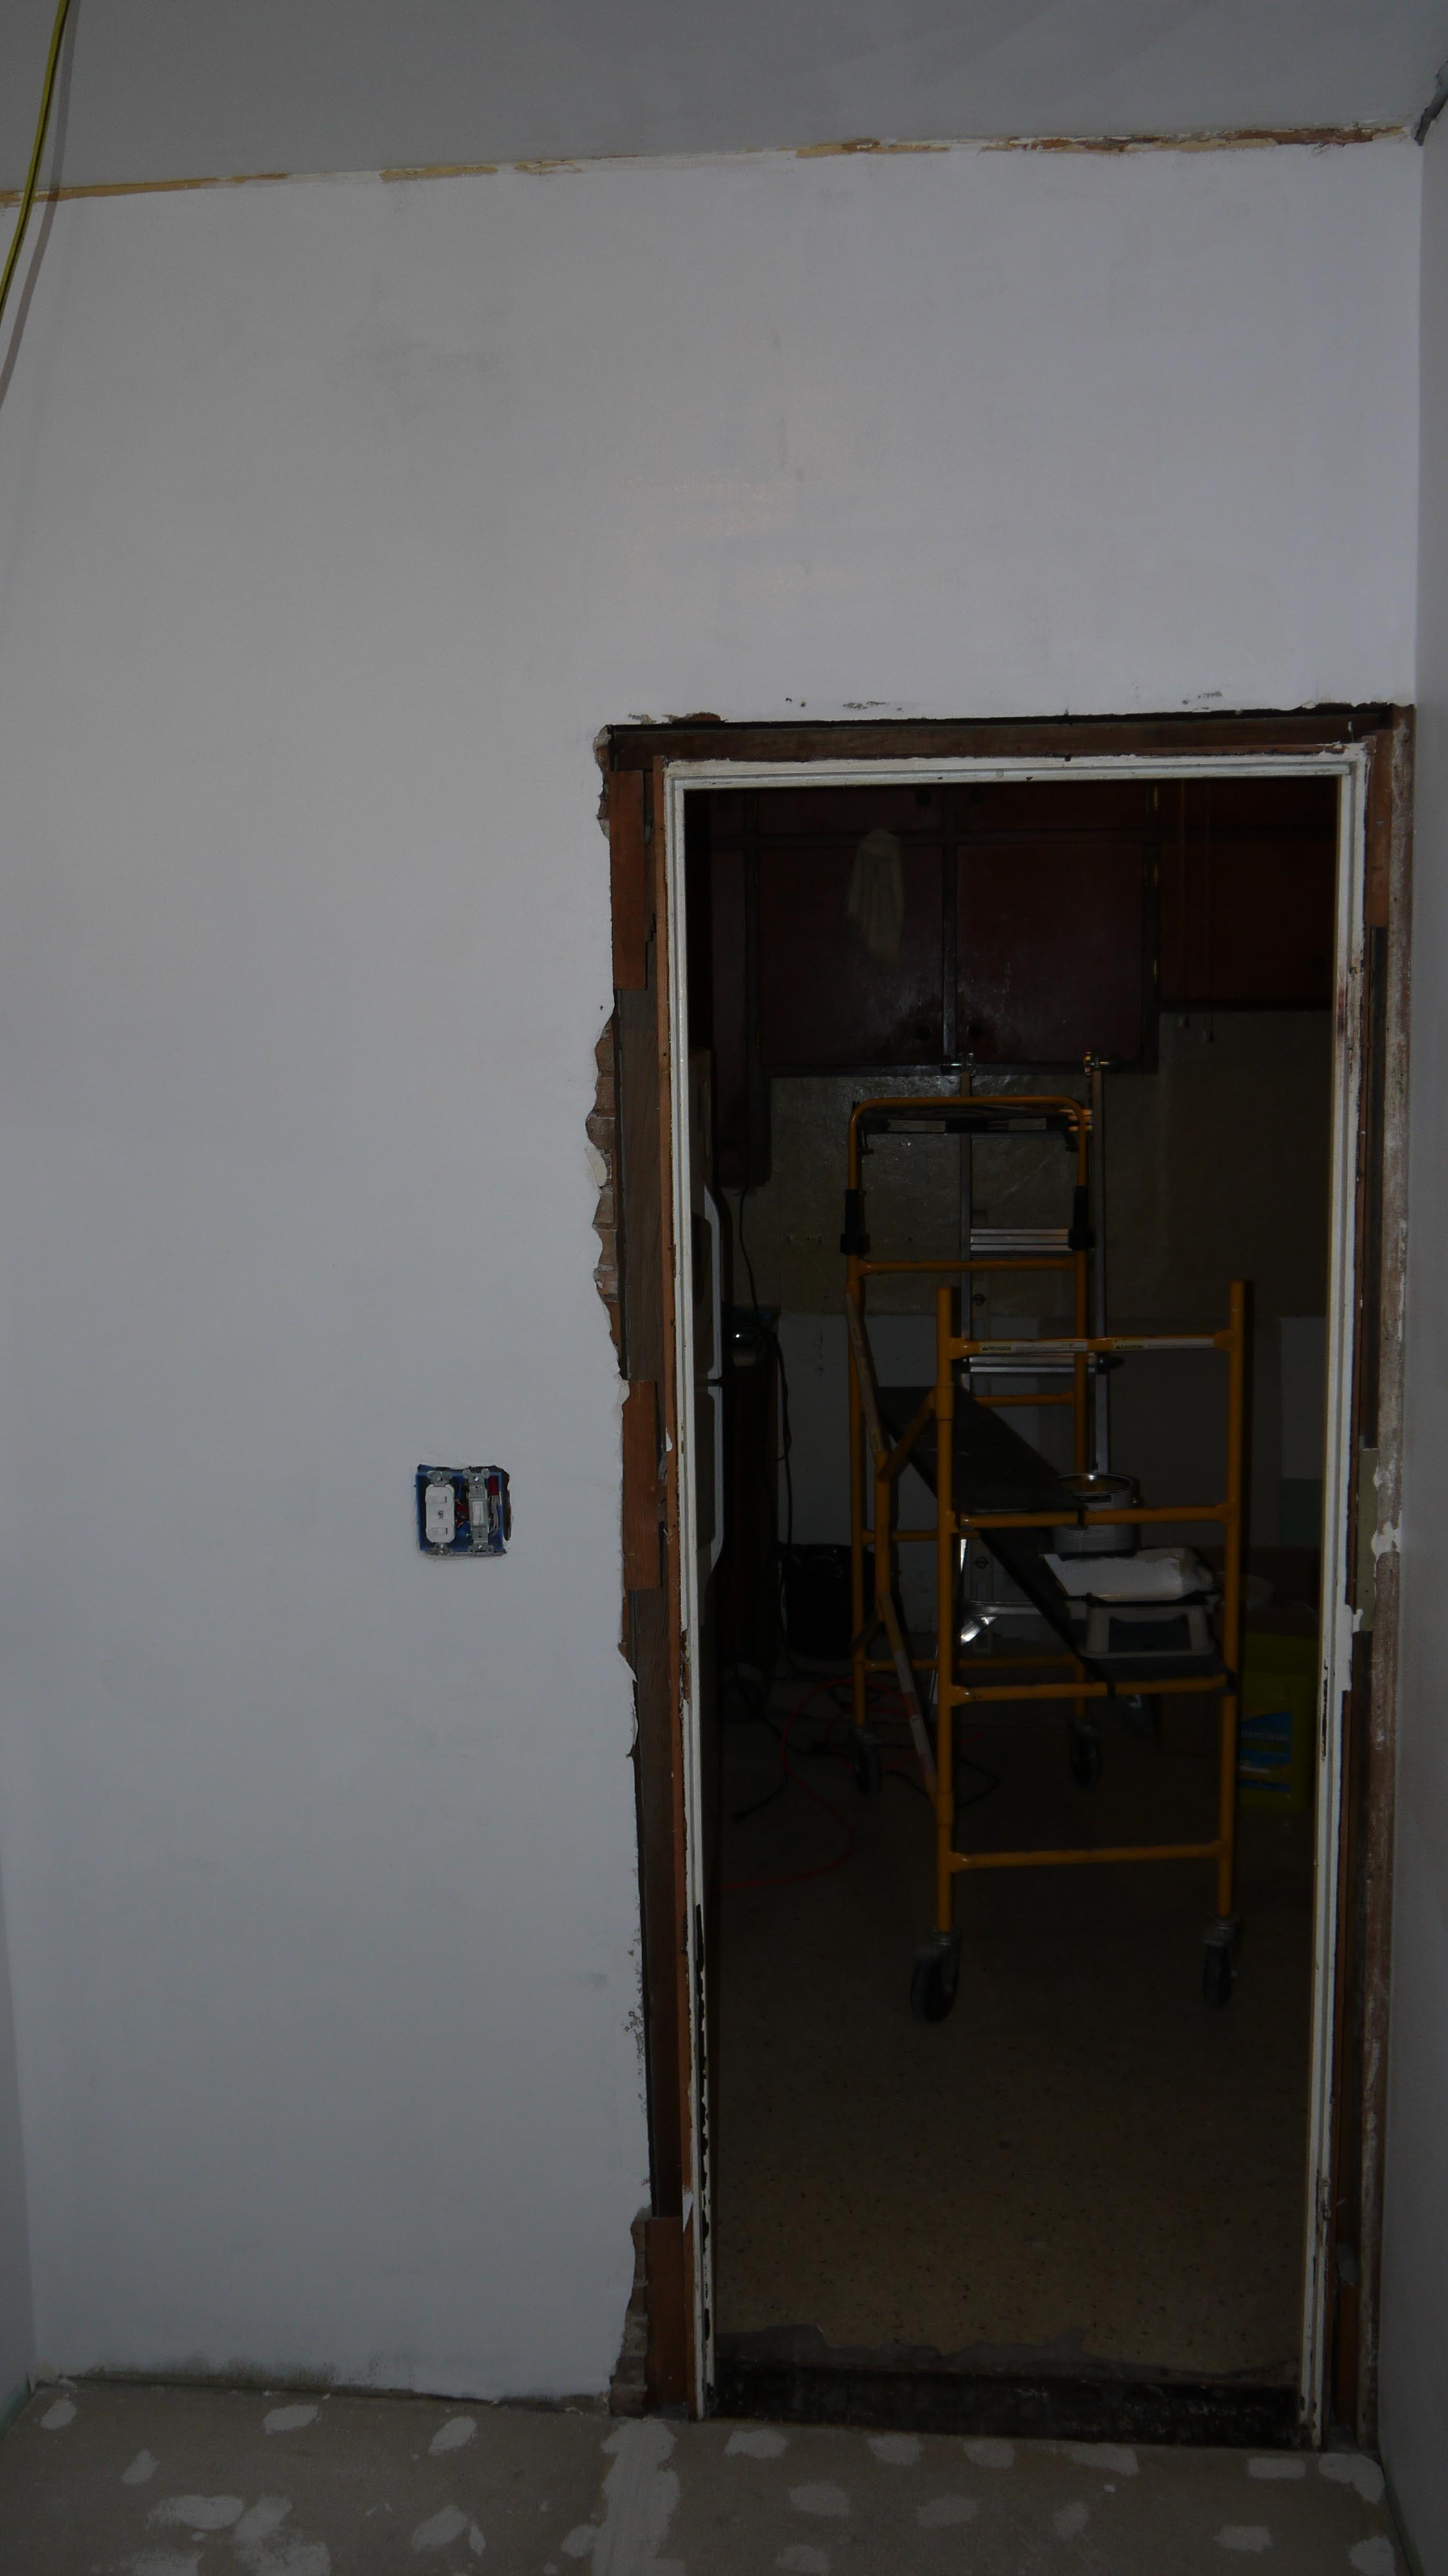
The perimeter of the attic opening looks a little unfinished, but that’s because I removed the trim pieces since they were so caked with thick ugly layers of paint. I’m not going to strip them down to natural wood, but simply sand them a bit so they aren’t so crude looking. The attic opening will be painted white to look the same as the rest of the trim in the room.

The primer I used is pure white. This will be ok for the ceiling, which will be a very pale gray. But for the walls, I’m going to apply a 2nd coat of primer that has been tinted gray. Painters recommend a gray tinted primer for most dark colors and even when painting reds, as it helps the actual paint color come through. I’m planning on very dark gray – almost black. Below is almost exactly the look I’m going for: dark walls, lots of white tile, black framed artwork.

It’s monochromatic, but in no way is it cold or dull. It’s masculine and bold, minimalist yet timeless. The only difference is that I’ll warm up the space with a stained wood vanity – (because if I went with just a pedestal sink, this bathroom would have almost zero storage space) – more on the vanity cabinet soon And maybe a stained wood door. Haven’t fully decided yet. And that is a whole separate conversation – I don’t have a bathroom door. The one I removed was a cheap hollow core door, with a few holes and about to fall off of its hinges. The one bedroom doesn’t have a door at all, so I want to find a style I can use for both. But more on that later. I mean, come on, without a working toilet why would I need a door yet?
