Archive for category Home Improvement
Take the Floor
Posted by Adam A. Ries in DIY, Home Improvement on June 2, 2014
It took some time, but the bathroom now has an OSB floor! Or it did, but now you can’t see it because I’m back to tearing off the plaster & lathe walls. This photo shows just one small piece of the floor remaining to be screwed into place.

But the subfloor was not as easy as it sounds. I couldn’t just drop the OSB boards down and start screwing it into place. I tested it with the first piece, and found that the board rocked on one end, and dipped in the middle when I stood on it. That was an indicator that the floor joists were not all the same height. I used masonry string (basically a bright color thin cord) and a string level, and stretched the string from one corner of the room to the other. I simply wrapped the string around the head of a nail and then hammered the nail all the way into the top of the floor joist. Then pulled it to the opposite corner of the room, stretched the string tight, and nailed it into place again. Using the string level, this showed me how the string was touching the floor joists on the edges of the room and made a level line, but the string did not touch the joists in the center of the bathroom.
Why? Well, I’m no structural engineer but I would say from the weight of a 300 # cast iron tub, and the years (and years) of water leaks probably had something to do with it. The joists are very sturdy, but they’ve sagged over the last 98 years from weight and water penetration through the old floor. So how to fix this.
I knew I couldn’t raise the floor joists, so I measured the distance between the sunken joist and the string, and ripped long shims on my table saw from a 2×4. In the center of the room, I needed a shim 5/8″ thick, and then one at 3/8″ for each joist on either side of the first. I laid them in place on each floor joist under the string, and now the string touched each one and was perfectly level. I nailed these shims into place with just a few nails each.
Then I carried the OSB floor back in and laid it down. Voila, it laid flat and level, no rocking and no dipping! Then I screwed it down with 2 1/2 deck screws along each of the floor joists, spacing the screws about 10″ apart. Why so close? I do not want any movement with this floor, as that will mean cracked tiles or grout down the road.
So now with a floor down, I started attacking the walls with a hammer, pry-bar, anything else I could swing the break the plaster off and then tear off the lathe boards. I couldn’t do this step before tearing up the original floor, because that floor was so rotted through it was unsafe to stand on.
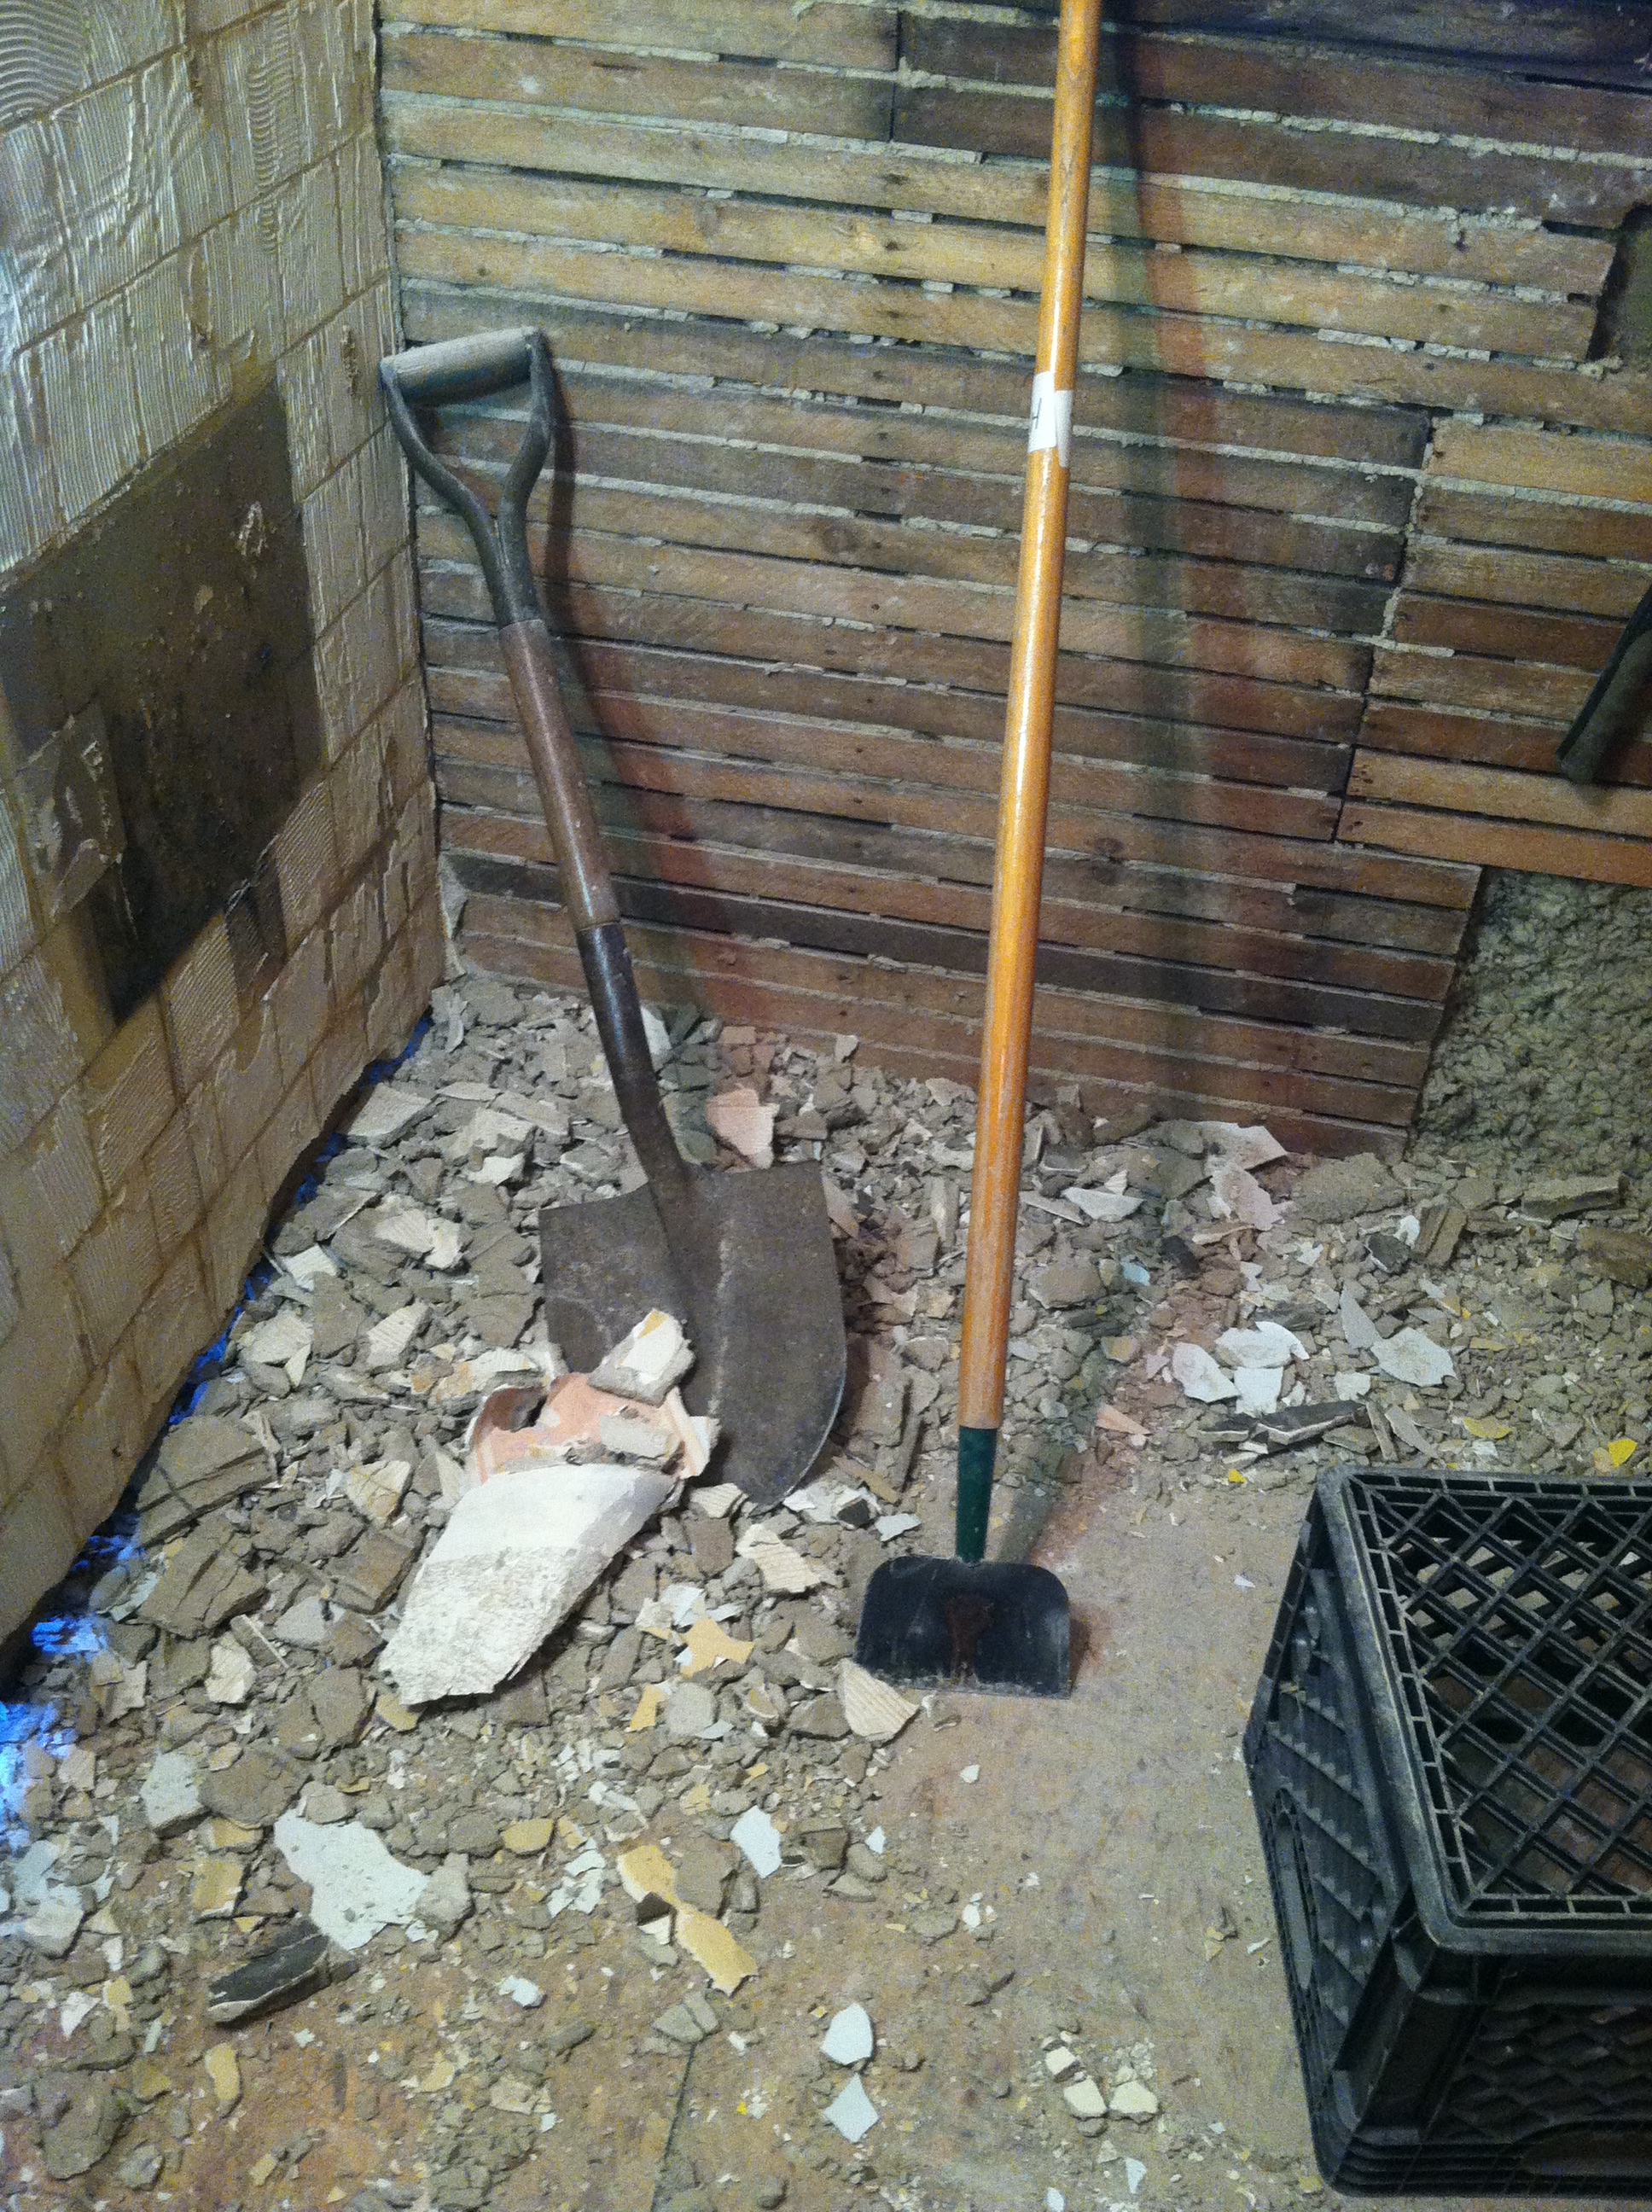
Plaster removal is slower and dirtier than I expected. It’s not as quick as Nicole Curtis makes it look. I’ve learned over the last 2 months that all of those fancy HGTV and DIY home improvement shows rely way too heavily on one of two things: time lapse video, and an unseen crew of 20 or more.
Not yet floored
Posted by Adam A. Ries in DIY, Home Improvement, Interior Design on May 10, 2014
Finished the last of the plumbing supply lines today, but no, the bathroom still does not have a floor. Because I spent all morning loading and hauling 2 truck loads full of scrap metal and old pipes to the local metals recycling center. The new company that opened a few years ago is much more competitive on price than another local company, and they have much better customer service when I called to get metal prices over the phone. That better customer service was experienced in person, too.
All together there was galvanized steel duct, cast iron pipes, steel pipes, copper pipes, brass fittings, aluminum cans, steel cans, buckets of scrap metal (pulled nails, screws, other small parts & pieces), sheet aluminum, the old steel furnace housing, and the cast iron furnace heater.
Two trips and one small cut on the forearm later, I walked out with cash in hand. Not to shabby, considering half of what I scrapped in was just laying under the house. FREE. All I had to do was carry it out and load it onto a truck. In total, the cash I got was close to half of the amount I’ve invested in PEX hoses & fittings for the new supply lines. Nothing like tearing out old plumbing to pay for the new! (Whoa: imagine if every DIY project was like that… what you tore out would pay for half of the new project?)
Now it’s onto choosing and installing a water heater, but also installing the drain lines. The only portion that concerns me is the home’s original cast iron sewer drain. I’m not sure how to connect the new PVC drains into that, to end up with a leak-free drain that will last. So I need to make friends with a plumber and ask for help.
So now for a peak at the new bathroom layout!
Below is the original layout, with the tub and toilet so close together, sitting on the stool meant soaking your feet for a bath.

Here is how I am planning the new bathroom. I love Google SketchUp for quick floor-planning and 3-D modeling. Its quick to learn, but if you want to spend more time you can actually create a very detailed 3-D rendered model of a space or object. I literally drew out 12 different plans of how to move the 3 bath fixtures around in this space, and this naturally came out as the best solution.

You can see the door through the wall at the right, and the window above the tub on the left. Overall, I think this floor-plan of the bath feels so much more open. All the bathroom drains will be along one wall, which I hope will be easy to connect.

The bathroom is 68″ wide, and the tub is only 60″ long. This leaves a 8″ space between the tub and the finished wall. I tried several different versions of shelves, skinny cabinets, or other storage in this narrow nook, but decided on a knee wall to act as a ledge for bath bottles and such. The ledge doesn’t go directly to the window wall. Instead, there is a small chase to run the drain vent up though the ceiling and out the roof.
There will still be room on the wall opposite the toilet for a narrow storage cabinet if I need one. And although I didn’t show all the detail here, I am planning on a built-in mirrored medicine cabinet above the vanity, and another shallow in the wall to the right of the sink.
While drawing out this plan, I took some criticism for the idea of keeping the window. In this layout, the window will be in the shower area. I found several answers online on how to install a water-tight shower window, and they were all nearly the same. This instructional page & photo is what I will be following.
I just think natural daylight and ventilation is too important to close-in the window, no matter the room. Secondly, the window opens to the backyard, more than 50 feet from an alley, and another 50 feet to a neighboring house. If I really feel concerned about privacy, I can order the new window with opaque glass.
Give a House a Cookie — err, — Some New Plumbing
Posted by Adam A. Ries in DIY, Home Improvement on May 7, 2014
I’m quickly learning that there is no such thing as a small or contained project. A relevant example:
I’m in the midst of a bathroom renovation. One bathroom. But the way it keeps escalating reminds me of the well known children’s story, “If You Give a Mouse a Cookie.”
If you decide to gut a bathroom, you will probably decide to upgrade the plumbing.
If you need new plumbing in the bathroom, you should probably just replace the plumbing in the entire house.
While running new plumbing, you realize it’s the perfect time to replace the outdoor spigot and add a second spigot to the opposite side of the house.
When you want to run pipes to the kitchen, you realize the kitchen sink cabinet is actually metal, and the floor of this cabinet is nearly rusted away from years of leaking pipes. So if you are gonna re-plumb a house, you should probably tear out the deteriorating sink cabinet. Which means first lifting out the beautiful but extremely heavy cast iron sink.
And when you get to the laundry room with it’s somewhat “soft” floor, you should probably tear up the multiple layers of linoleum and punky plywood.
And once you have the bad flooring tore up, you realize that the original wood floor is too damaged to hold the weight and vibration of a full washing machine. So thats why if you are renovating a bathroom, you will probably need to replace the laundry room floor.
That is where the cute children’s story ends for tonight.
I finally have all of the old plumbing completely tore out, including the kitchen sink. I didn’t tear out all of these pipes right away, because it was kind of nice to use the old pipes as my straight line when running the new pex hose. The existing plumbing was a crazy labyrinth of galvanized, copper, pvc, and cast iron. And from how easily some of the connections came apart, I promise you it would have been leaking if the water was turned on.
For the new plumbing, I’ve got almost all of the new supply lines run. I now need to purchase a roll of red pex (for hot water) and run those lines to carry heated water to each of the shower, kitchen and bath sinks. The red and blue hose are entirely the same except color, but the color keeps things well organized.
I also need to make a decision on a new water heater. I’ve been researching tankless models, and I think I’ve decided on the ECO Smart brand. The prices are consistent with tank units, the reviews are good, and it seems very user intuitive. I can connect the water lines myself, but for the warranty to be valid, the electrical component must be wired by a licensed electrician.
And of course, supply lines are only half of a house’s plumbing. The other half is the drain pipes. The former mixed PVC, copper, and cast iron sections of drains had sections that had come unglued and weren’t sloped properly. Most of this I know how to do with new pvc, including traps and the correct pitch, and adding air vents for each the kitchen sink and washer drain. But the sewer stack that takes all the wastewater out of the house is the original cast iron. I’m not sure the best way to transition into this. So I’ll try asking friends for help, and if they don’t know, I wouldn’t be against hiring this part to make sure it is done perfectly correct, but it probably won’t be cheap.
