Now I know I didn’t mention car repair when I introduced myself and my blog in the first post, but my most recent DIY adventure has been replacing my passenger-side mirror. A few months ago (OK, embarrassingly I will admit that it has been since last December) someone knocked off my passenger side door mirror. When I first saw the mirror hanging only by the electrical wire, I immediately thought some student must have tried to park beside me but got too close. Then I realized I was parked in the last spot in the parking row, directly next to a busy sidewalk. So therefore I can only imagine that some disgruntled college student smacked my mirror off in frustration over failing a freshman level course (this occurred the last day of my next to last semester at Kent). So yes, I drove for almost 10 months with only my driver side mirror. After a college friend noticed I hadn’t gotten it fixed yet when we met for dinner last week, I decided it was time to act.
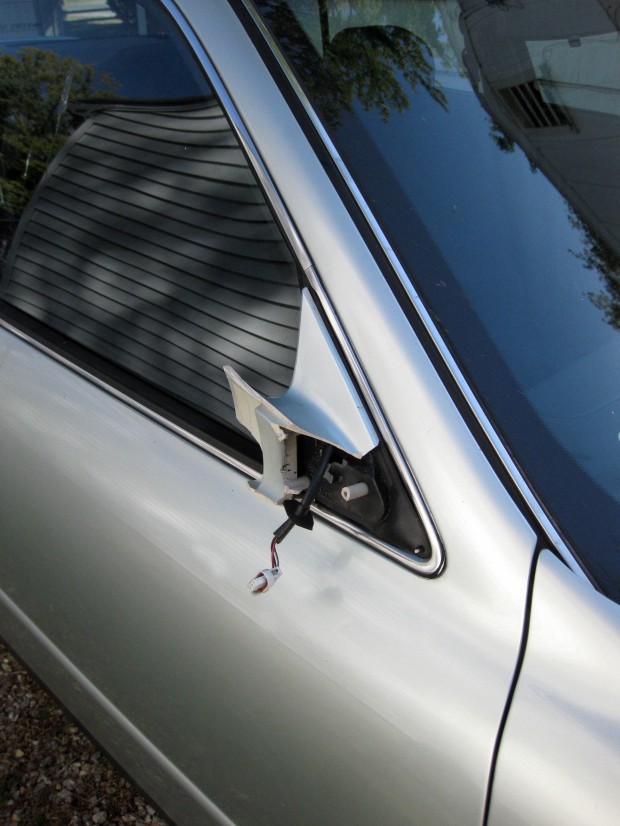
I priced replacement mirrors right after the incident, but turned to the internet one evening last week determined to find a cheap mirror. After finding the mirror I needed at prices ranging from $35 and $89, I stumbled upon DiscountAutoMirrors.Com. It turns out they carried my mirror for only $16.95. The shipping and handling was steeper than I would have expected, but altogether the mirror set me back just over $30. It arrived quite quickly, just 2 full days later (explaining the high shipping cost). To begin, I had to remove the remaining plastic piece of the broken mirror. I was pleased to find it could be easily removed. I just popped off the triangular plastic cover inside the door and removed 3 screws.
 All that remained of the original passenger side mirror.
The new mirror arrived unpainted. It turns out that purchasing aerosol cans of a 1995 Toyota paint color is quite pricey, and with light color vehicles a perfect match is highly unlikely because of years of sun fading. Black automotive paint, on the other hand, is only $6.99 for a small can at my local Advance Auto Parts store. The can instructed me to clean the area well, and buff with super fine sandpaper. Because I rarely (never) have 600 grit sandpaper on hand, I used super fine steel wool on the replacement mirror and washed it with rubbing alcohol (also recommended on the can).
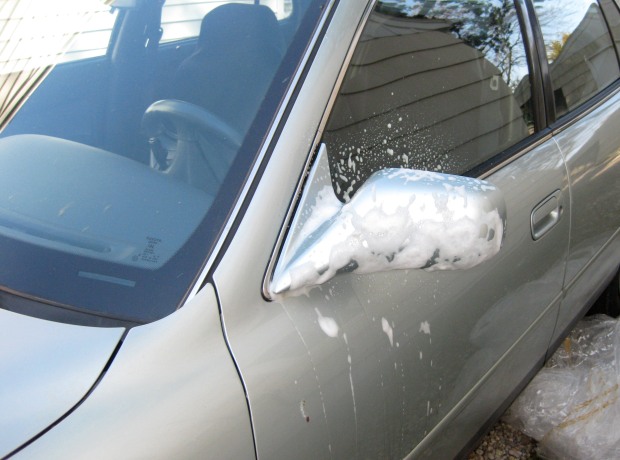
Because the driver side mirror was still the original car color (Silver Leaf, if you are wondering), I wanted to paint it black also. I first cleaned it extremely well to get rid of 15 years of bug residue. It turns out that my cheap dollar store degreaser called Greased Lighting is the best car cleaner I have ever found. While waiting for the mirror to dry, I actually used the degreaser on the entire grill and front bumper! Have you ever seen a cleaner bumper!
 Cleaning the Driver Side Mirror with Greased Lighting.
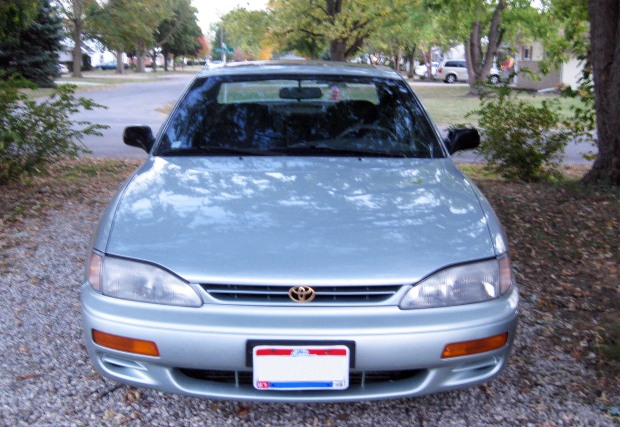
 How shiny is that bumper? I mean, I was amazed.
I carefully masked off the entire area around the driver side mirror with masking tape and newspaper, then covered the entire front, top, and side of my car with painter’s plastic sheets for protection against overspray. Now to the painting. I gave each mirror two thin coats of paint, making sure to wipe the mirror free of dust with a soft cloth before each. The results were two mirrors with a deep, even black sheen. As recommended by the friendly associates at the auto parts store, I also purchased an aerosol product called Clear Coat for $6.99. This adds another layer of depth to the paint finish along with even sheen and an added layer of protection. An even layer of clear coat to both mirrors and all I had to do was wait for the finish to dry to reattach them.
Finally, the steps to attach the replacement mirror: connect the wire from the door panel to the new mirror; attach the mirror with the 3 screws from the original mirror; snap on the small triangular plastic panel to cover the mirror screws. And there you have it, two beautiful matching black mirrors (and a super shiny no bug bumper!).
From start to finish, this project took about 4 hours. That includes the time required for the mirrors to dry after being washed and allowing the paint and clear coat to dry before attaching the replacement mirror. In total, the new mirror and modifications to the original mirror cost a whopping $47.98. Thanks a lot to whoever knocked off my mirror back in December.


#1 by Jane on October 14, 2010 - 7:37 AM
This looks amazing. You are so talented and can do anything you set your mind to. I wish I could be this creative. You definitely are not one to sit and let time pass you by, I think this is a great project and I can’t wait to check out all the other posts you will make. Keep up the great work, you are the best!!
#2 by Lisa on October 24, 2010 - 8:20 PM
when did you get this car? didn’t you used to have an eclipse or Intrepid or something? It had like a chameleon like paint on it. looks good anyway! great job.
#3 by Adam A. Ries on October 24, 2010 - 9:06 PM
Lisa, thanks for the comment! And hopefully you bookmarked my blog? This is the same car I’ve had, bought during the summer of 2007. I don’t know if I would describe it as a chameleon paint job, but it is a greenish silver color. Check out this blog now and then, it’s something I am going to keep developing while I job hunt.