I had purchased these wall sconces a while back at my favorite nearby architectural salvage shop in Ft. Wayne; sconces but no globes. Just down the street from the salvage business is the Habitat For Humanity ReStore, where the same day I found 2 glass globes that fit them perfect. Successful scavenging day!

They were pretty dirty, years of hairspray and dust I imagine. I was cautious to try any chemical cleaners on them, so instead I used 0000 steel wool, and lightly polished them to a mirror finish. The left is dirty, on the right is freshly polished.
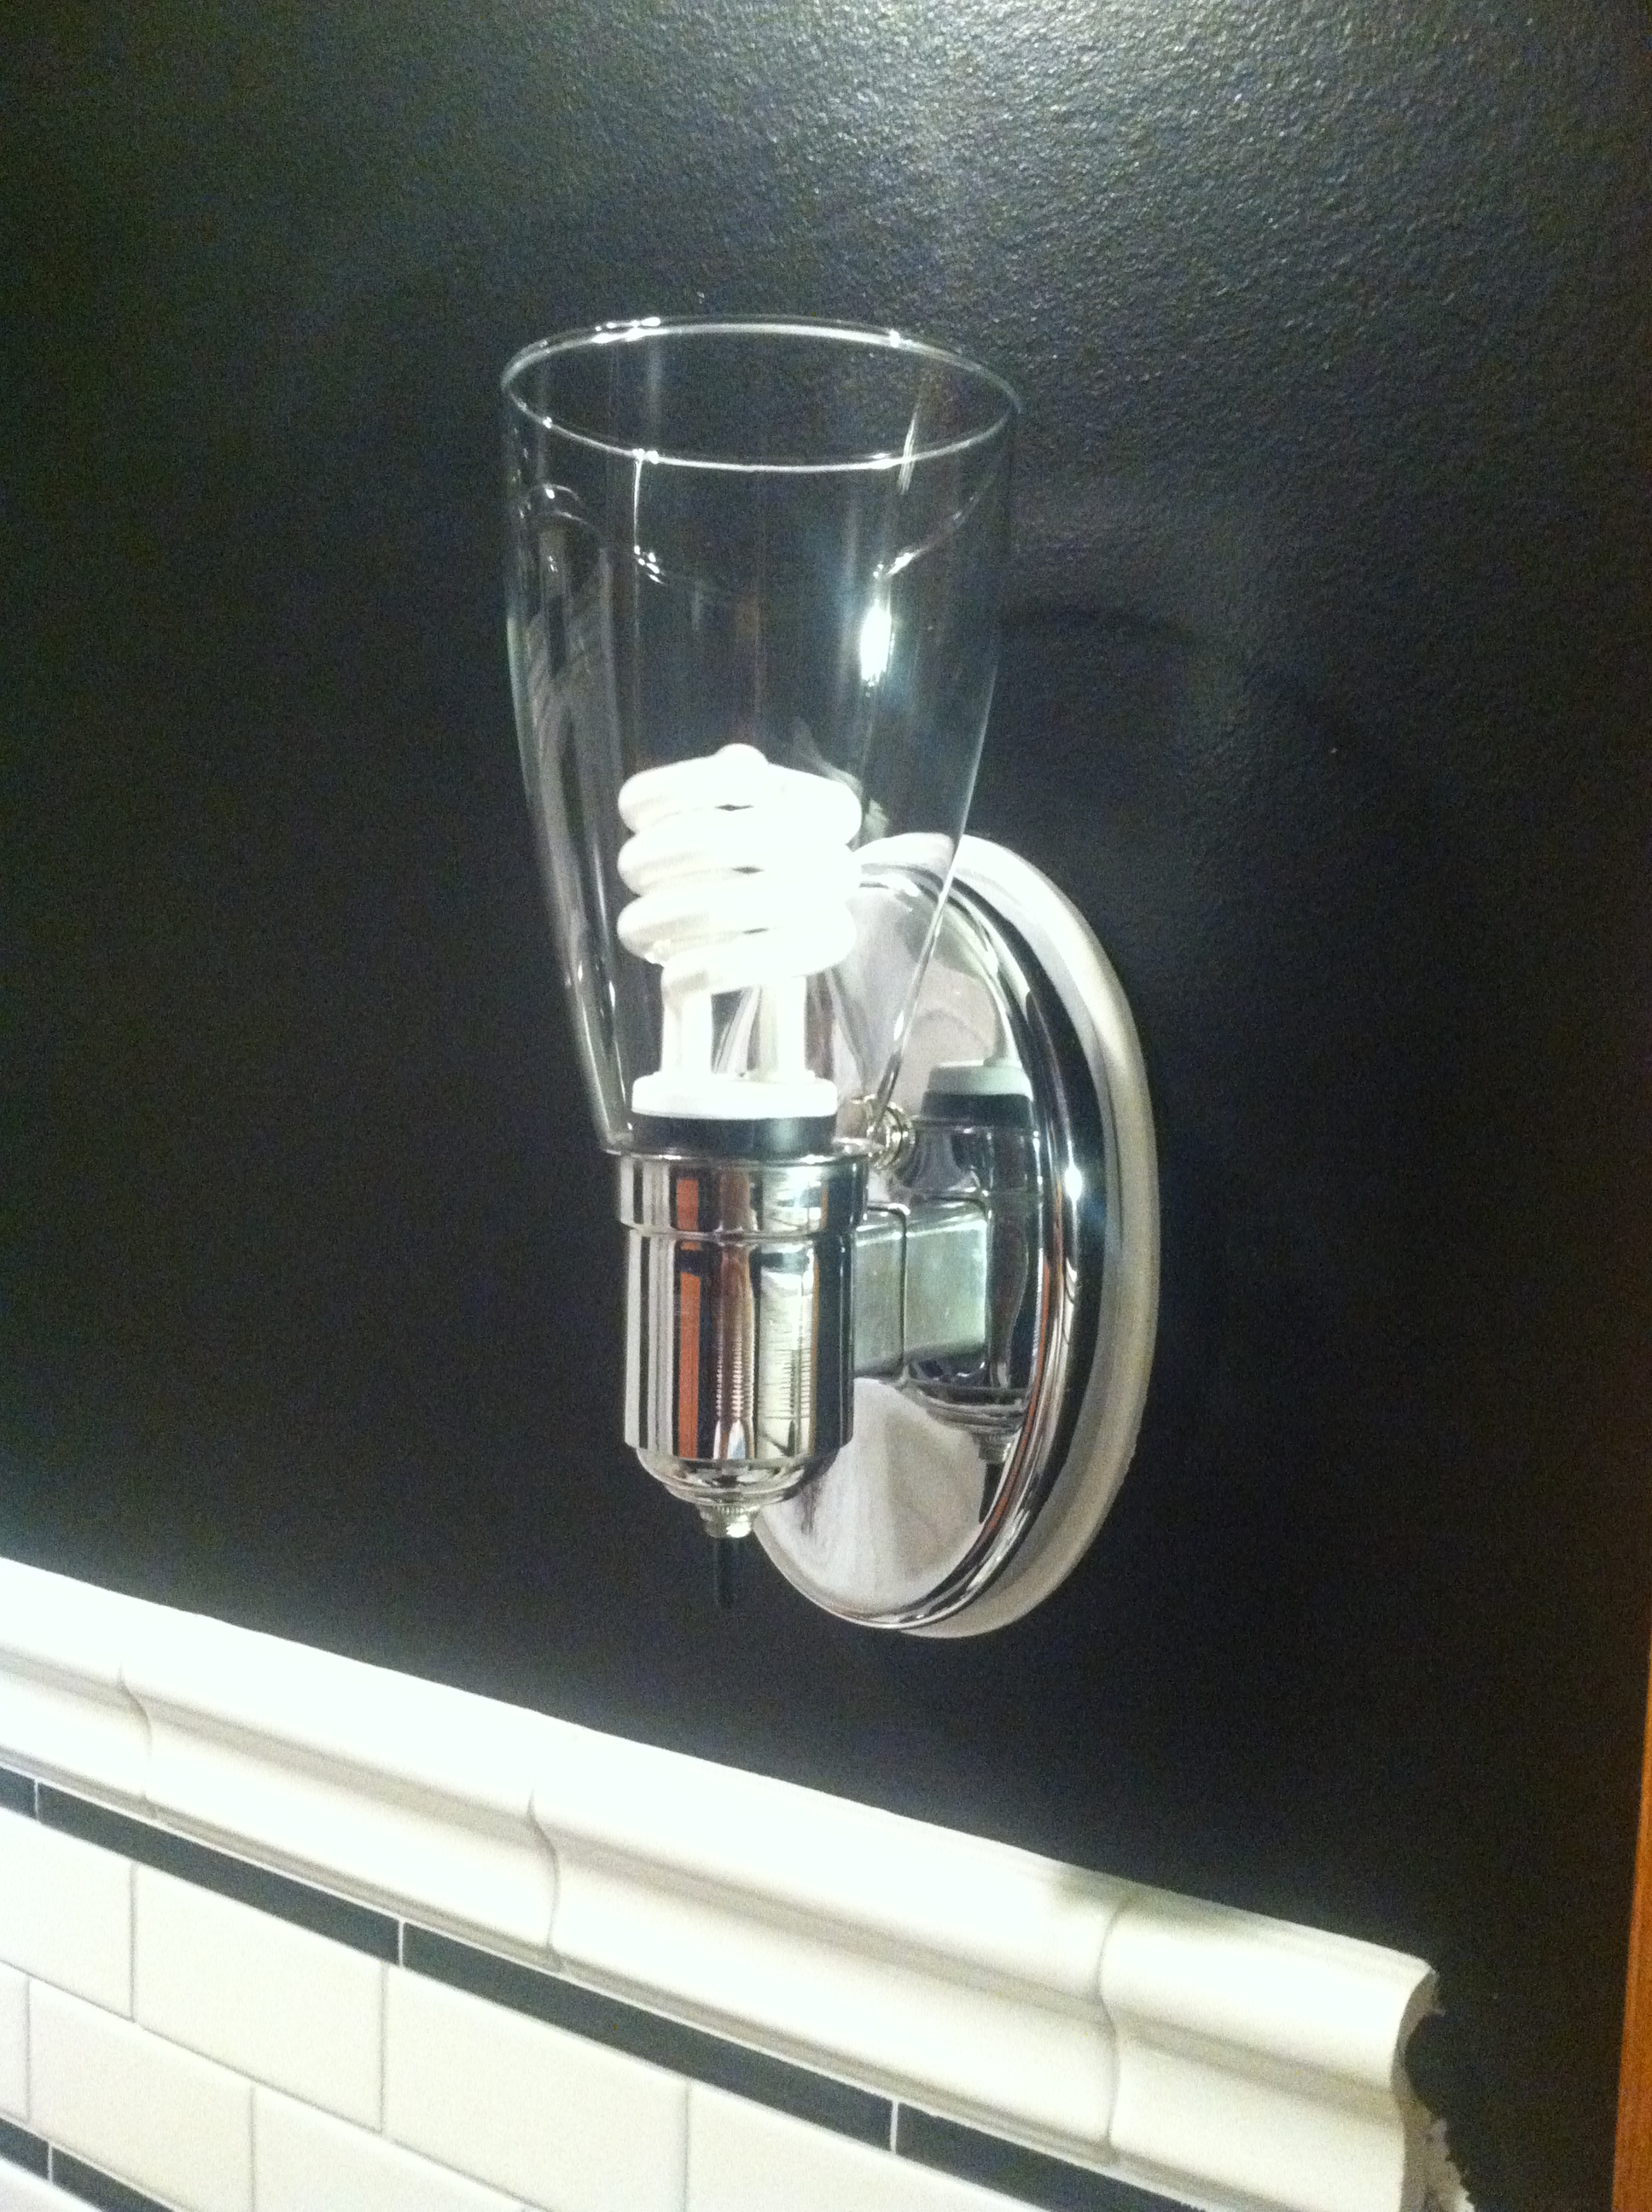
And here it is hanging on the wall to the left of the medicine cabinet opening (no, I haven’t started building the medicine cabinet. I have started designing it though!). The sconces were just about 3/4 inch narrower than the 4″ round fixture boxes I installed in the walls, which meant I had to fill the space on either side. Although you can buy ready-made fixture box covers that would have worked for a round sconce, these are ellipse and the circular covers wouldn’t look right. So I made my own “medallions” by tracing the sconce onto a 1/4″ thick scrap board, and cut the outline with a handheld jigsaw 1/2″ outside of my pencil tracing. Some rigorous sanding to round over the top edges, and then 2 coats of bright white paint. Of course the wires and wire nuts had to pass through, so I cut a hole in the center of each one before painting. But it was still a trick with only 2 hands to wire the short wires together and tighten the sconce to the wall making sure the white medallion was centered all around.
But the real work this past month was going from this:

To this:
That’s not just woodwork stripped of paint, but 2 windows fully restored, ropes replaced, new lock-pulls, and weatherstripping installed. And if they look good, that’s nothing compared to how smoothly they operate and how tightly they close. I’m working on window 3 (of 10!) and documenting each step for a future post. It takes a little longer than tearing out and replacing, but the results are worth the extra effort!

#1 by Mary Ellen on August 31, 2015 - 10:18 AM
Nice job, Adam!
#2 by Adam A. Ries on September 1, 2015 - 10:46 PM
Thanks, Mary! I so enjoy reading & browsing the photos on Arts and Crafts Homes online!
#3 by Frank on September 8, 2015 - 2:27 PM
But that border had ducks! Whimsical blue-beaked ducks!
#4 by Adam A. Ries on September 8, 2015 - 9:26 PM
The ducks were dead – small lungs, too many years of lead paint.
#5 by Frank on September 24, 2015 - 3:22 PM
I see…the blue was due to a lack of oxygen.
OK, looking forward to your next post!