Although I do admit to keeping cold beer in the fridge, no, this post is not about my social drinking habits. I’m referring to the work at the house over the last few weeks. It started like this:
I have 2 great friends who had previously committed to helping with any renovation-related tasks; “just ask,” they kept saying. Up until this point, I mostly knew what I was doing or was able to watch instructional videos through YouTube or This Old House to learn what I needed. But it was getting time to wire up new light fixtures and outlets in the bathroom. So I called in the big guns, aka Paul and Dennis. Paul is a former trade electrician, and now part of the maintenance department at a local manufacturing company. Dennis has every construction tool known in the industry, along with knowing all there is to know about construction and especially electricity; he now owns a printer supply store here in town. They both showed up the Saturday before last, toolboxes in hand, and scratched their heads simultaneously at the sight of the existing electrical panel.
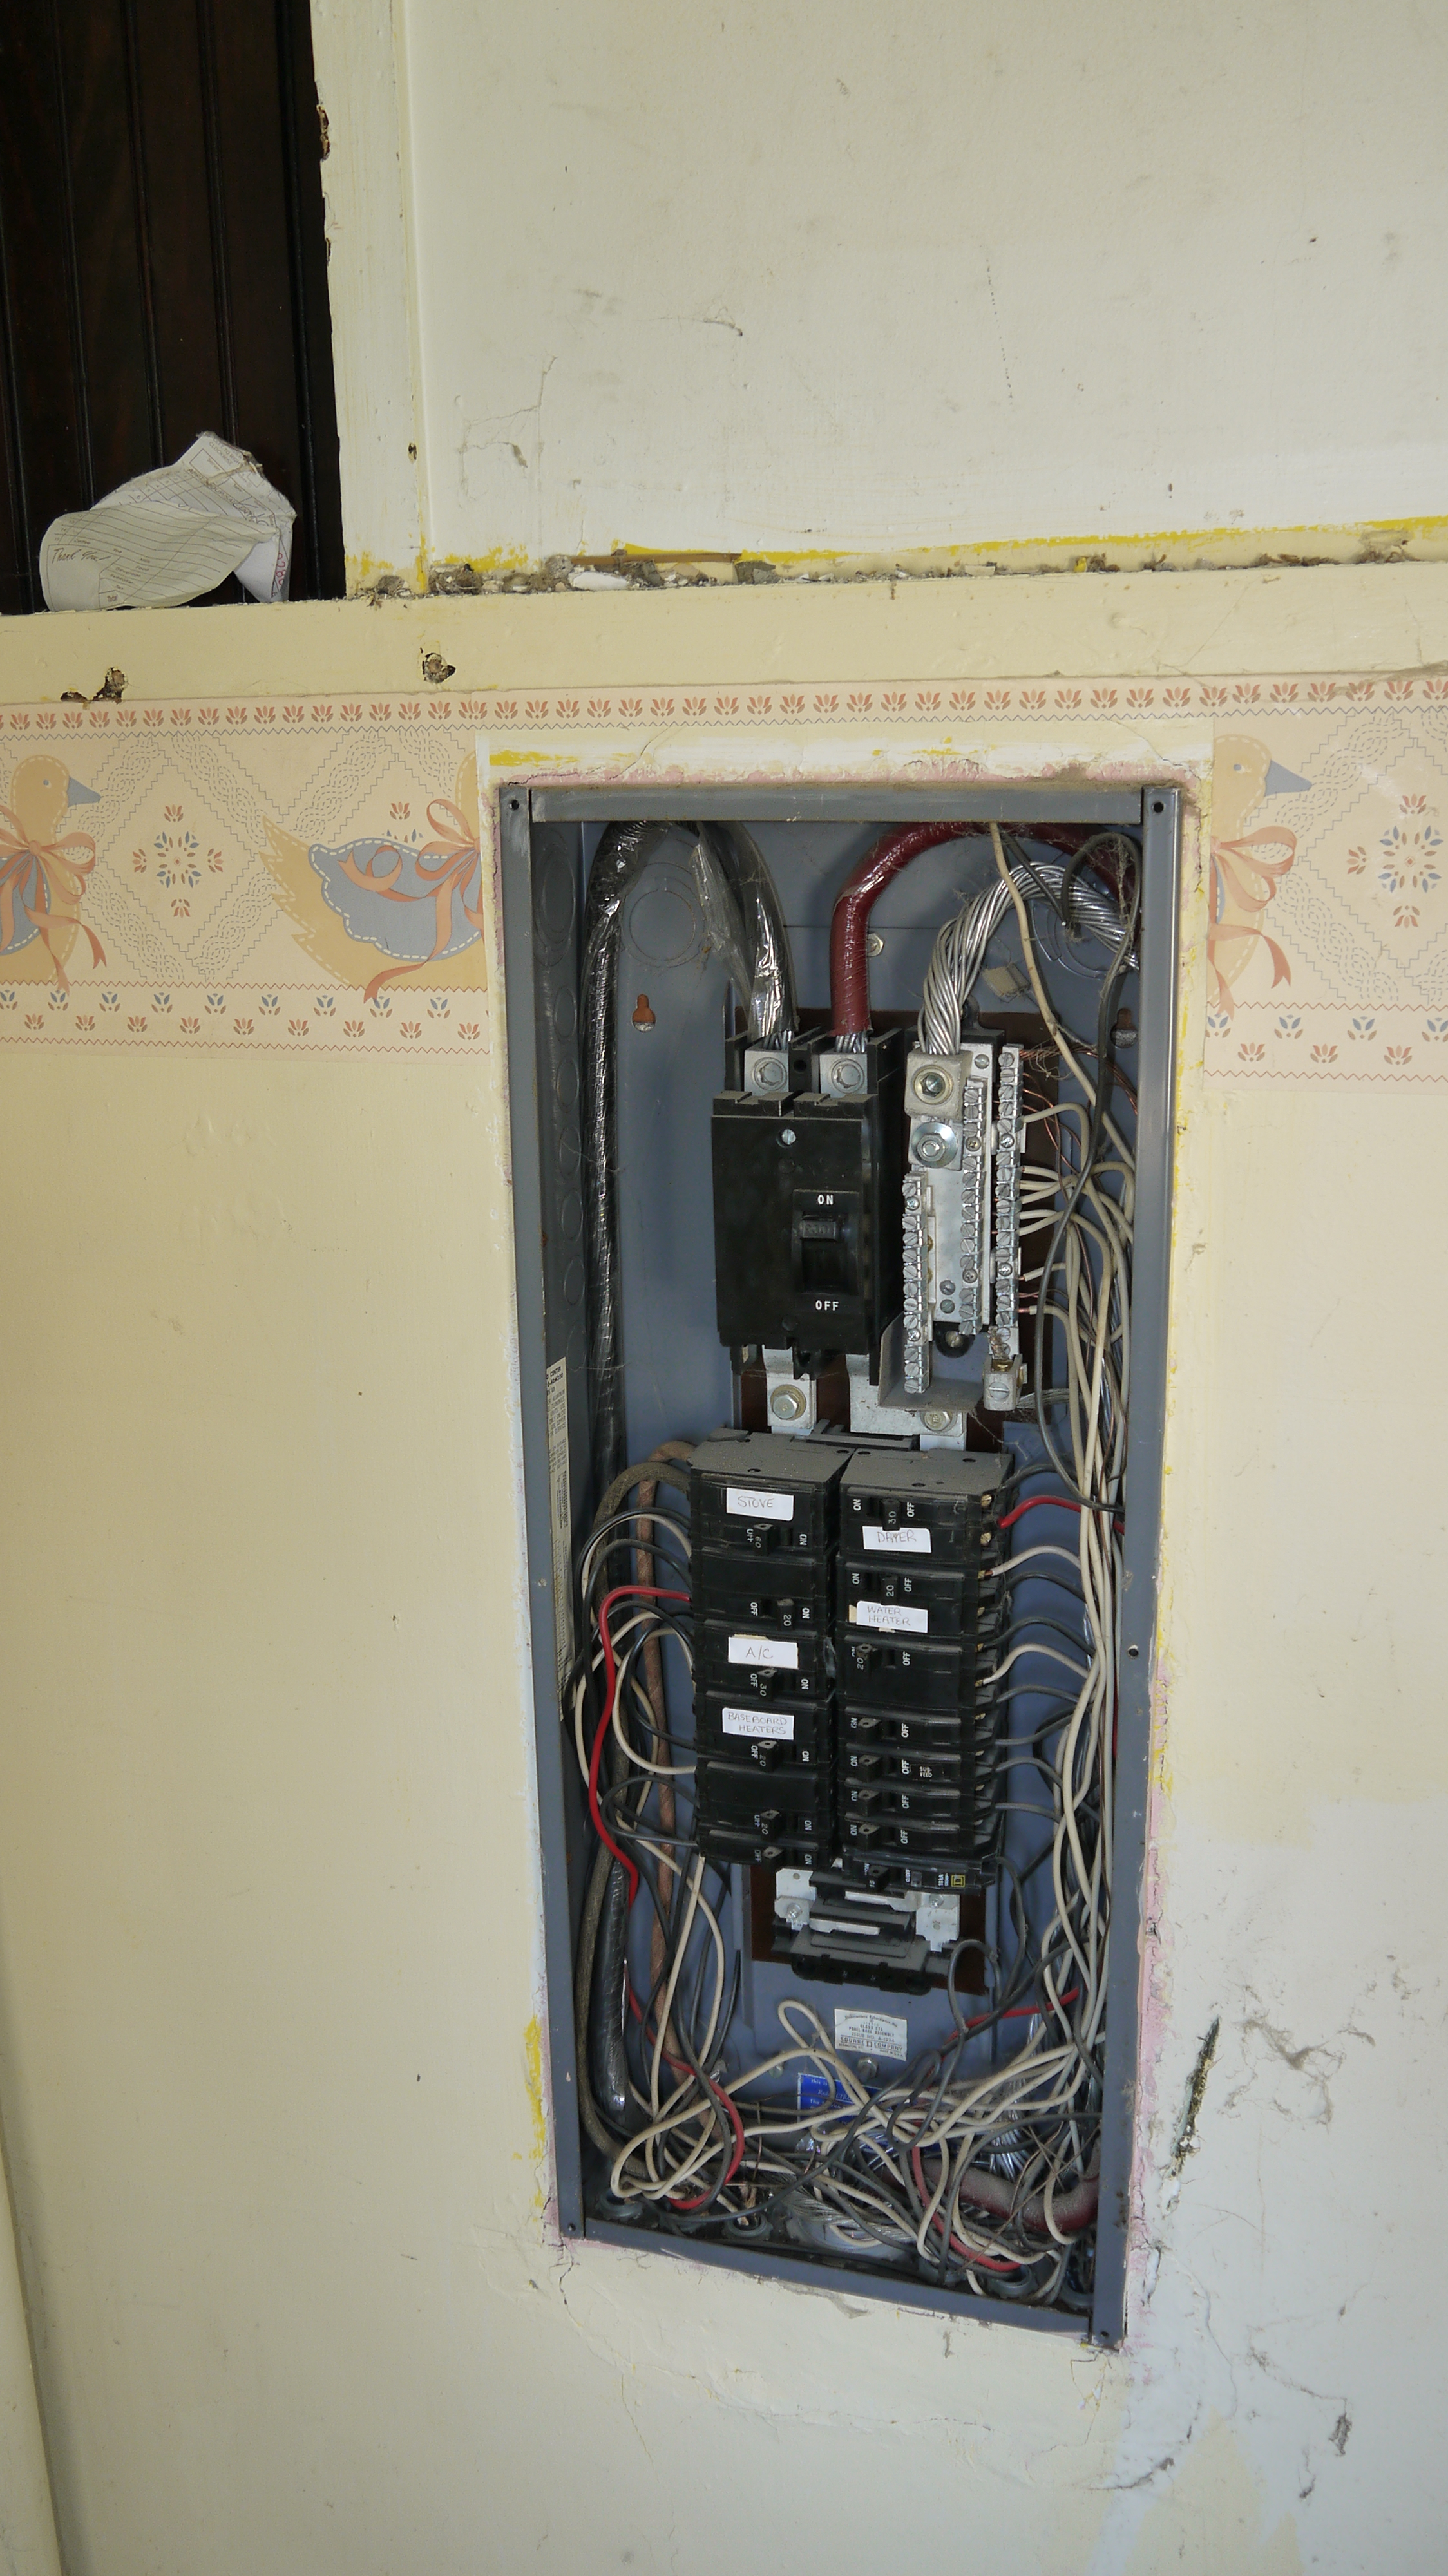
The rats nest of wires was enough to make me dizzy, and they felt the same. Now here’s the interesting part: only 1 breaker in this entire panel is in the “on” position, yet throughout the entire house every outlet and light fixture is working – including the garage and outbuilding. Other than the range, dryer, and heaters, I have no idea where or what the remaining 7 breakers must serve.
So while Paul taught me how to install outlet boxes and the tricks of the trade for running Romex wire, Dennis went to town stripping out the panel box. They both agreed the 200 amp service box is in good shape and enough space to serve the house, they wanted to organize the wire maze and distribute power in the house onto multiple breakers, the way a new house would be wired.
In the bathroom, I thought I had a reasonable electrical layout planned (2 outlets near the light switch), but both of Dennis & Paul’s wives and another female friend agreed that I should plan on additional outlets for all of the crazy hair and beauty products women use everyday and apparently need a half-dozen outlets to power. I settled on a double outlet box on either side of the vanity mirror, a straight line down from where I had already planned for light sconces flanking the mirror.
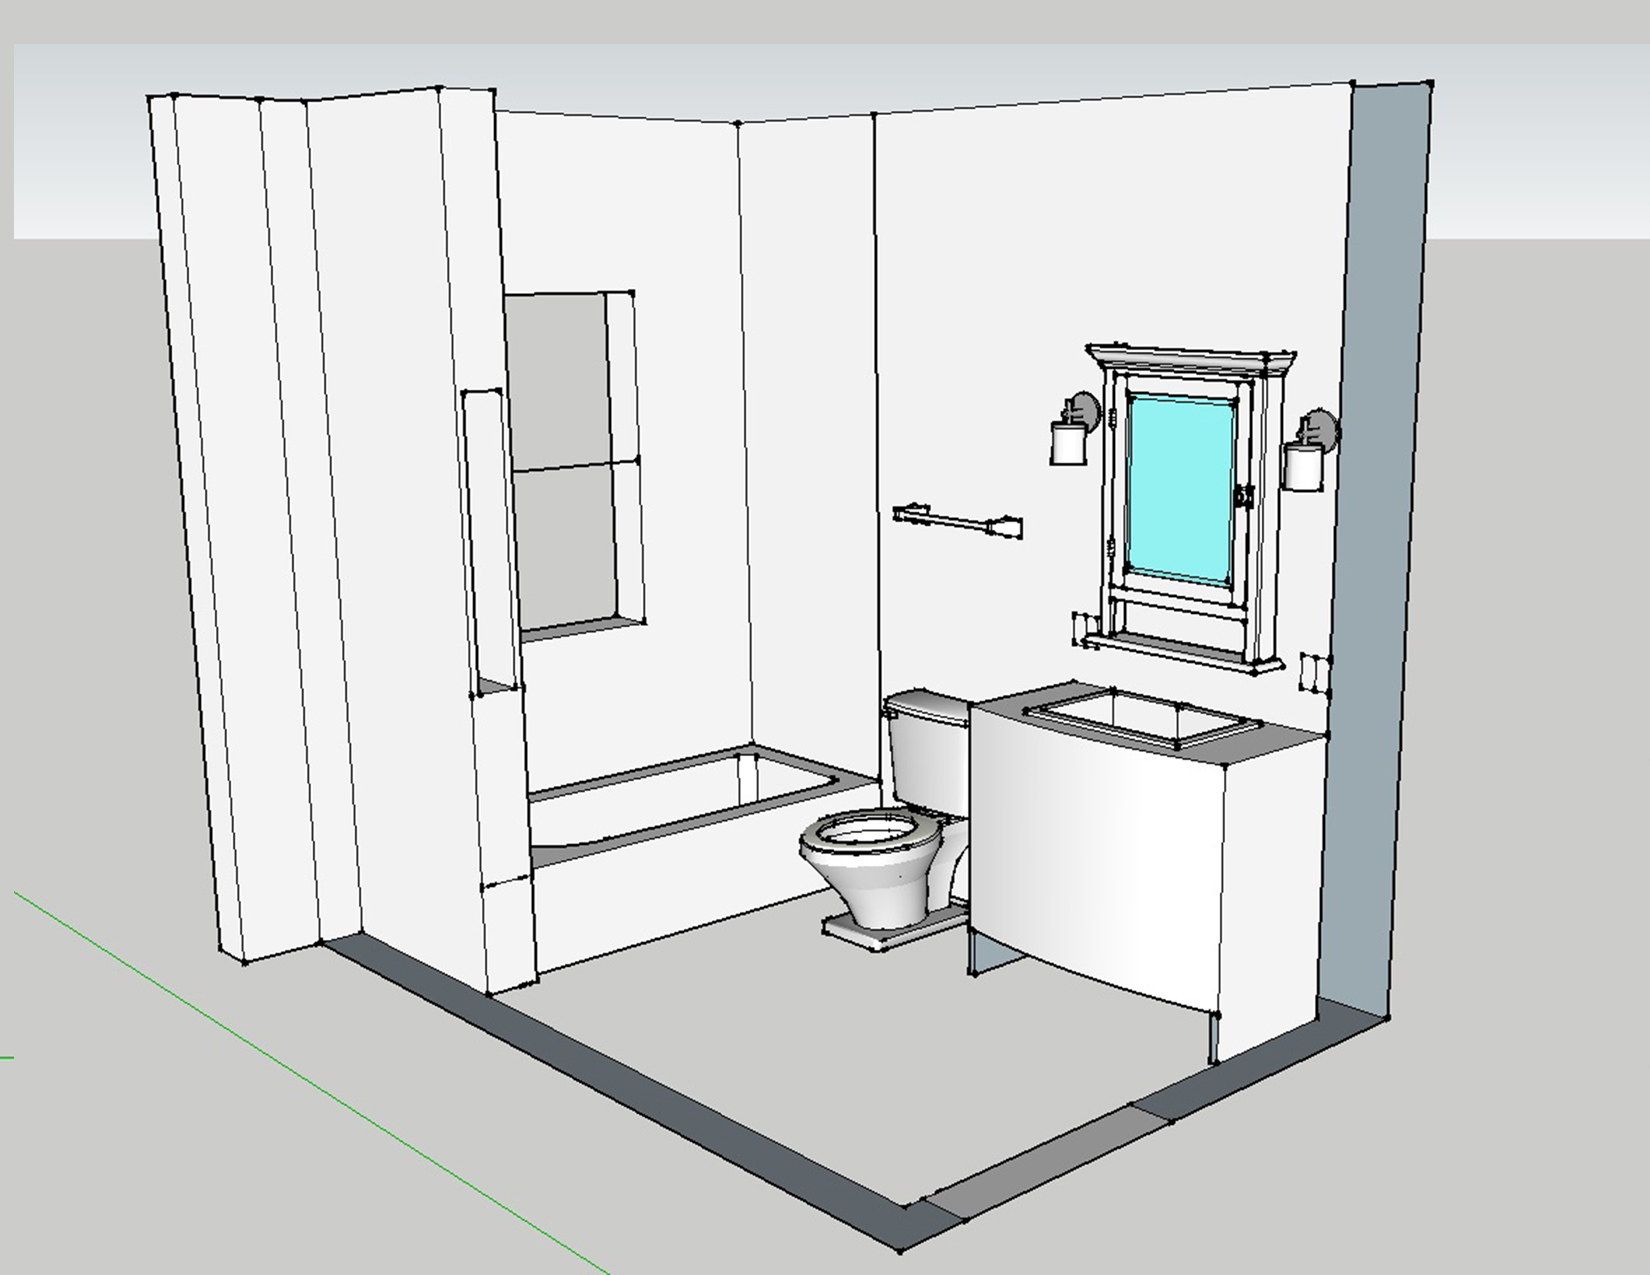
This quick 3D model was made in SketchUp, a great tool for quick rendering to plan out a space or construction detail.

This photo shows the double sets of outlets, with the light fixture boxes above each one, and the light switches on the wall to the right. One switch will control the light sconces beside the mirror, the other is 2 small switches so I can independently turn on and off the ceiling exhaust fan & light. The bathroom did not previously have an exhaust fan. Putting one in was just a matter of finding the center of the room and then finding the nearest ceiling joist. I drilled a hole from up above so I knew where the edge of the joist was, then used that as my starting point for drawing a square on the ceiling the size of the fan housing box. A jigsaw cut the plaster and lathe, and the box dropped right into place from above the ceiling. Paul held the box flush with the plaster ceiling down below while I used drywall screws up above to secure it to the ceiling joist. Once it was wired, I left it go until just yesterday when I finally drilled a 4″ hole in the gable end of the house and vented the fan outside using a dryer vent cover and 4″ flexible dryer hose.
Opposite of the bathroom in the laundry/utility room, we wired a GFCI outlet for the washing machine, a 220 volt dryer outlet, and rewired the laundry room ceiling light using 3-way light switches. I can turn the light on from the kitchen doorway like before, but now I can also turn on the light as soon as I come into the house from the back door. In the same bay at the back door, we left space for additional switches for a new back porch light, outdoor light, and outlet for the utility room. Having all the switches in one box will look so much more organized than 1 beside the door and 2 others on the adjacent wall, all at different heights currently.

In the process, Dennis made sure everything was split onto appropriate amount of breakers in the electrical panel, and even labeled each breaker space! And did I mention that we are using outlet boxes? As in, every outlet or switch is housed correctly in a box. Why do I emphasize that? Of the entire house, we have only found 3 or less receptacles boxes. All the other switches or outlets are simply a hole cut in the wall, bare wires touches plaster, lath, wood paneling, baseboard, etc. That’s perfectly safe, right? NO! Even our local Fire Chief remarked that he isn’t sure how the place didn’t catch fire at some point. I know why: because this house was waiting on me.

And here is how the breaker panel looks now – complete with hand-drawn breaker diagram on the plaster wall to the right. Each wire has a purpose and a home. Don’t ask me where those additional wires at the bottom must lead, because the whole house still has power even though those have been pulled out of the box. They are probably individual baseboard heaters, but I still need to trace each one. Eventually, Paul and Dennis assure me they are going to help me get the entire house re-wired. From what they’ve taught me so far, it shouldn’t be too bad; the majority of it seems finished with the bathroom and laundry out of the way. The rest of the rooms will just have regular outlets, light switches, and ceiling lights – replacing what’s already there – and adding all necessary receptacle boxes!
