I love the look of white and gray Carrara marble, especially the aged floors and walls one can find in period homes and old buildings. It’s a rather soft stone, so it shows wear after decades of use. But that wear adds to its beauty.
Unfortunately, I really couldn’t afford marble for my bathroom. There is just too much tile on the walls, and even the floor would have been too expensive in marble hexagon mosaic. I just couldn’t justify investing that much into this modest of a home – a humble 2-bedroom house in this neighborhood won’t see that return on re-sale anytime soon.
But I found a way to get my beloved marble after all – and affordably.
When it came to tiling the built-in niche, I used the mini-subway tiles (2″ x 3″) for the back wall, and I planned to use bullnose edge tiles for the sides to wrap back to the shower wall. But I didn’t like how the bullnose tiles looked on the bottom ledge. Knowing that soap bars and bottles would be sitting here wet, that would have meant constantly dirty grout lines. Not to mention, I’m not sure how I would make a shelf in the middle using smaller tiles – how would it hold itself up?
So while walking through the tile aisle at Home Depot, I saw how affordable 12″ x 12″ marble tiles are – $3.99. And I realized I could get both the bottom ledge and center shelf from a single square.
I cut and installed the bottom ledge first, and I liked how it looked to keep it slightly proud – 1/8″ or so – of the surrounding wall tiles. It gives it more pronunciation, and that “I designed it like this on purpose” look. To make sure it drains, I pressed it into the fresh thin-set and pressed harder along the front edge – so it is slightly slanted out toward the tub.

For the sides, I used a bullnose tile. Because the niche is 4″ deep, the 3″ bullnose tile wasnt deep enough. I had to use 4″ bullnose tiles, so up and down both sides I had to cut each tile so that the grout lines would line up. I went 4 tiles high -the equivalent of 12 inches- then set the next marble piece in to act as the upper shelf. It sits on the tiles below it.
Where the top and sides meet, I cut the meeting edge at a 45 degree angle to miter the corners. The resulting niche is below.
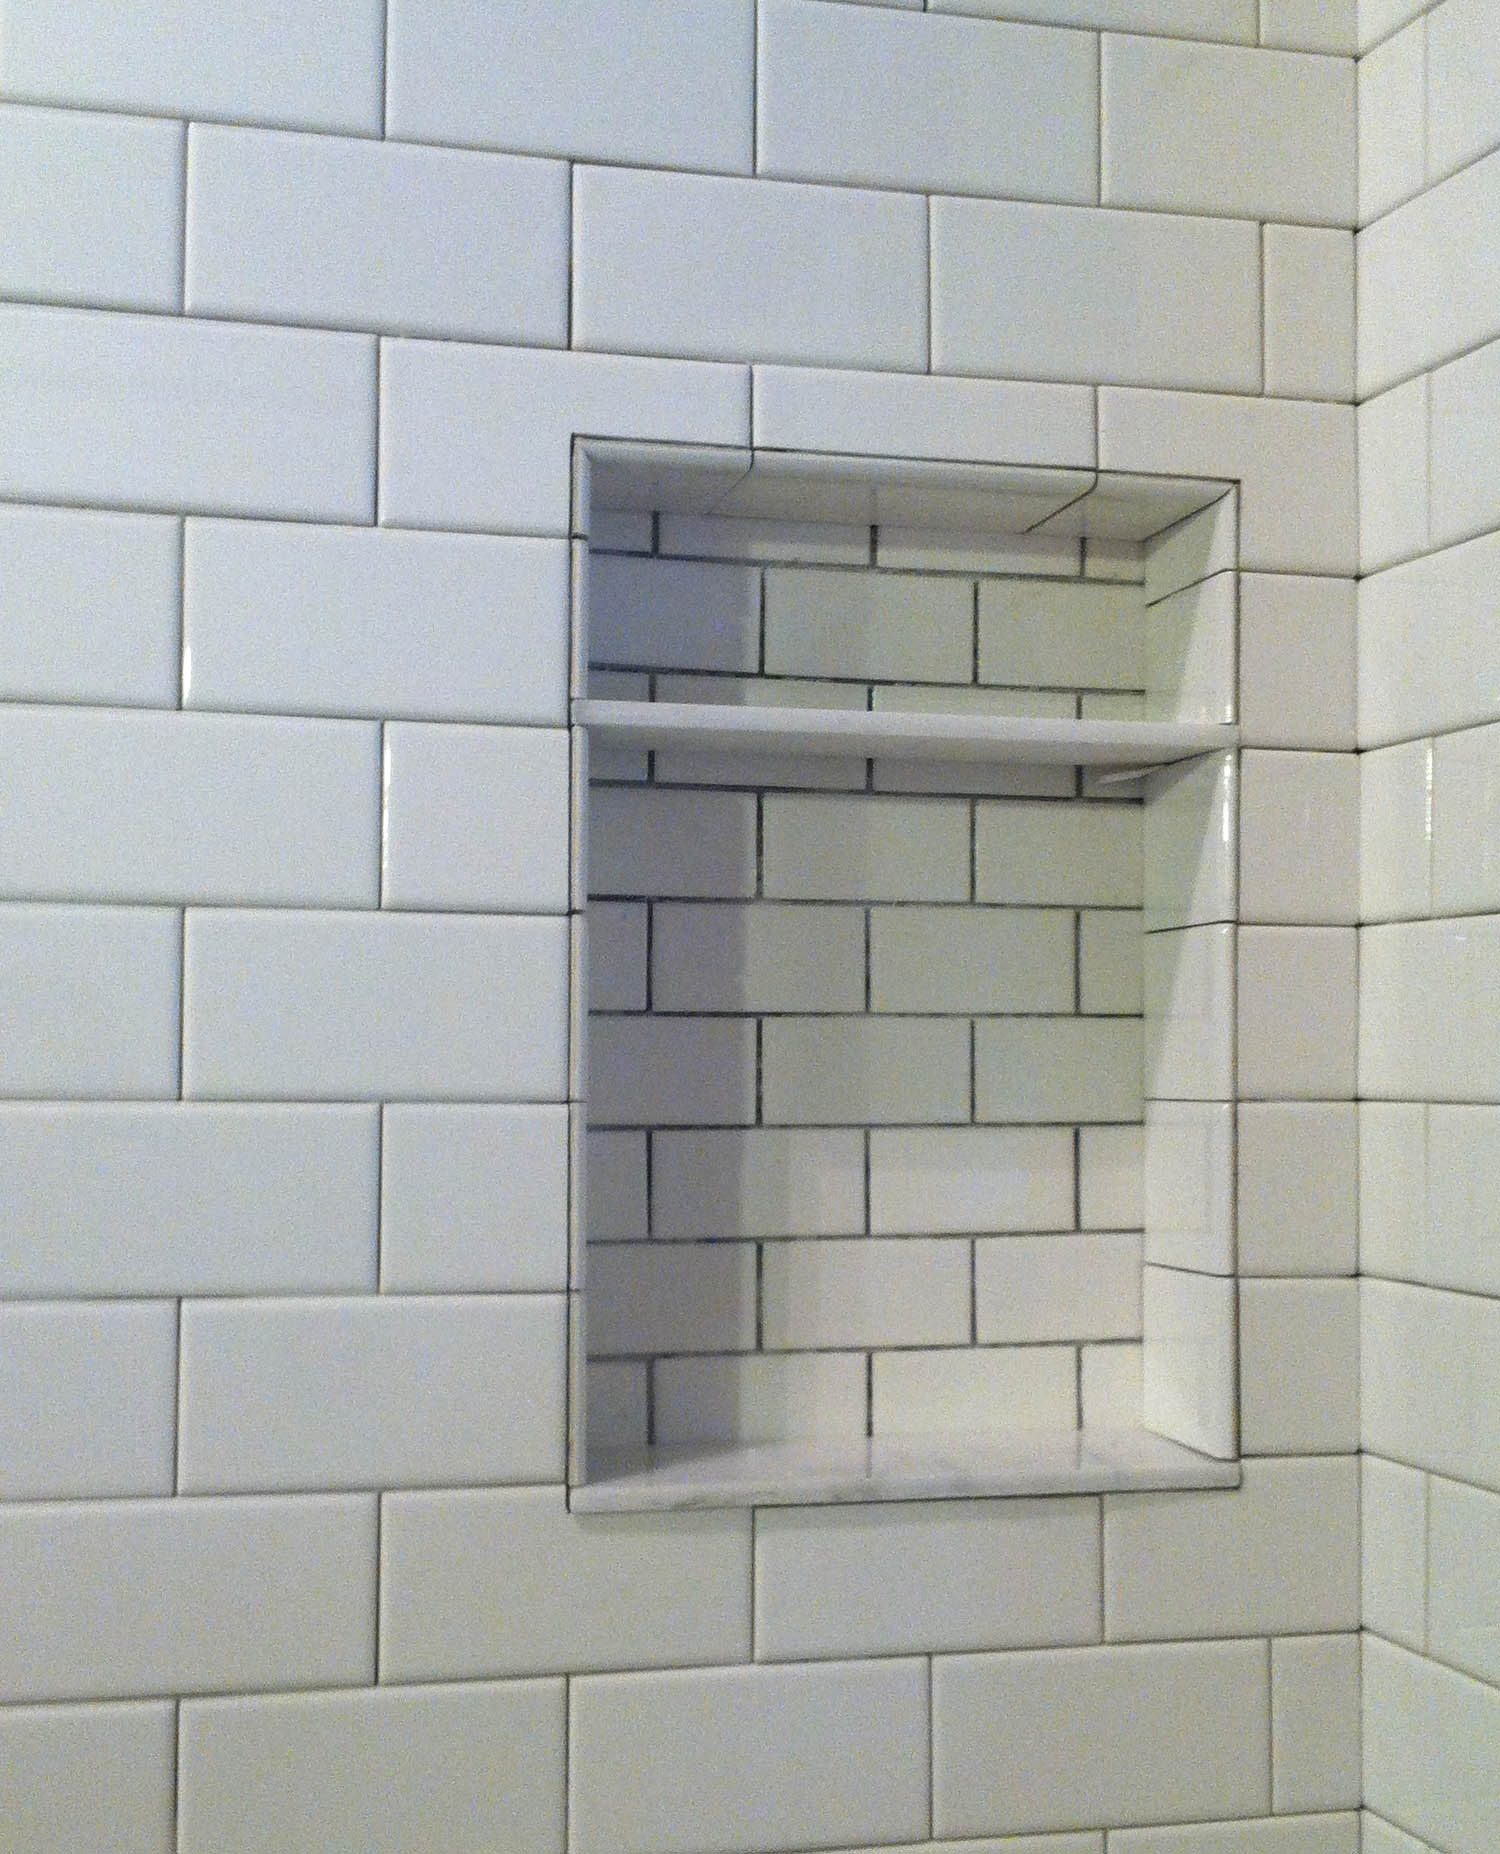
The marble looks great, just a hint of natural stone in the field of all white ceramic tile. Both the ledge and shelf are just slightly pitched to drain outward, so water will drain. The only thing I realized afterward is that the factory edge of the marble isn’t exactly smooth. In fact, it’s almost sharp. Not “cut off a finger” sharp, but “ouch,” noticeably sharper than it should be. I’m thinking I will try to hone it down with wet-sandpaper and see what that does.
Grouting this was a little tricky also. The tile float was almost too big, especially in the upper part. But the beauty of grout is that messy doesn’t matter, it all sponges off.
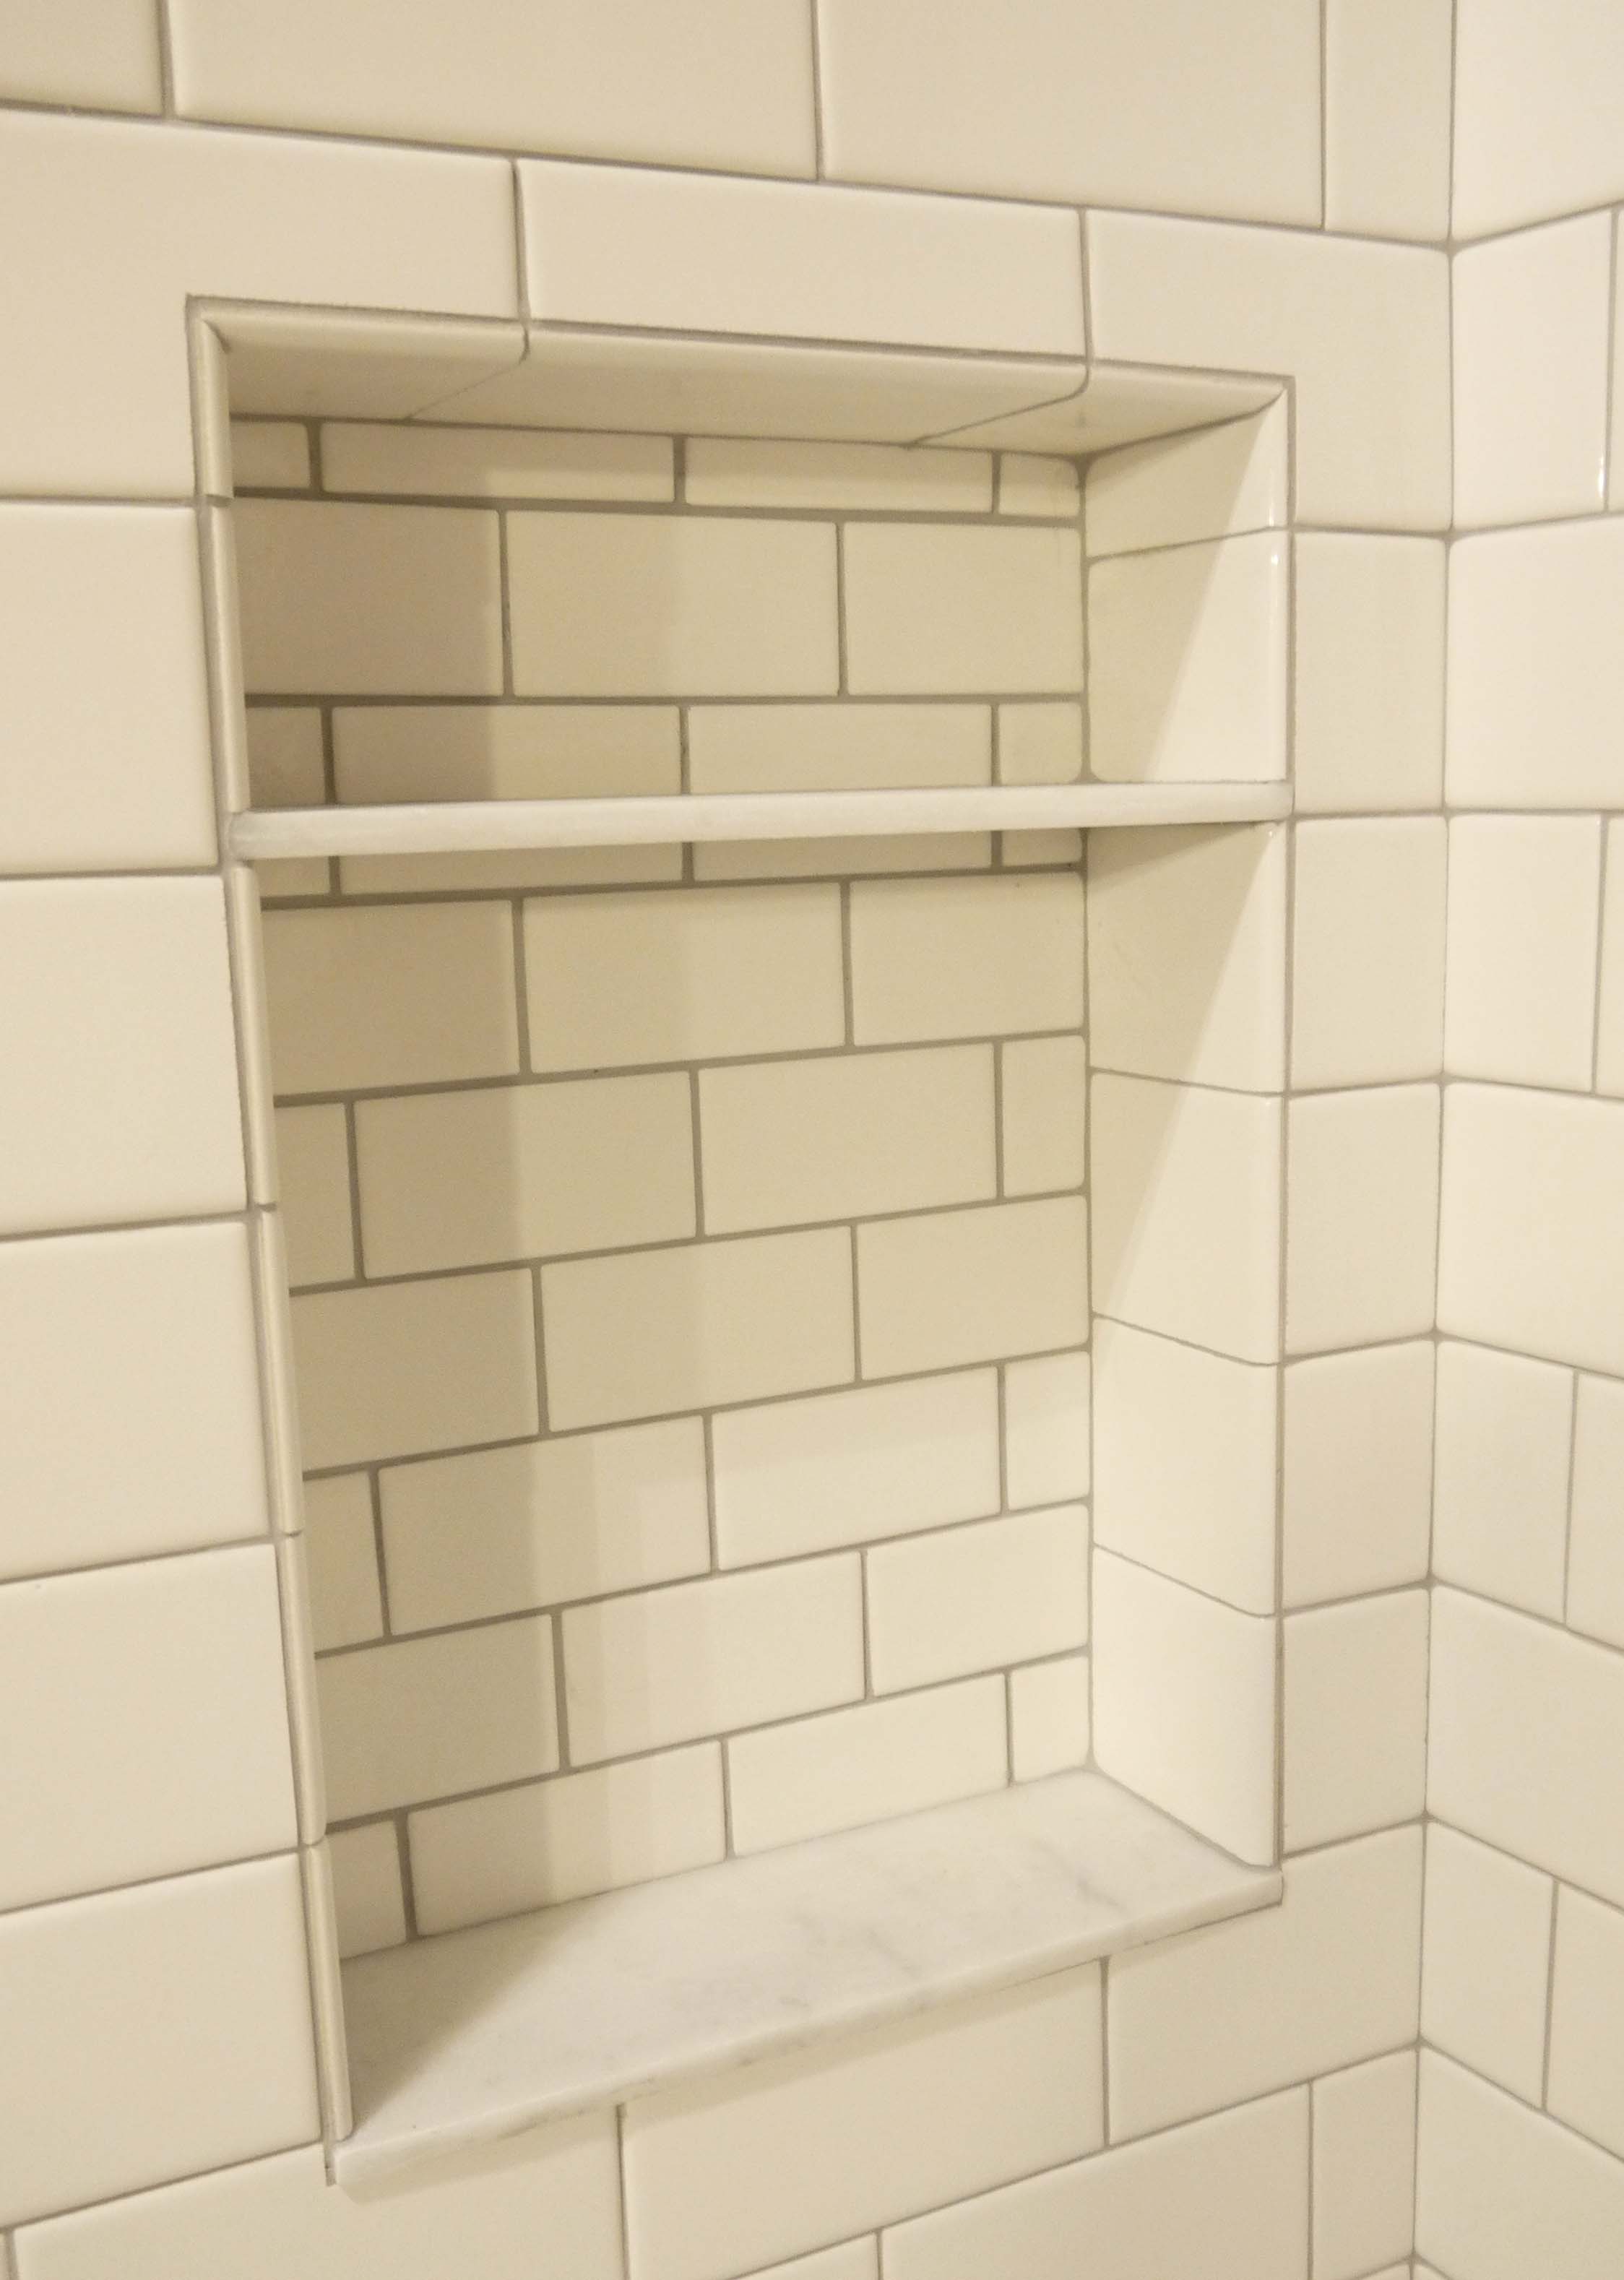
I’m thrilled with how it looks! Not a huge amount of shampoo storage, but enough for 5 or 6 bottles lined up sideways, and a few bars of soap on the shelf above.
The window ledge and sides will be done very similarly, only I’m planning to use a piece of marble threshold for the ledge. Lowe’s sells them in different widths and lengths, so I can find one to fit and not have any seams along the sill. But I have another week yet until the window arrives. In the mean time, I’m working on getting the wood dresser transformed into the bathroom vanity. Check out how it looks so far:

