This post is written post-completion, kind of playing catch-up with the blog so it matches my progress on the house. For once the house work is actually ahead of journaling.
The laundry room, though the smallest room in the house, probably had the worst plaster of any room in the house. Lots of large cracks, peeling paint on every wall and the ceiling, and of course the woodwork had layer after layer of paint on it.

I immediately took down the cabinet on the right, and not too long after that I ripped up the linoleum and 1/2″ plywood it was glued to. There wasn’t too much glue holding the plywood down, and underneath there was the original fir floors, although filthy and lots of stain. There is evidence of quite a lot of water leaking, from the flooring to the baseboards, but luckily they aren’t rotten, just stained.

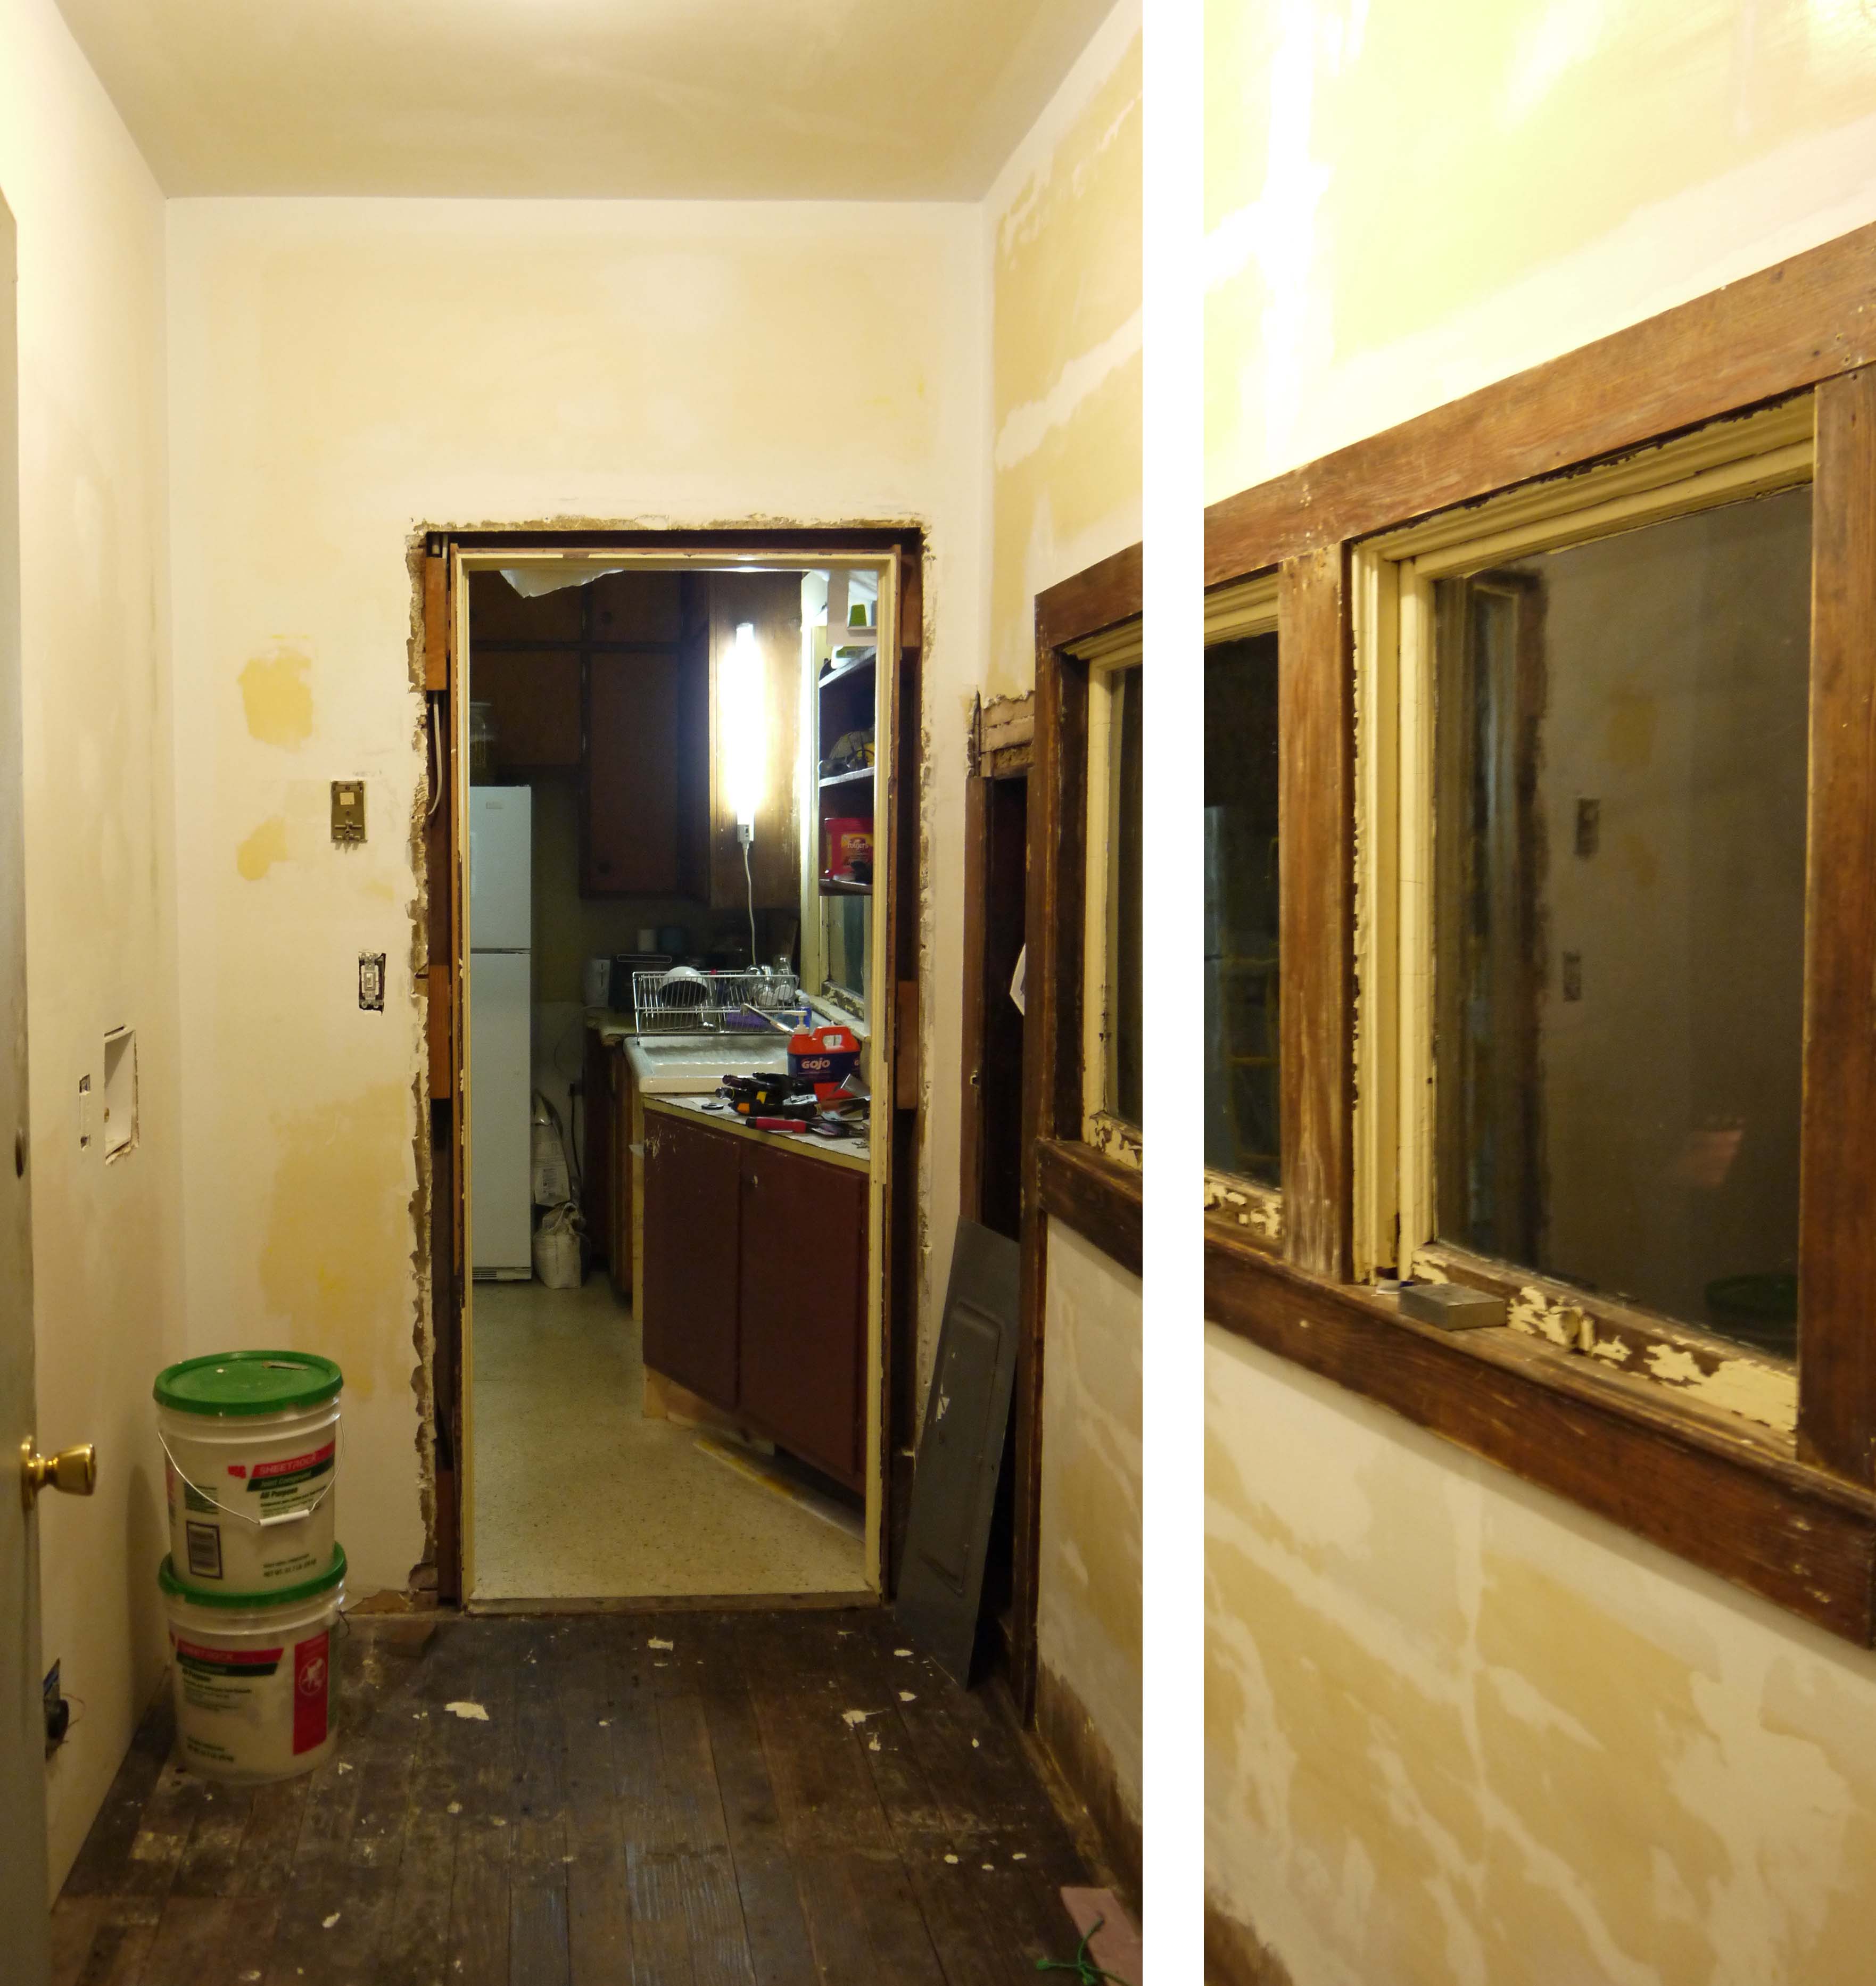
I’ve tried heat gun and every chemical in the hardware store, but a sharp scraper seems to be the best tool for removing paint from the woodwork. Note the fan blowing dust outside, and the plastic taped around the doorway to the kitchen to keep any paint dust out of the living areas of the rest of the house.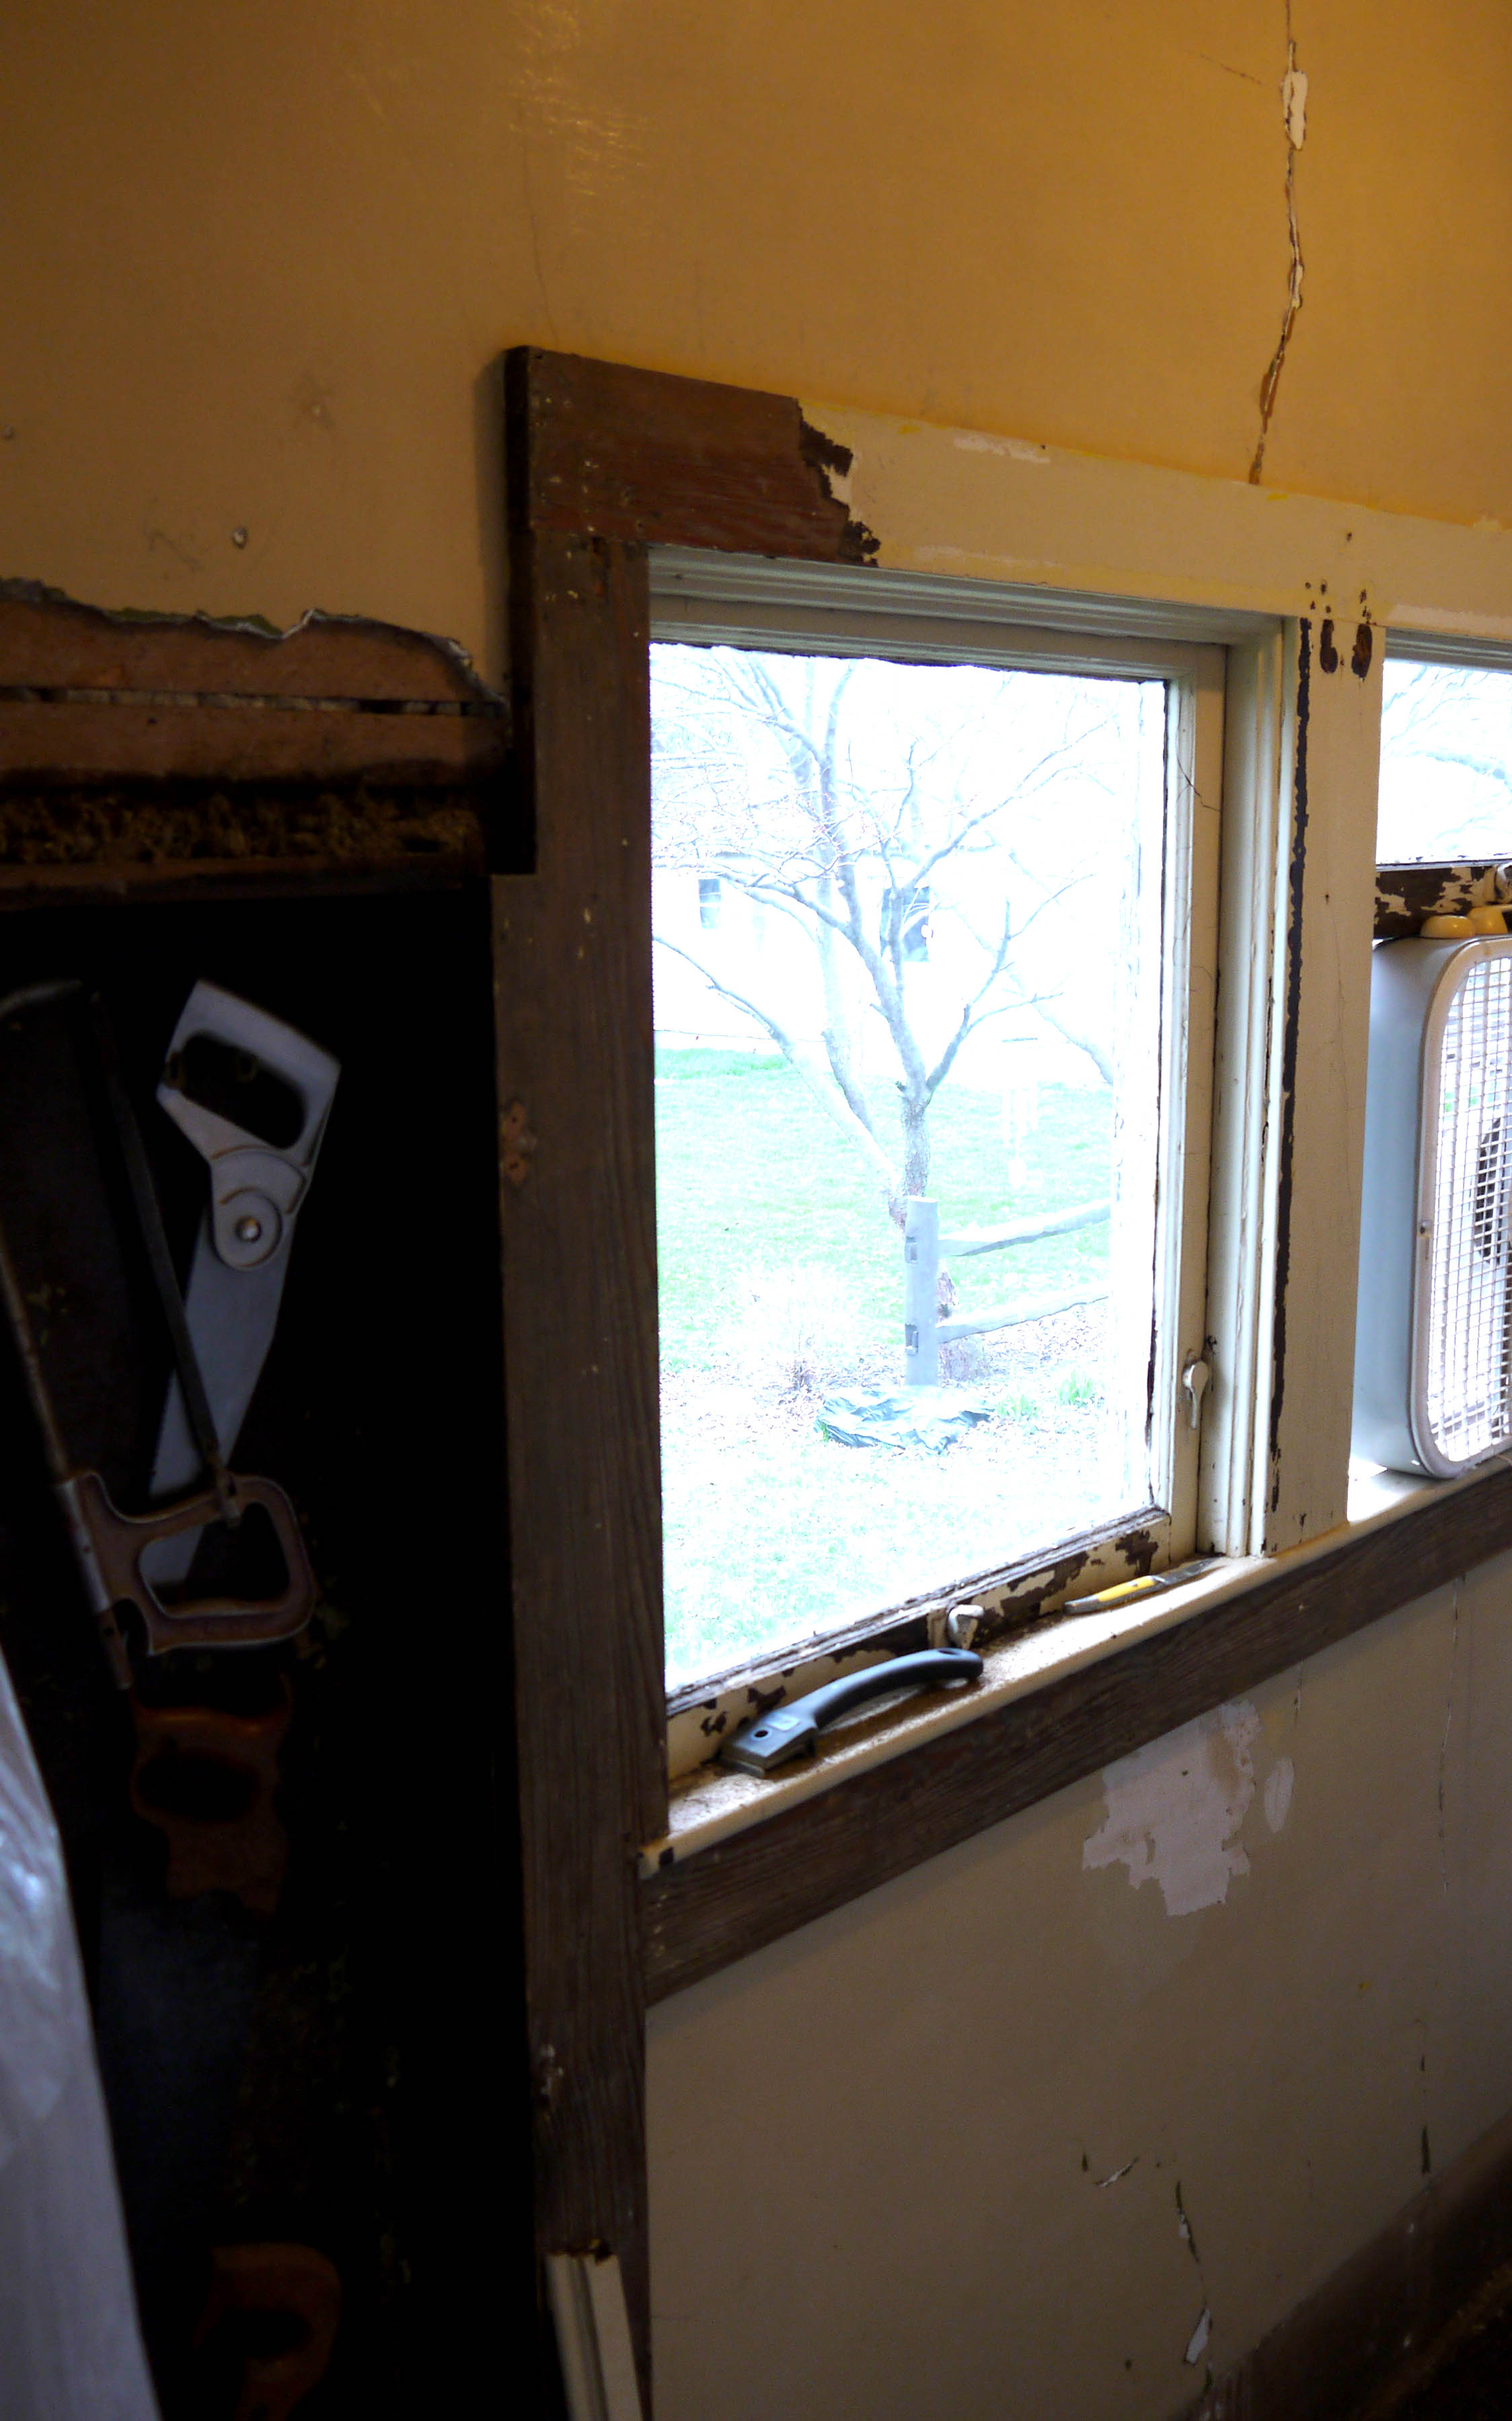 As the paint came off the woodwork, I also scraped all loose paint off of the walls – which was a lot. The only thing missing is a photo of the paint chips on the floor, about an inch thick.
 And all the cracks. The plaster itself isn’t loose or crumbling, just lots of deep cracks. I think the roof must have been leaking down this wall where the windows are.
 Then it was time to throw more mud – drywall mud. I’m not the cleanest with it, I can get it semi-smooth on the walls, but I seem to drip quite a lot on the floors. I didn’t even bother to clean it up right away.
 Although they didn’t all need it, I went ahead and applied drywall tape and joint compound to all of the corners throughout the room – walls and ceiling.
 I’m not perfect at mudding walls, but this was good practice with all the corners. Where it wasn’t perfect, a little bit of sanding when dry works really good. I found that very fine sandpaper on a square oscillating sander works good, but I have to keep it moving quick so not to sand off too much.
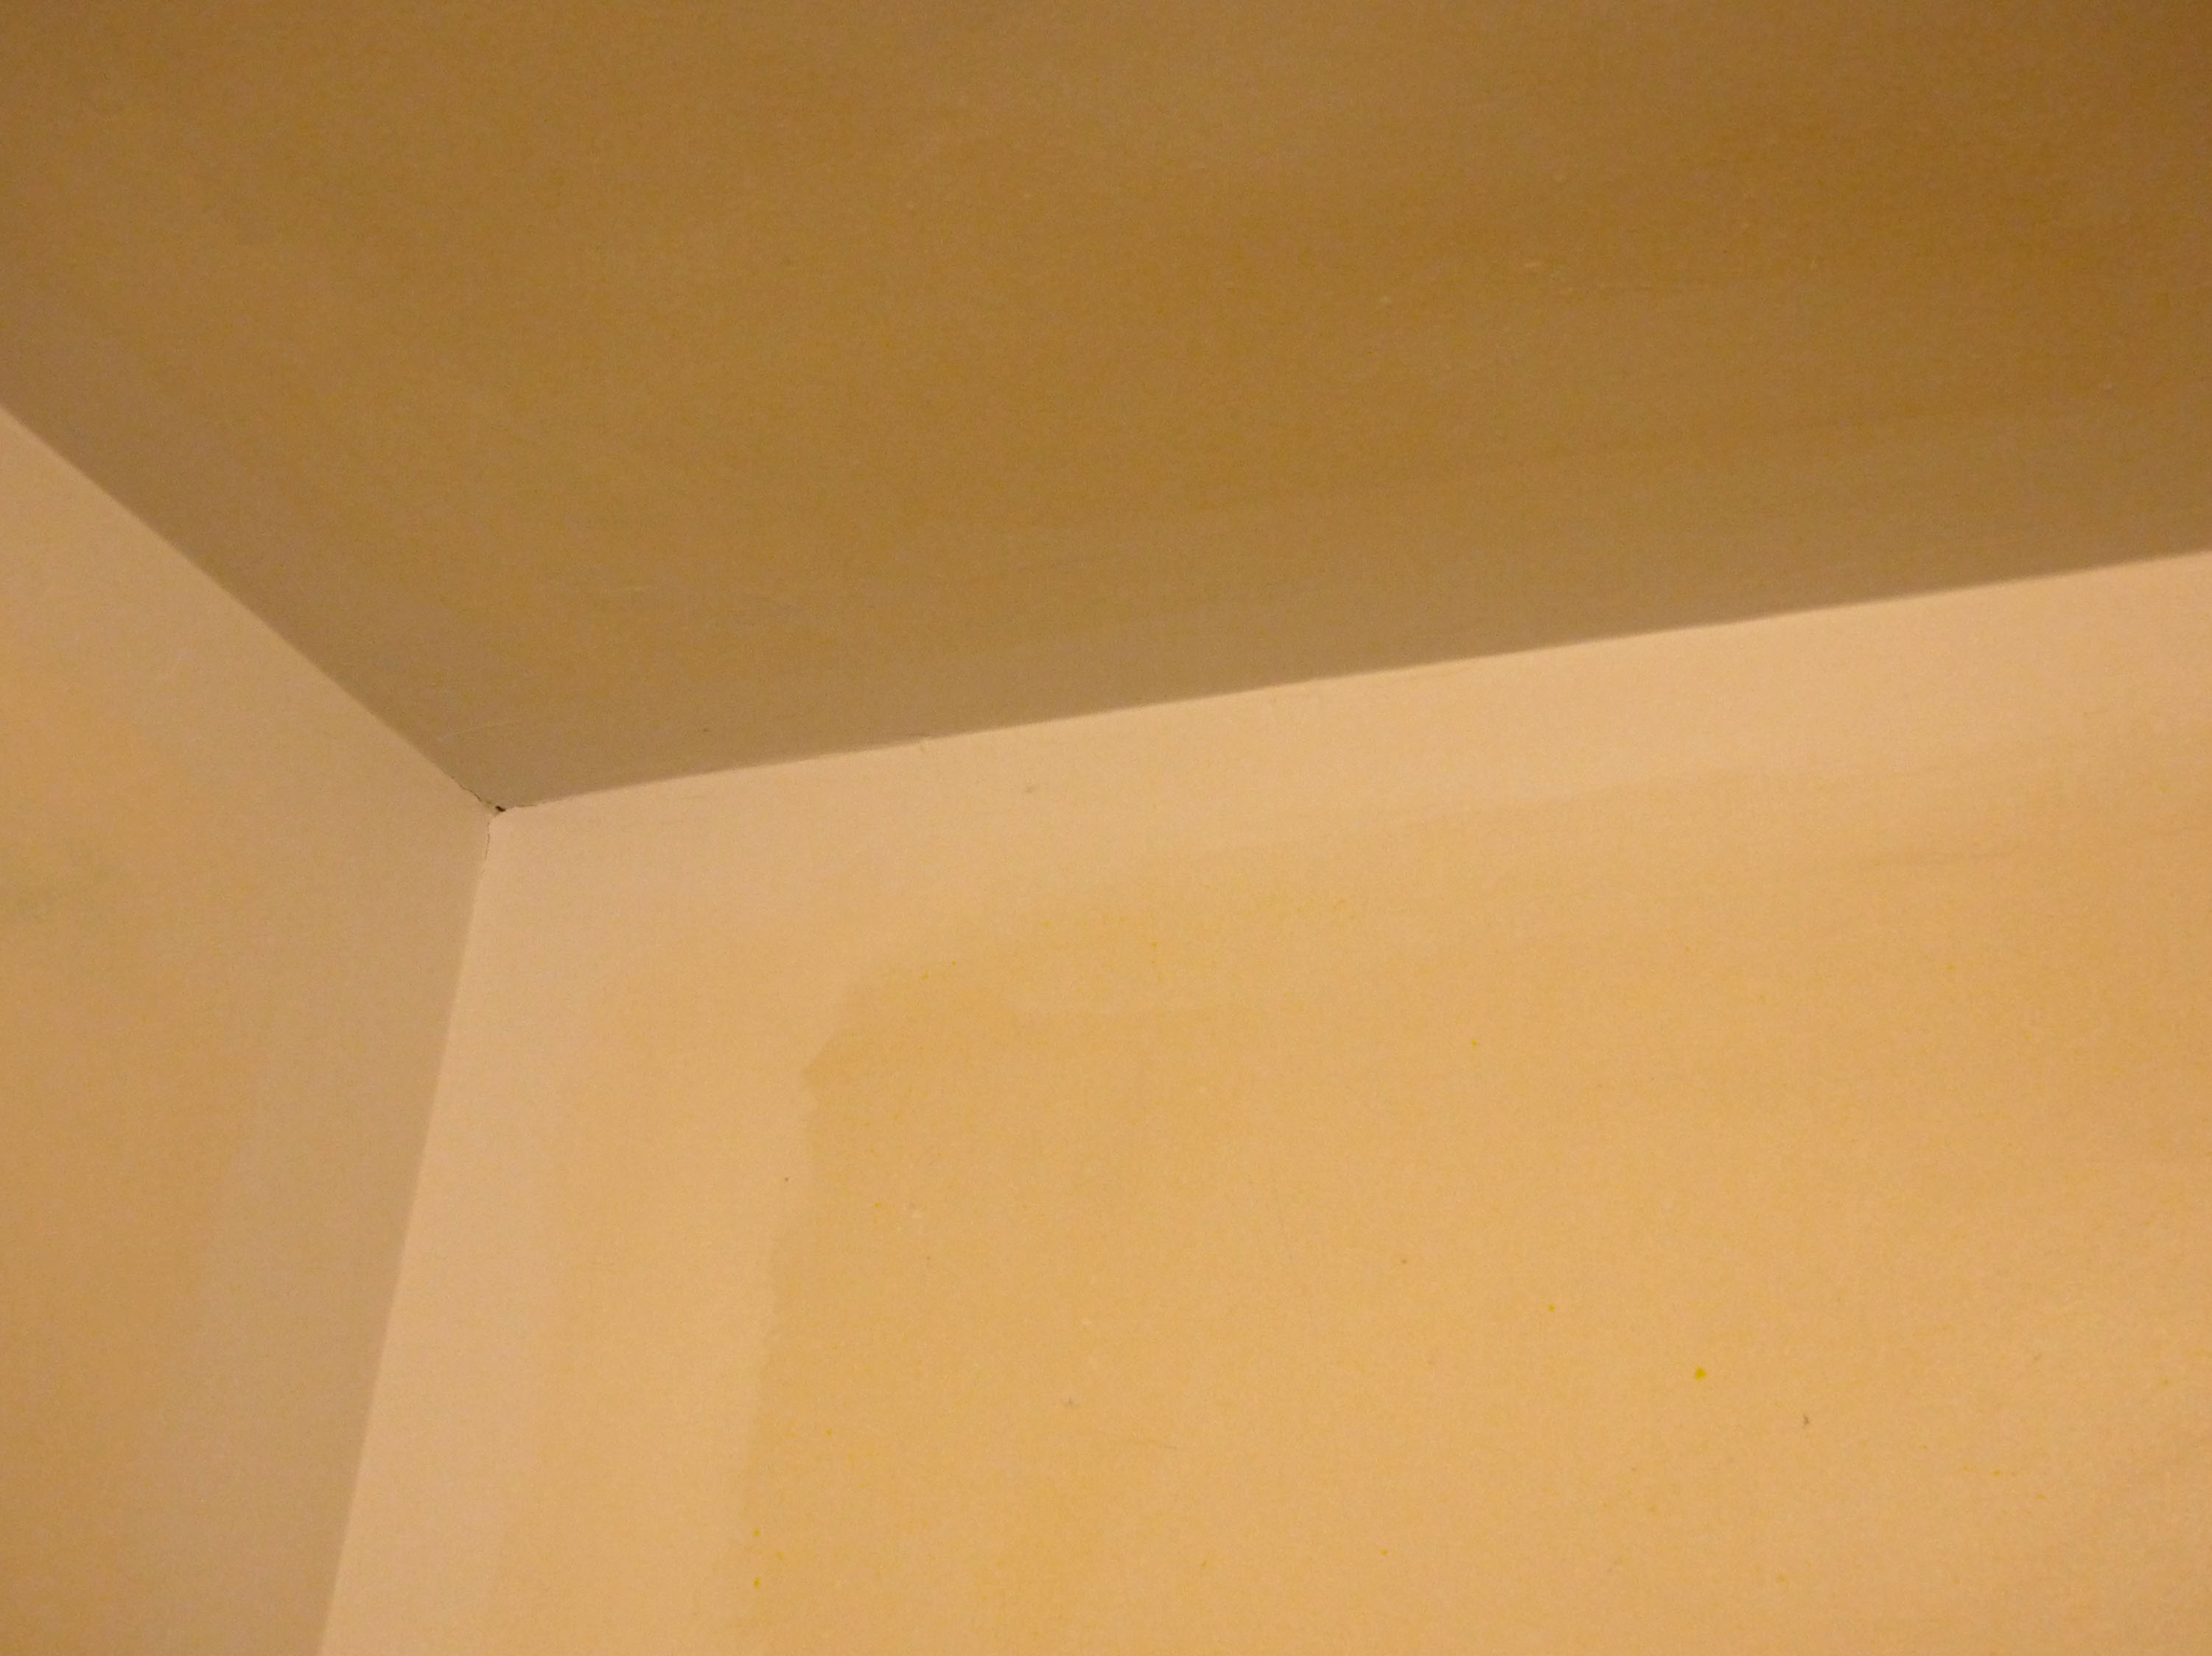 The ceiling was terrible. It looked like it had a skim-coat at some point in the past, and it took so many layers of mudding, sanding, mudding, and sanding. In the end, I wasn’t going for perfect. Just semi-smooth. I’ve already decided that in an old house, nothing should be “perfect,” or it won’t be an old house anymore. Character, I call it.
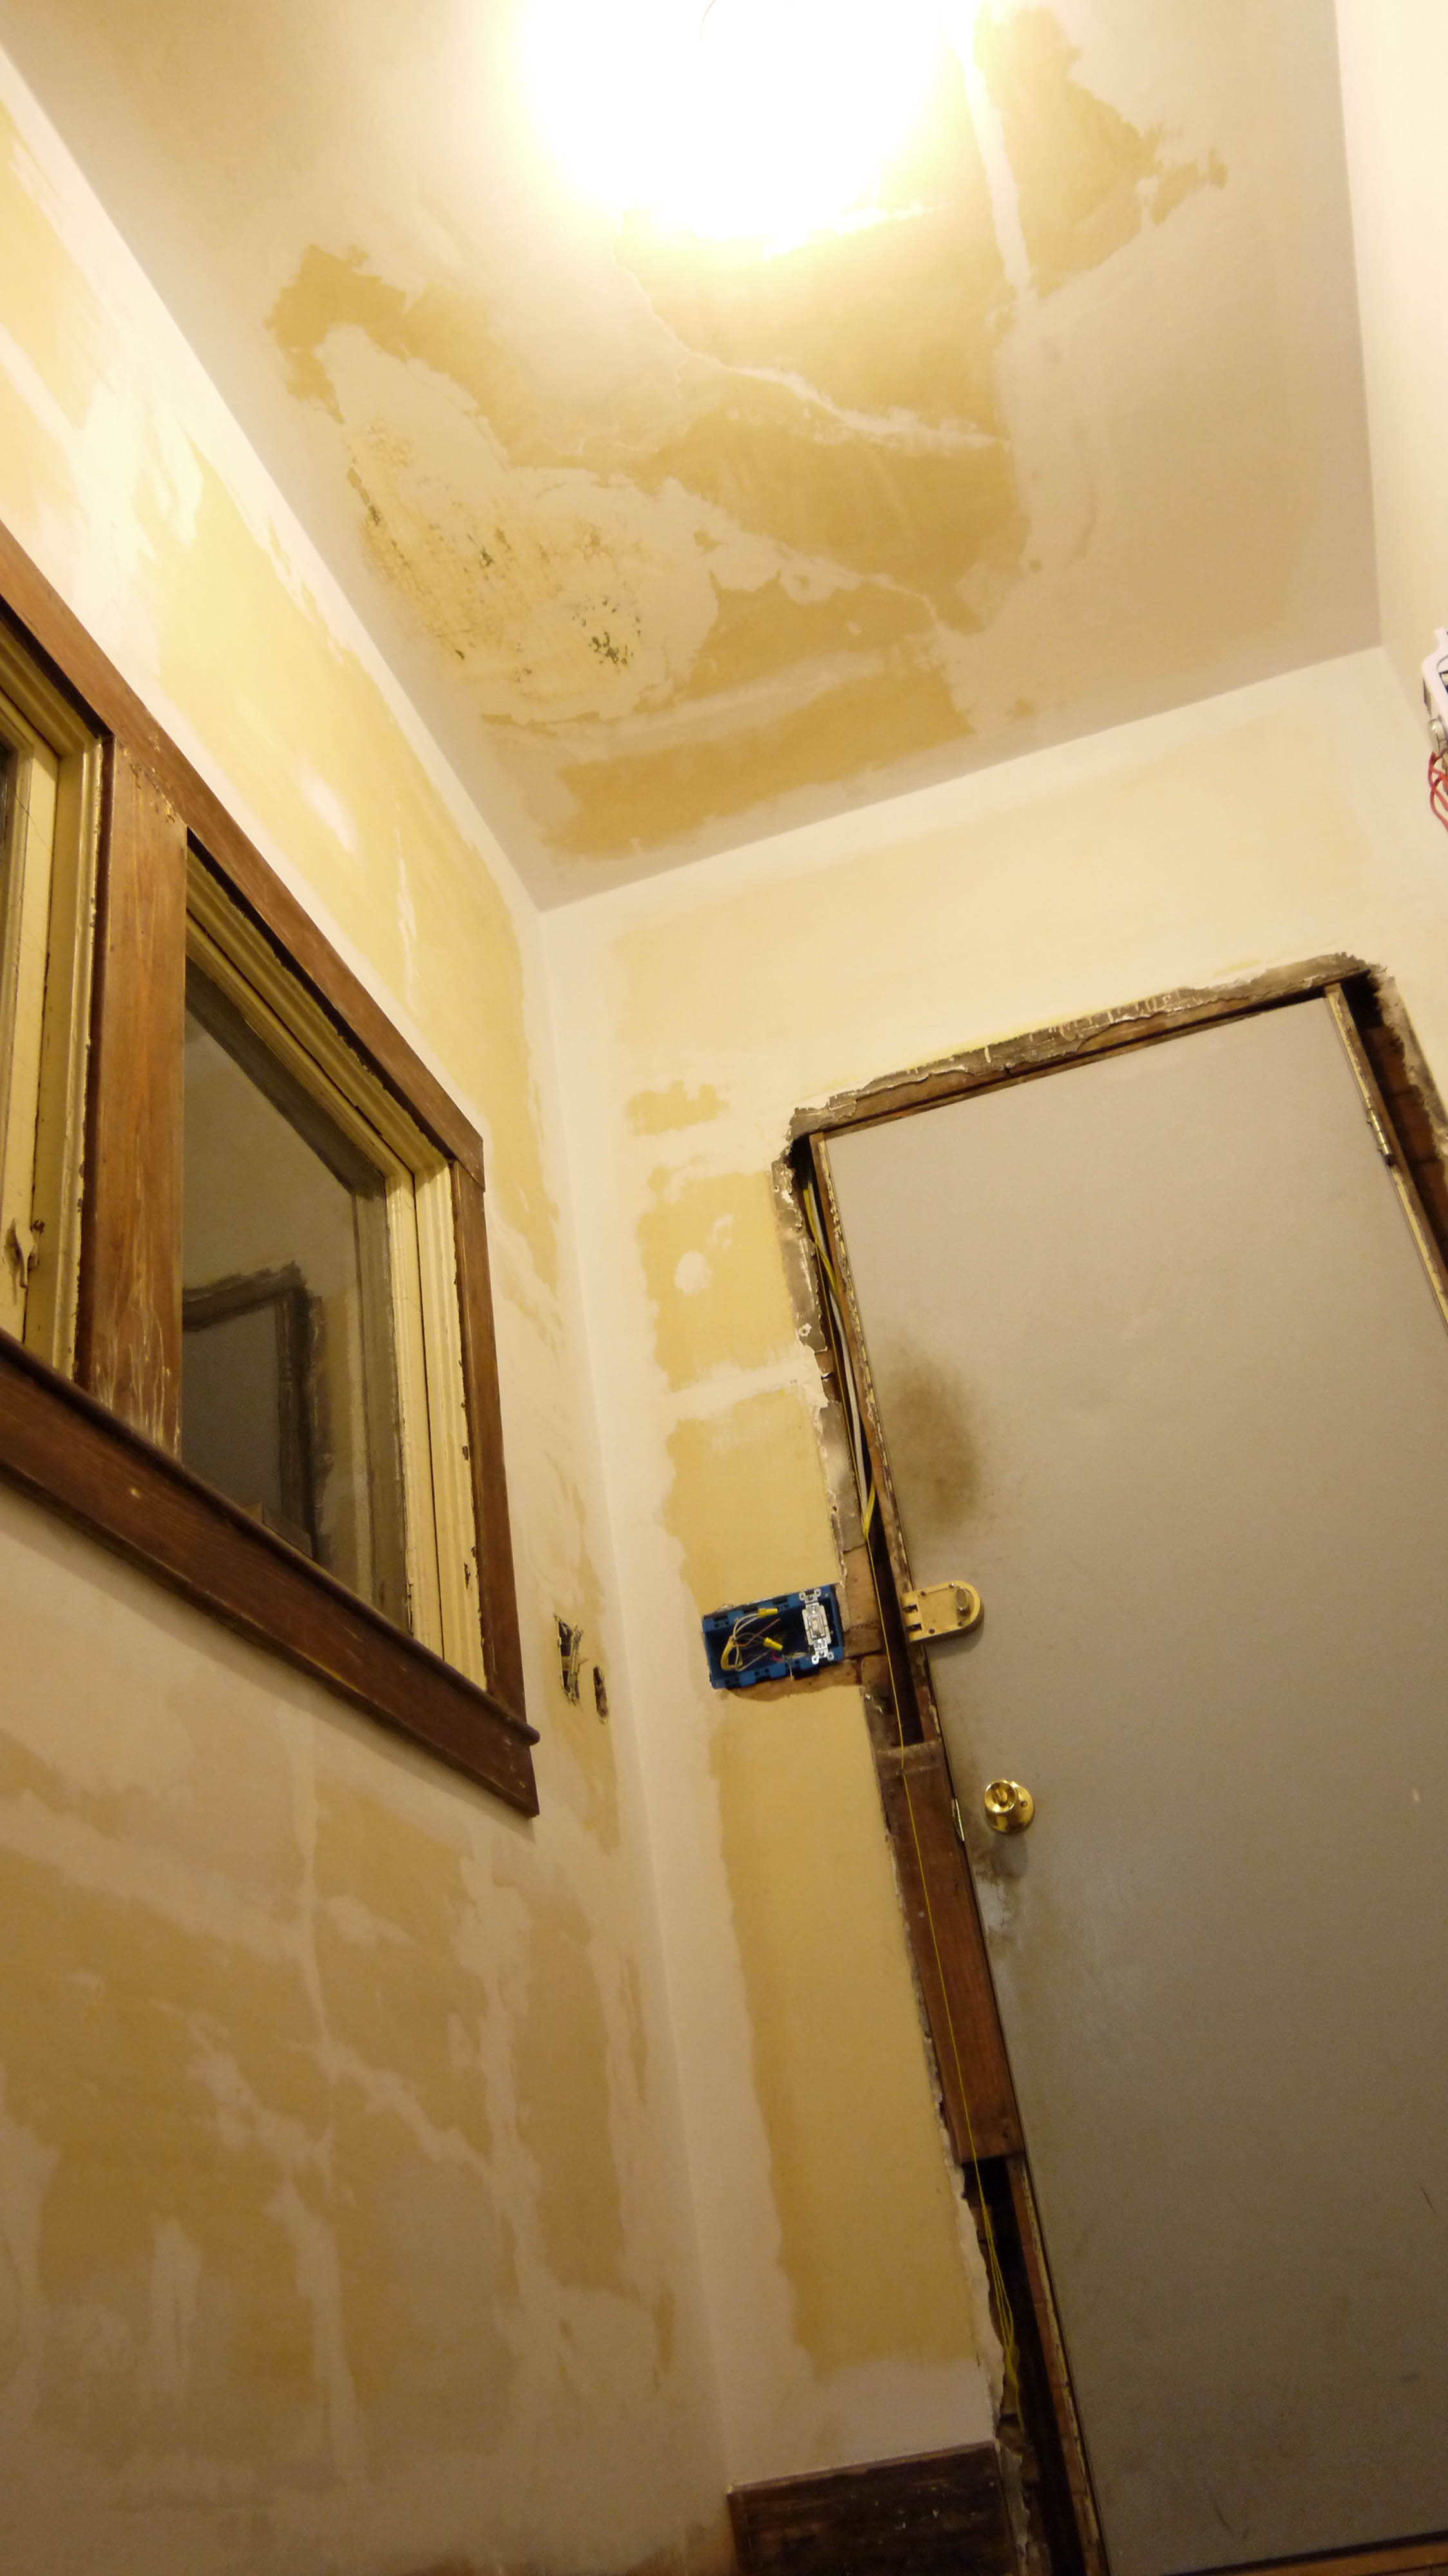 After a long night of sanding… selfies in the reflection of the laundry room window:
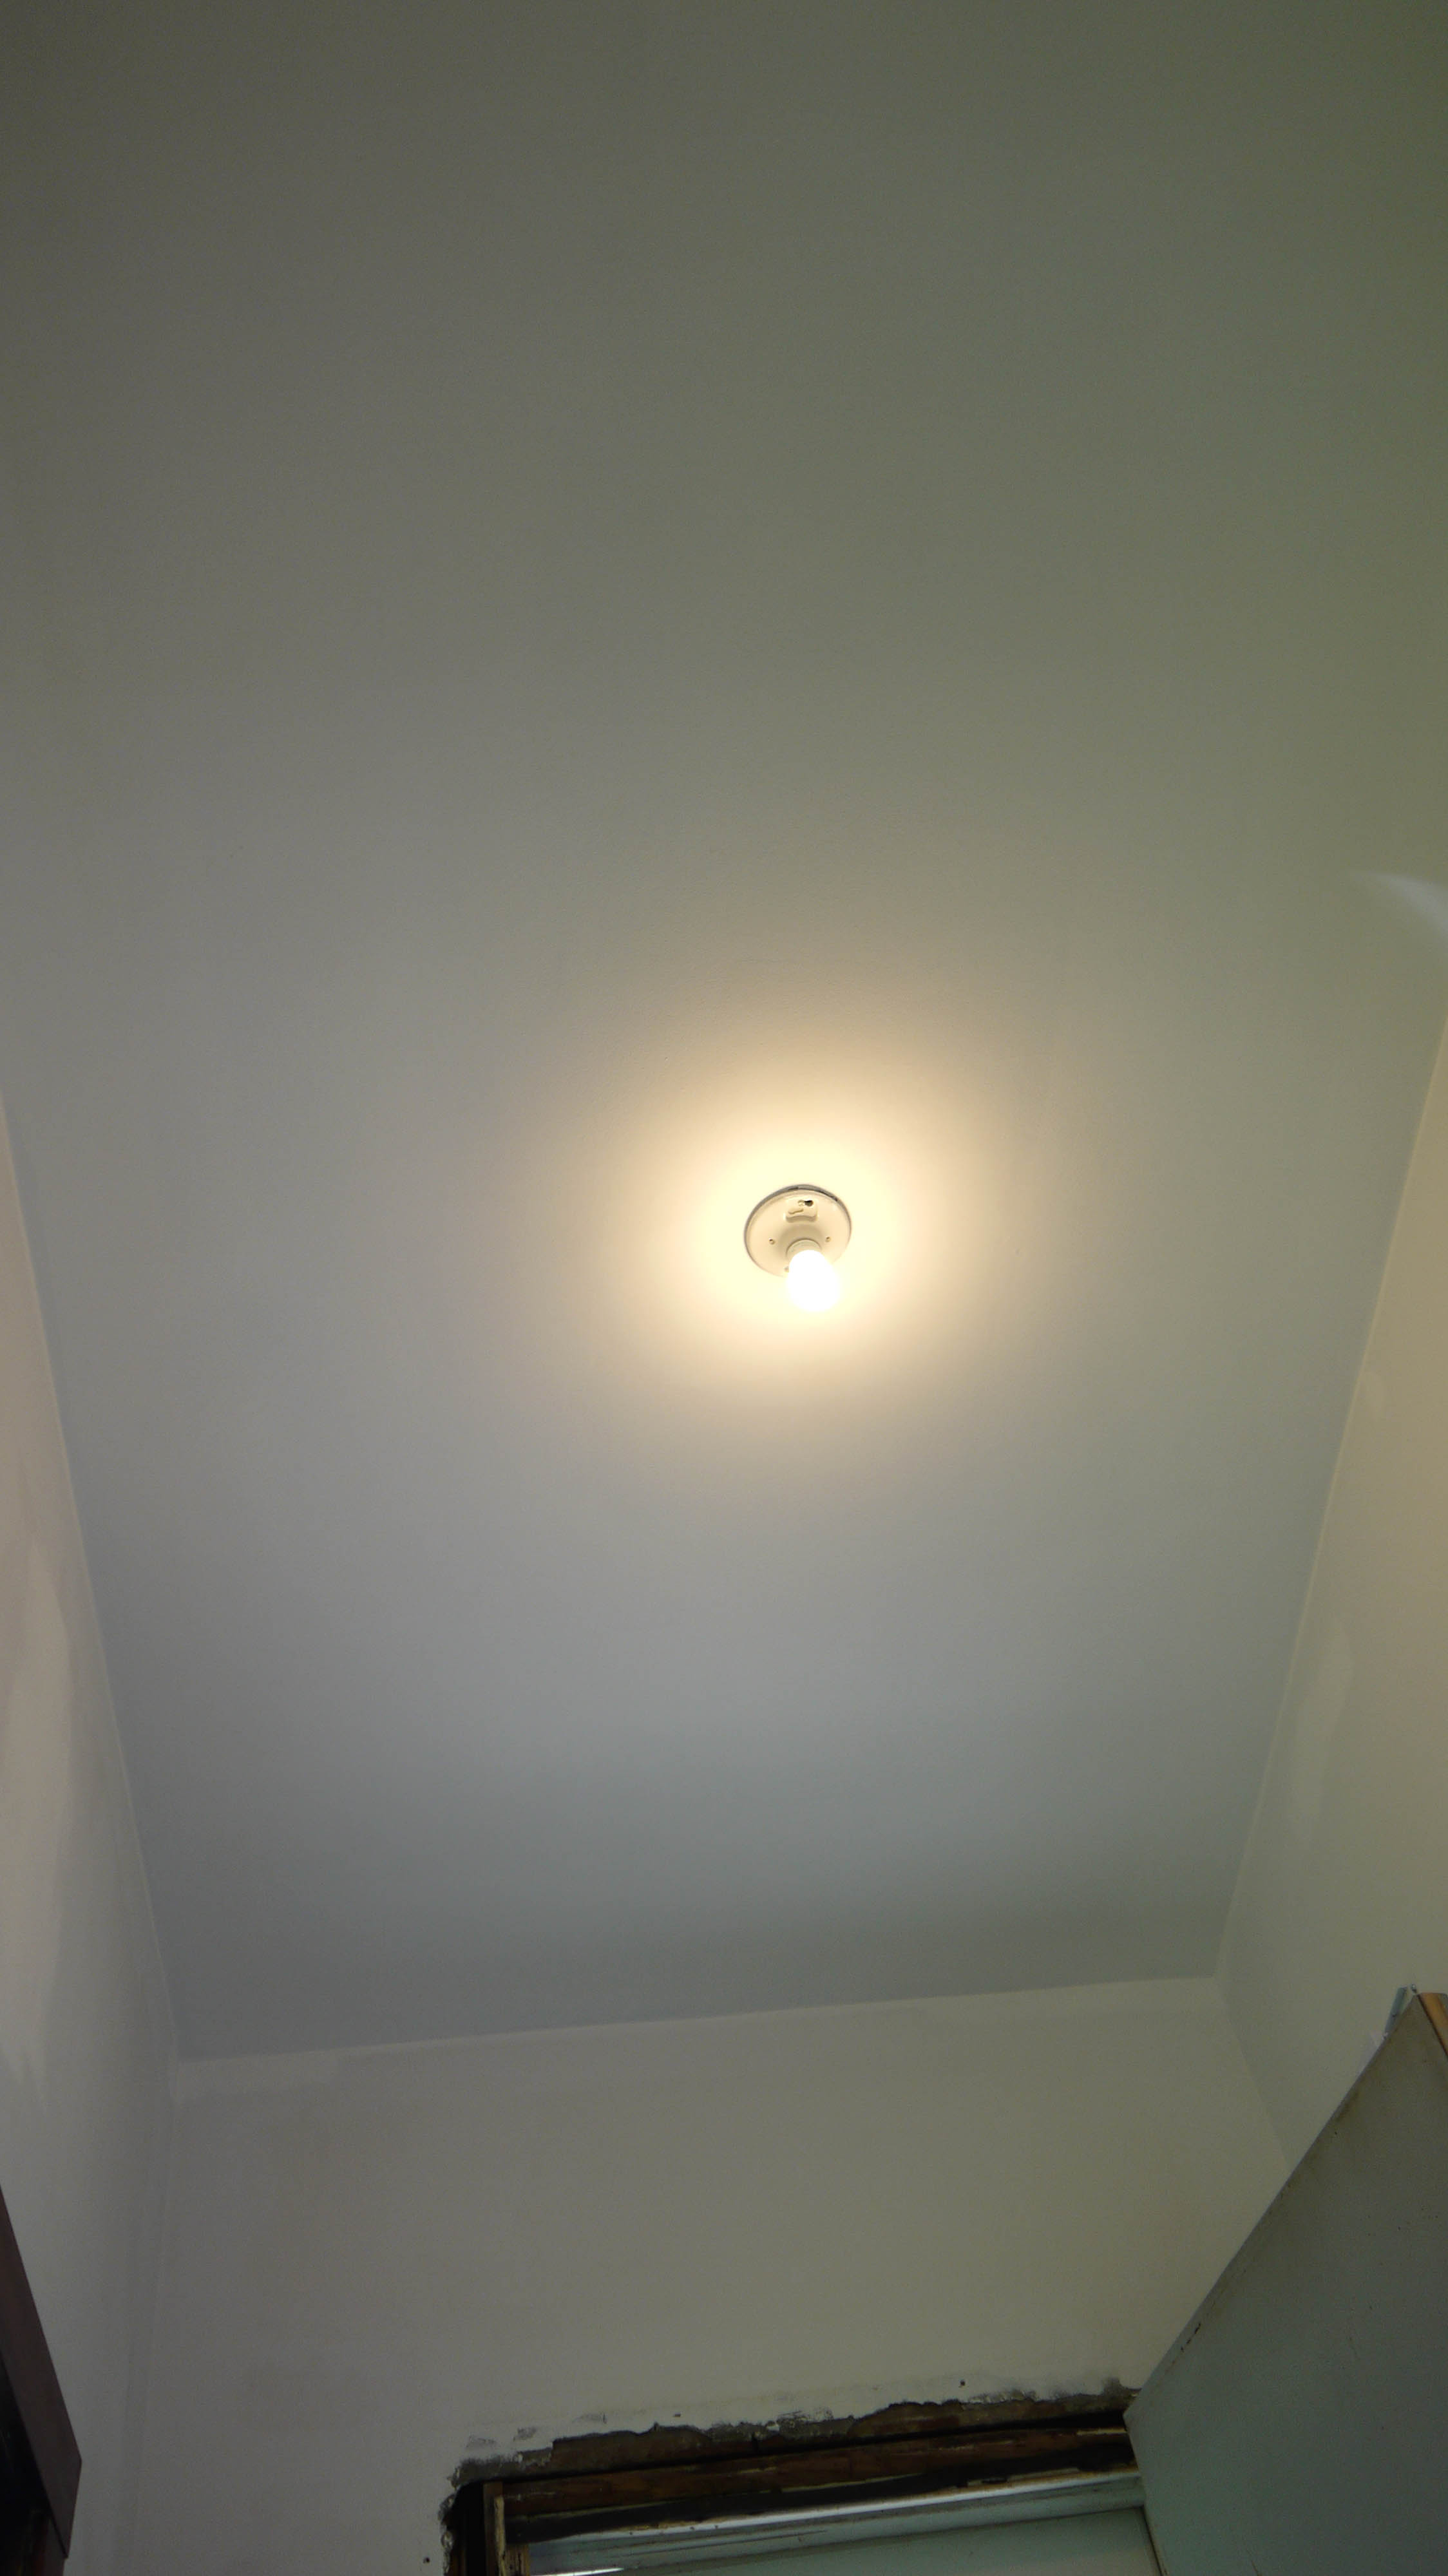
 After a layer of primer and 2 coats of paint, voila! Not a bad ceiling after all!
I stained the woodwork first before painting the walls. It is impossible, in my opinion, to stain woodwork and not get it on the walls. Two generous coats of stain, and then I use a trim brush to prime over the sloppy stain so that it doesn’t seep through the finish paint.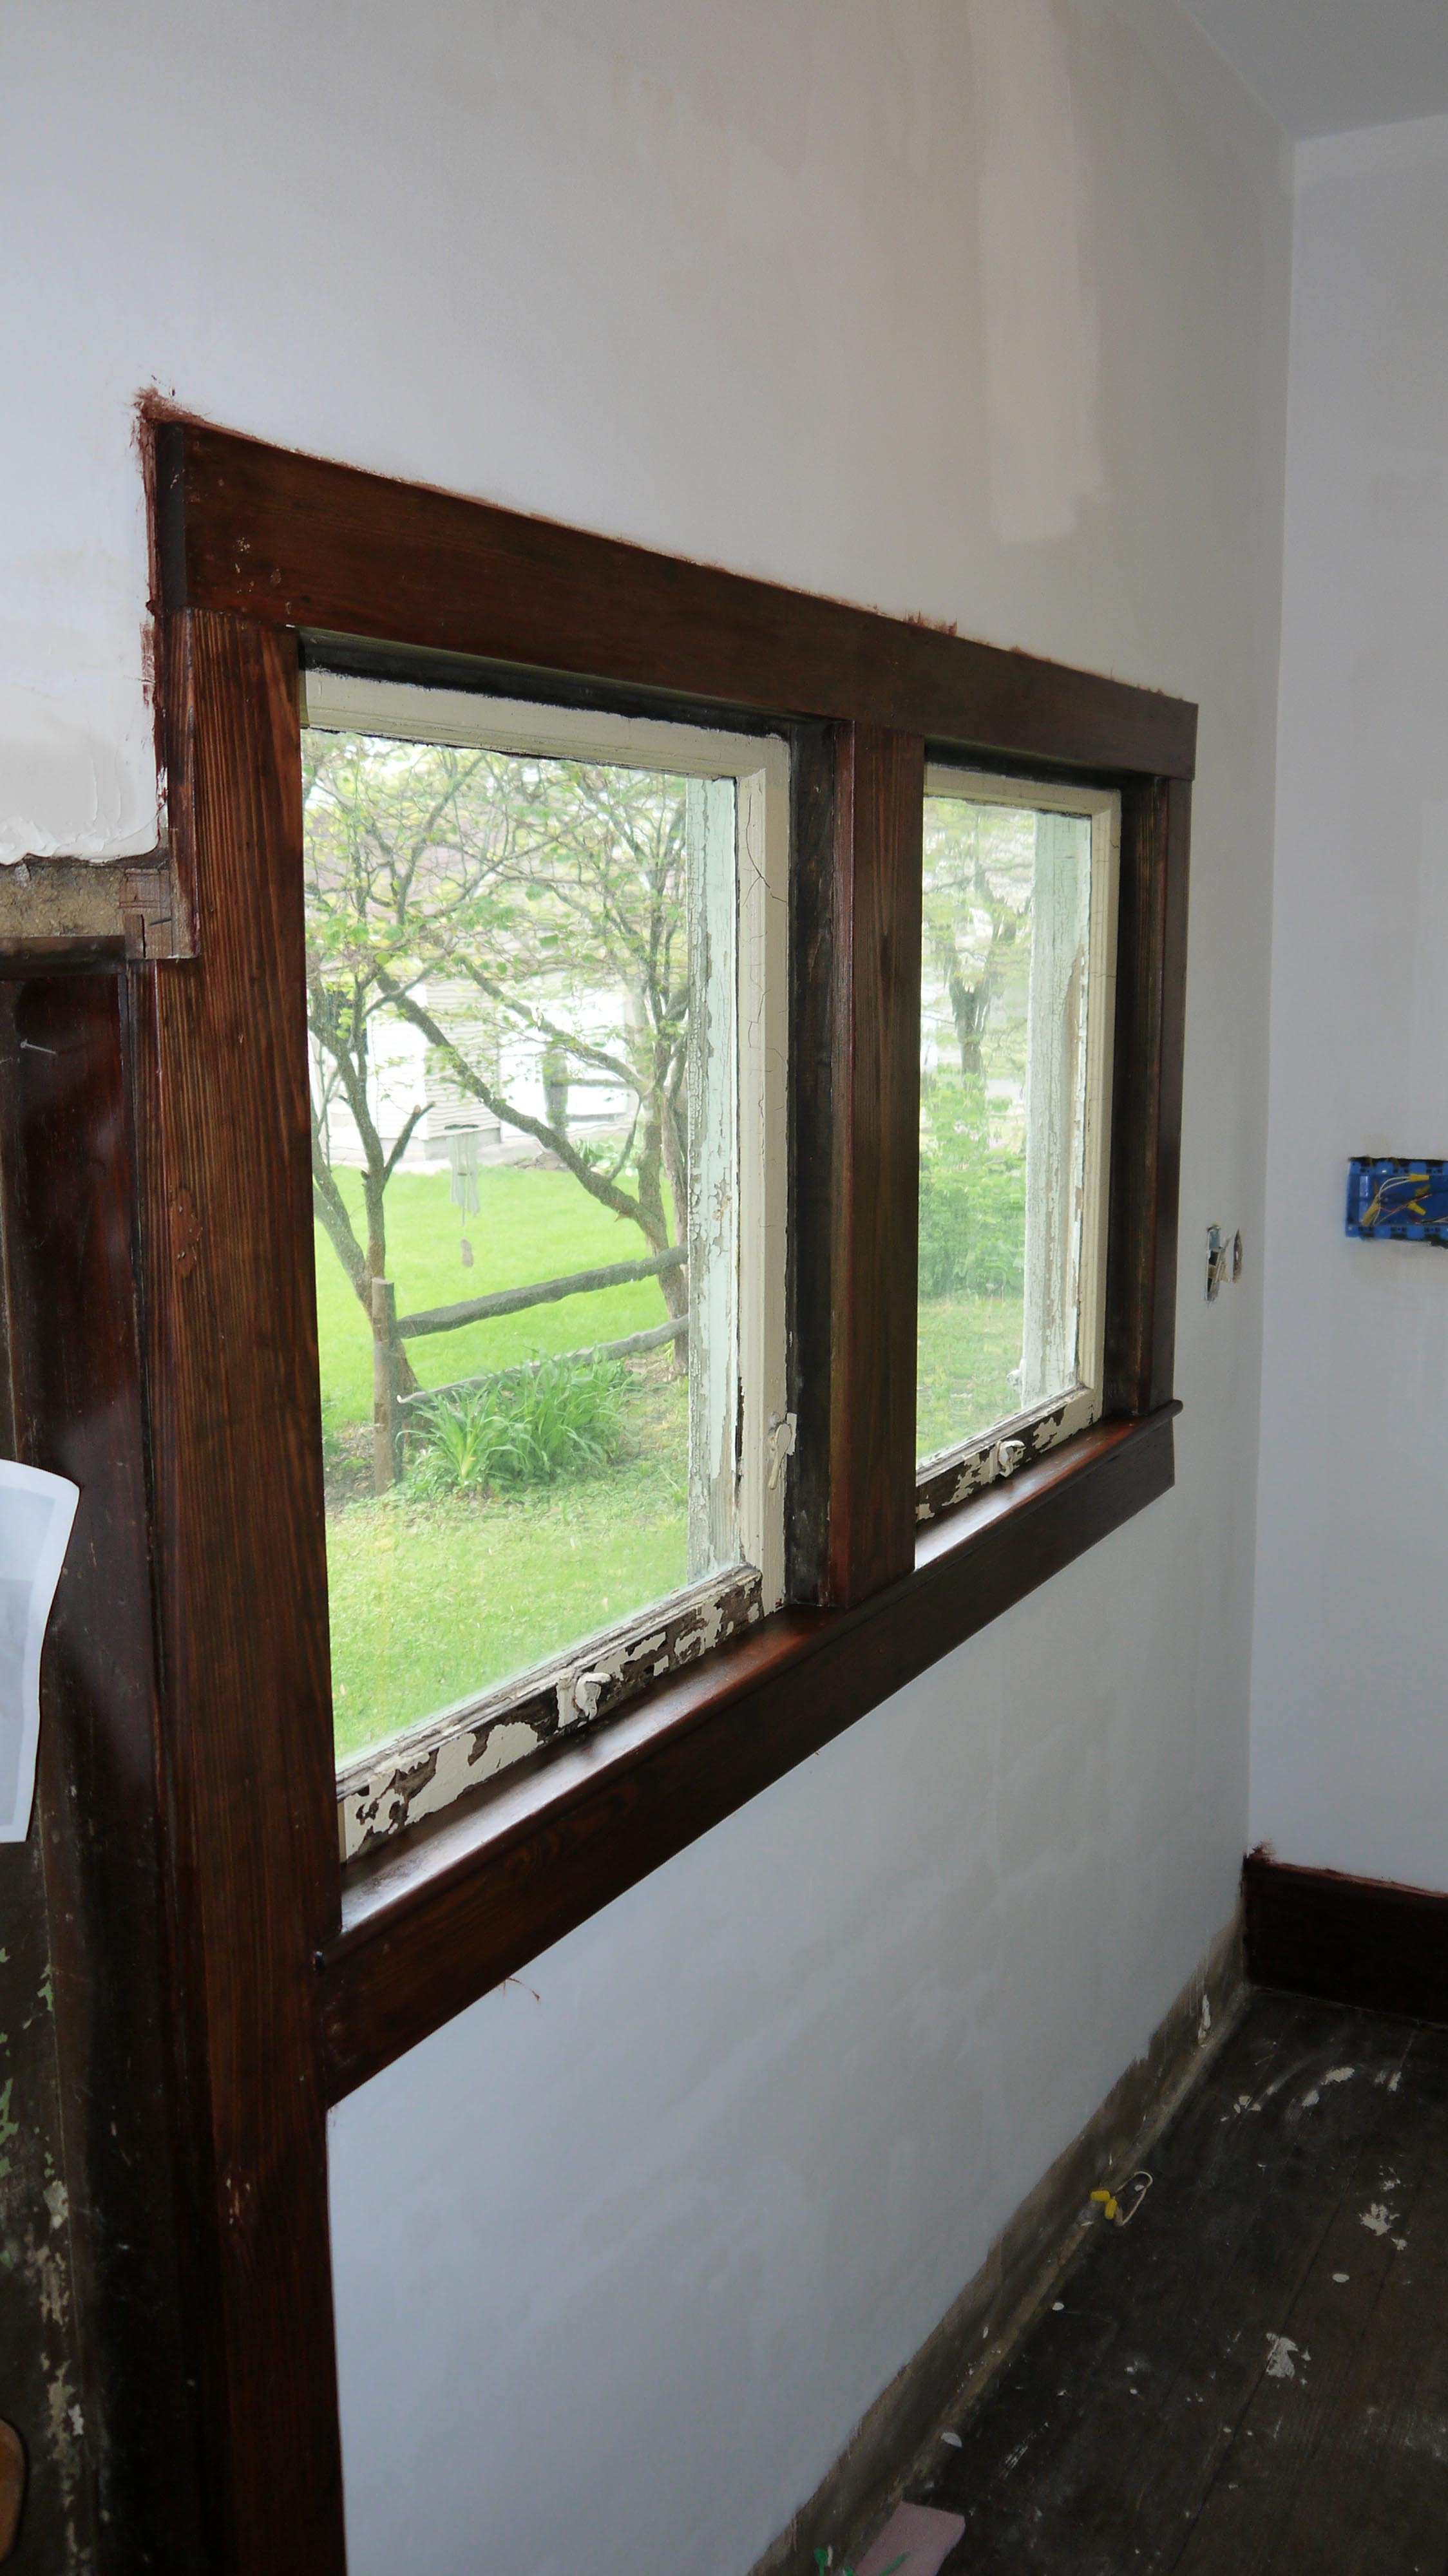
The woodwork started to look really good, but it just points out how terrible the window sashes still look. But those will be addressed soon!
Then it was time to paint. I wasn’t very picky choosing a paint color for the laundry room. It’s a small room, and there really isn’t very much style going on in there. My washer & dryer are white, the woodwork is mahogany, and I eventually plan to hang painted cabinets above the machines. But since the room opens into the kitchen, I want the two rooms to eventually feel seamless. So I picked a nice putty beige that will look good with the woodwork & the colors I already have picked for the future kitchen cabinets. The color is Loggia by Sherwin Williams (SW 7506). It’s a good neutral – not too yellow, not too pink – and the name, Loggia, brings back fond memories of my semester in Italy.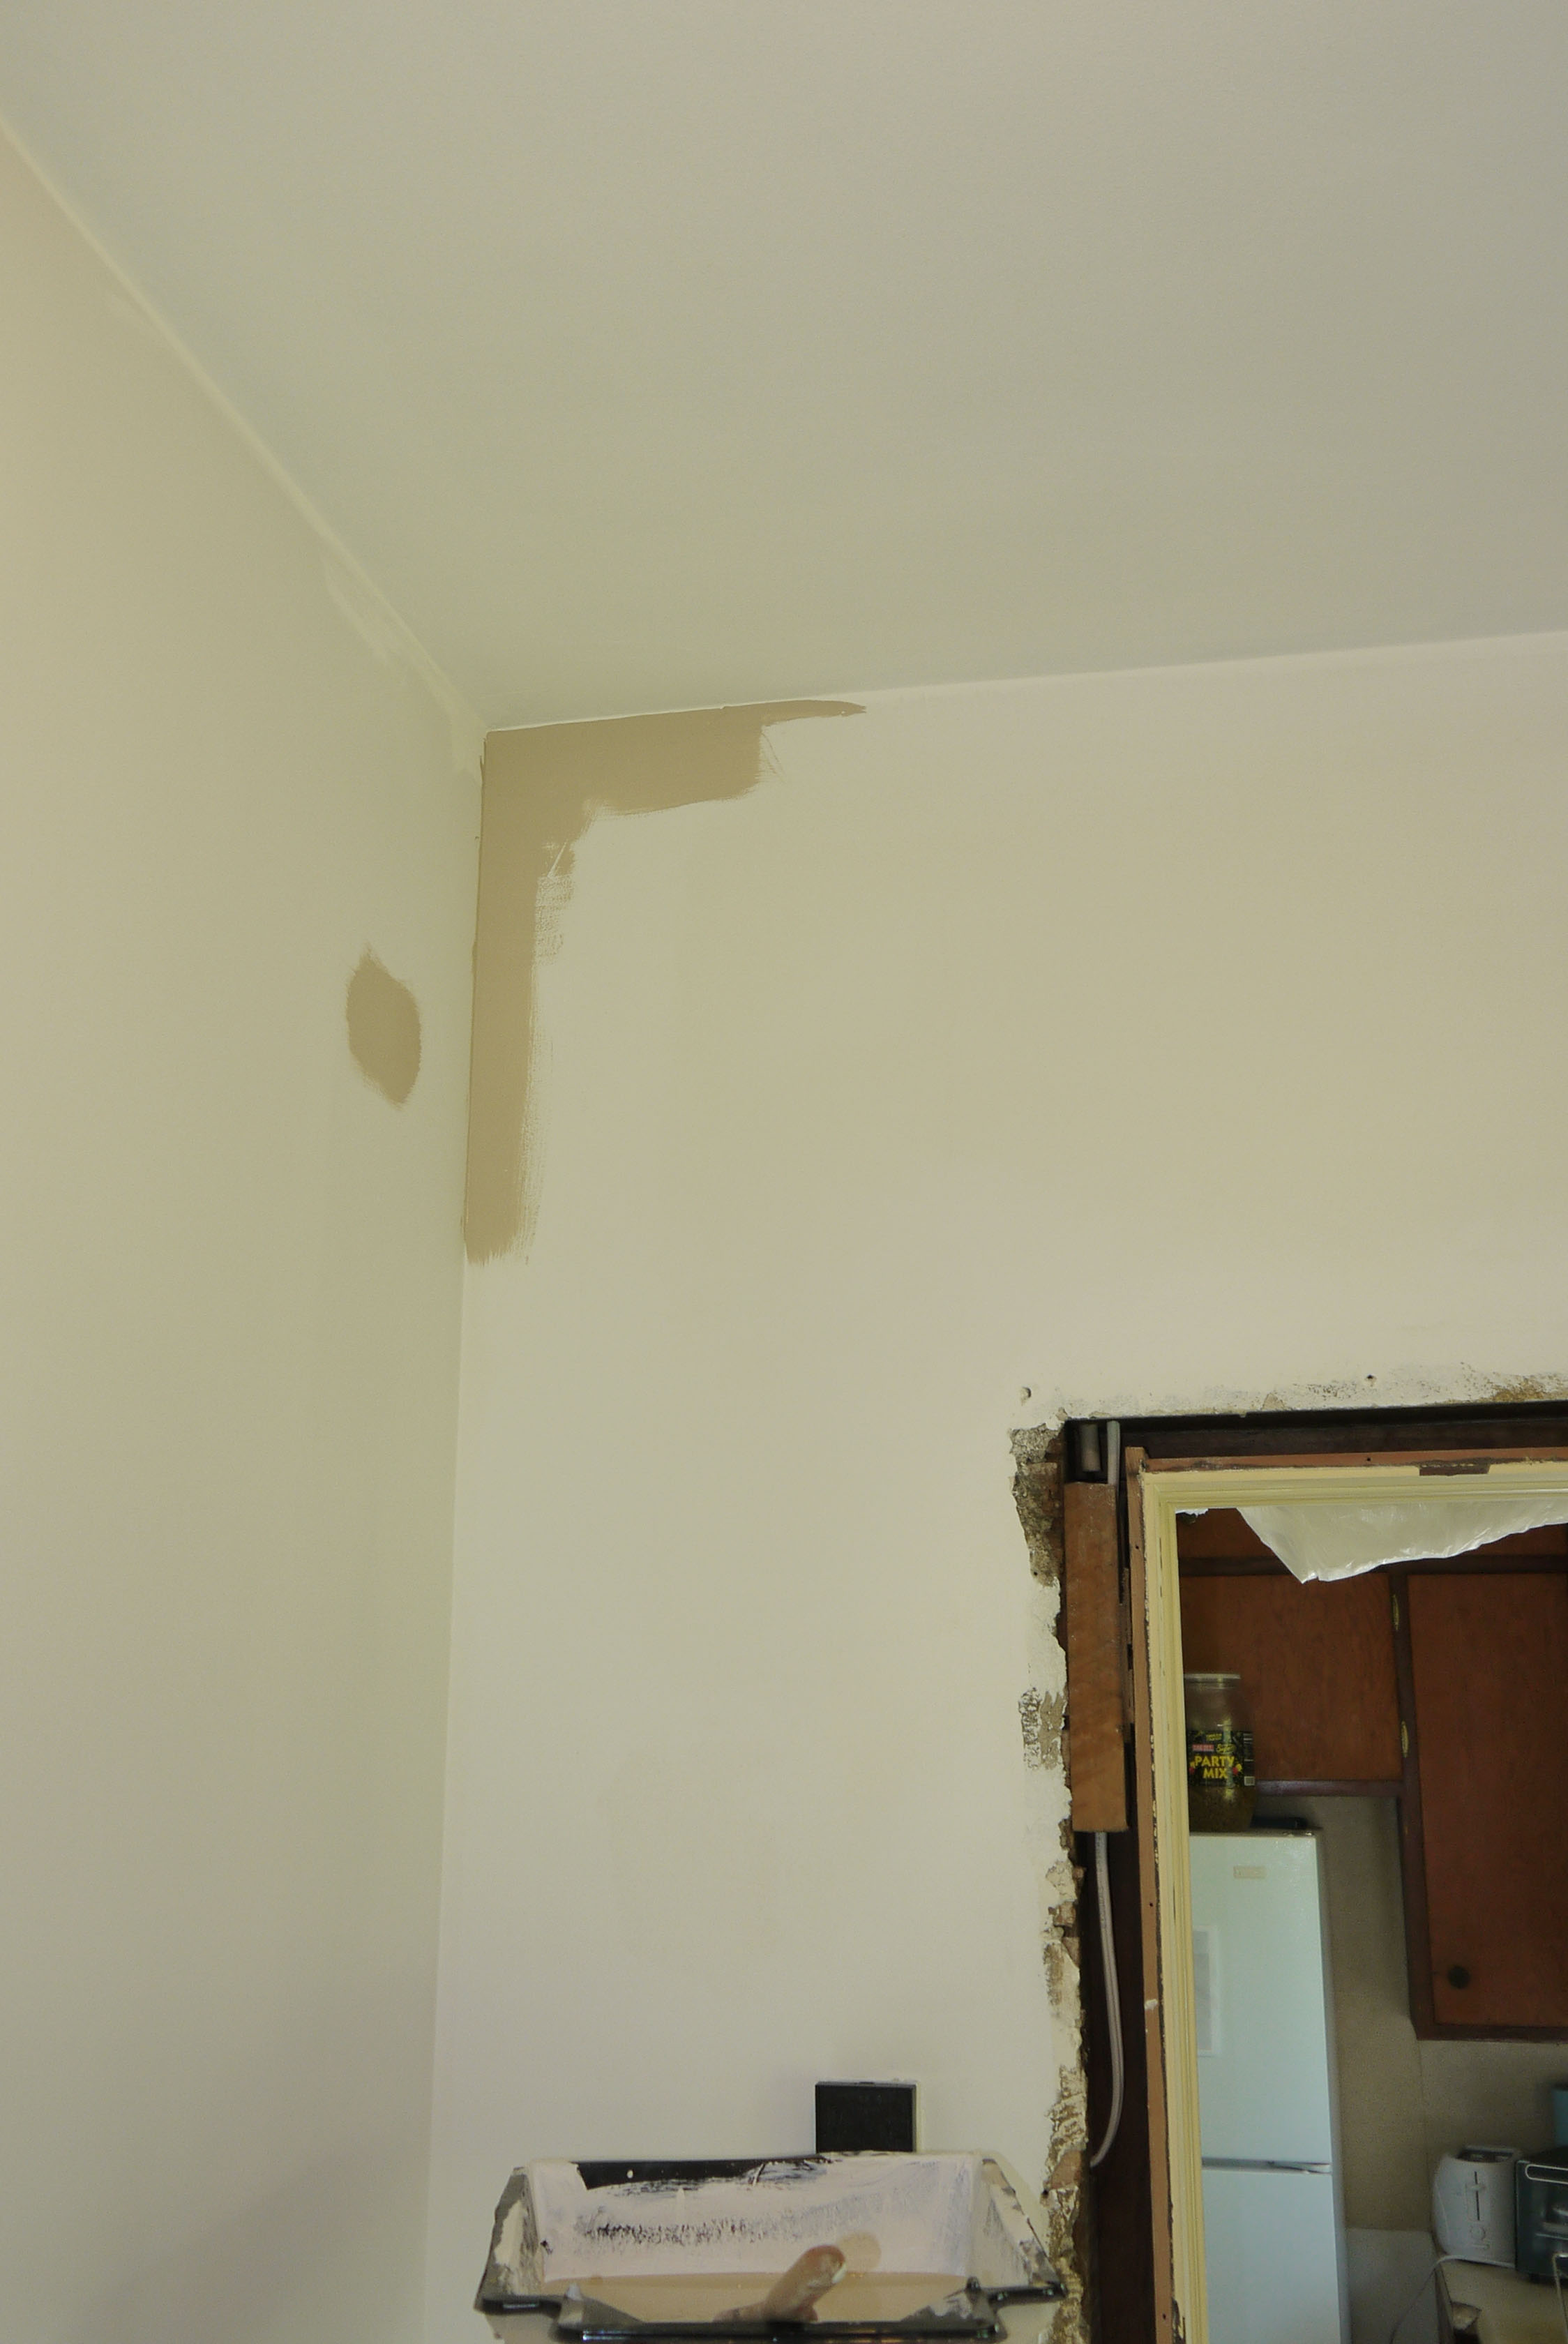
Two coats of paint went pretty fast with the now-smooth walls. Just a few areas needed touched up because I was still building up the repairs with layers of drywall mud.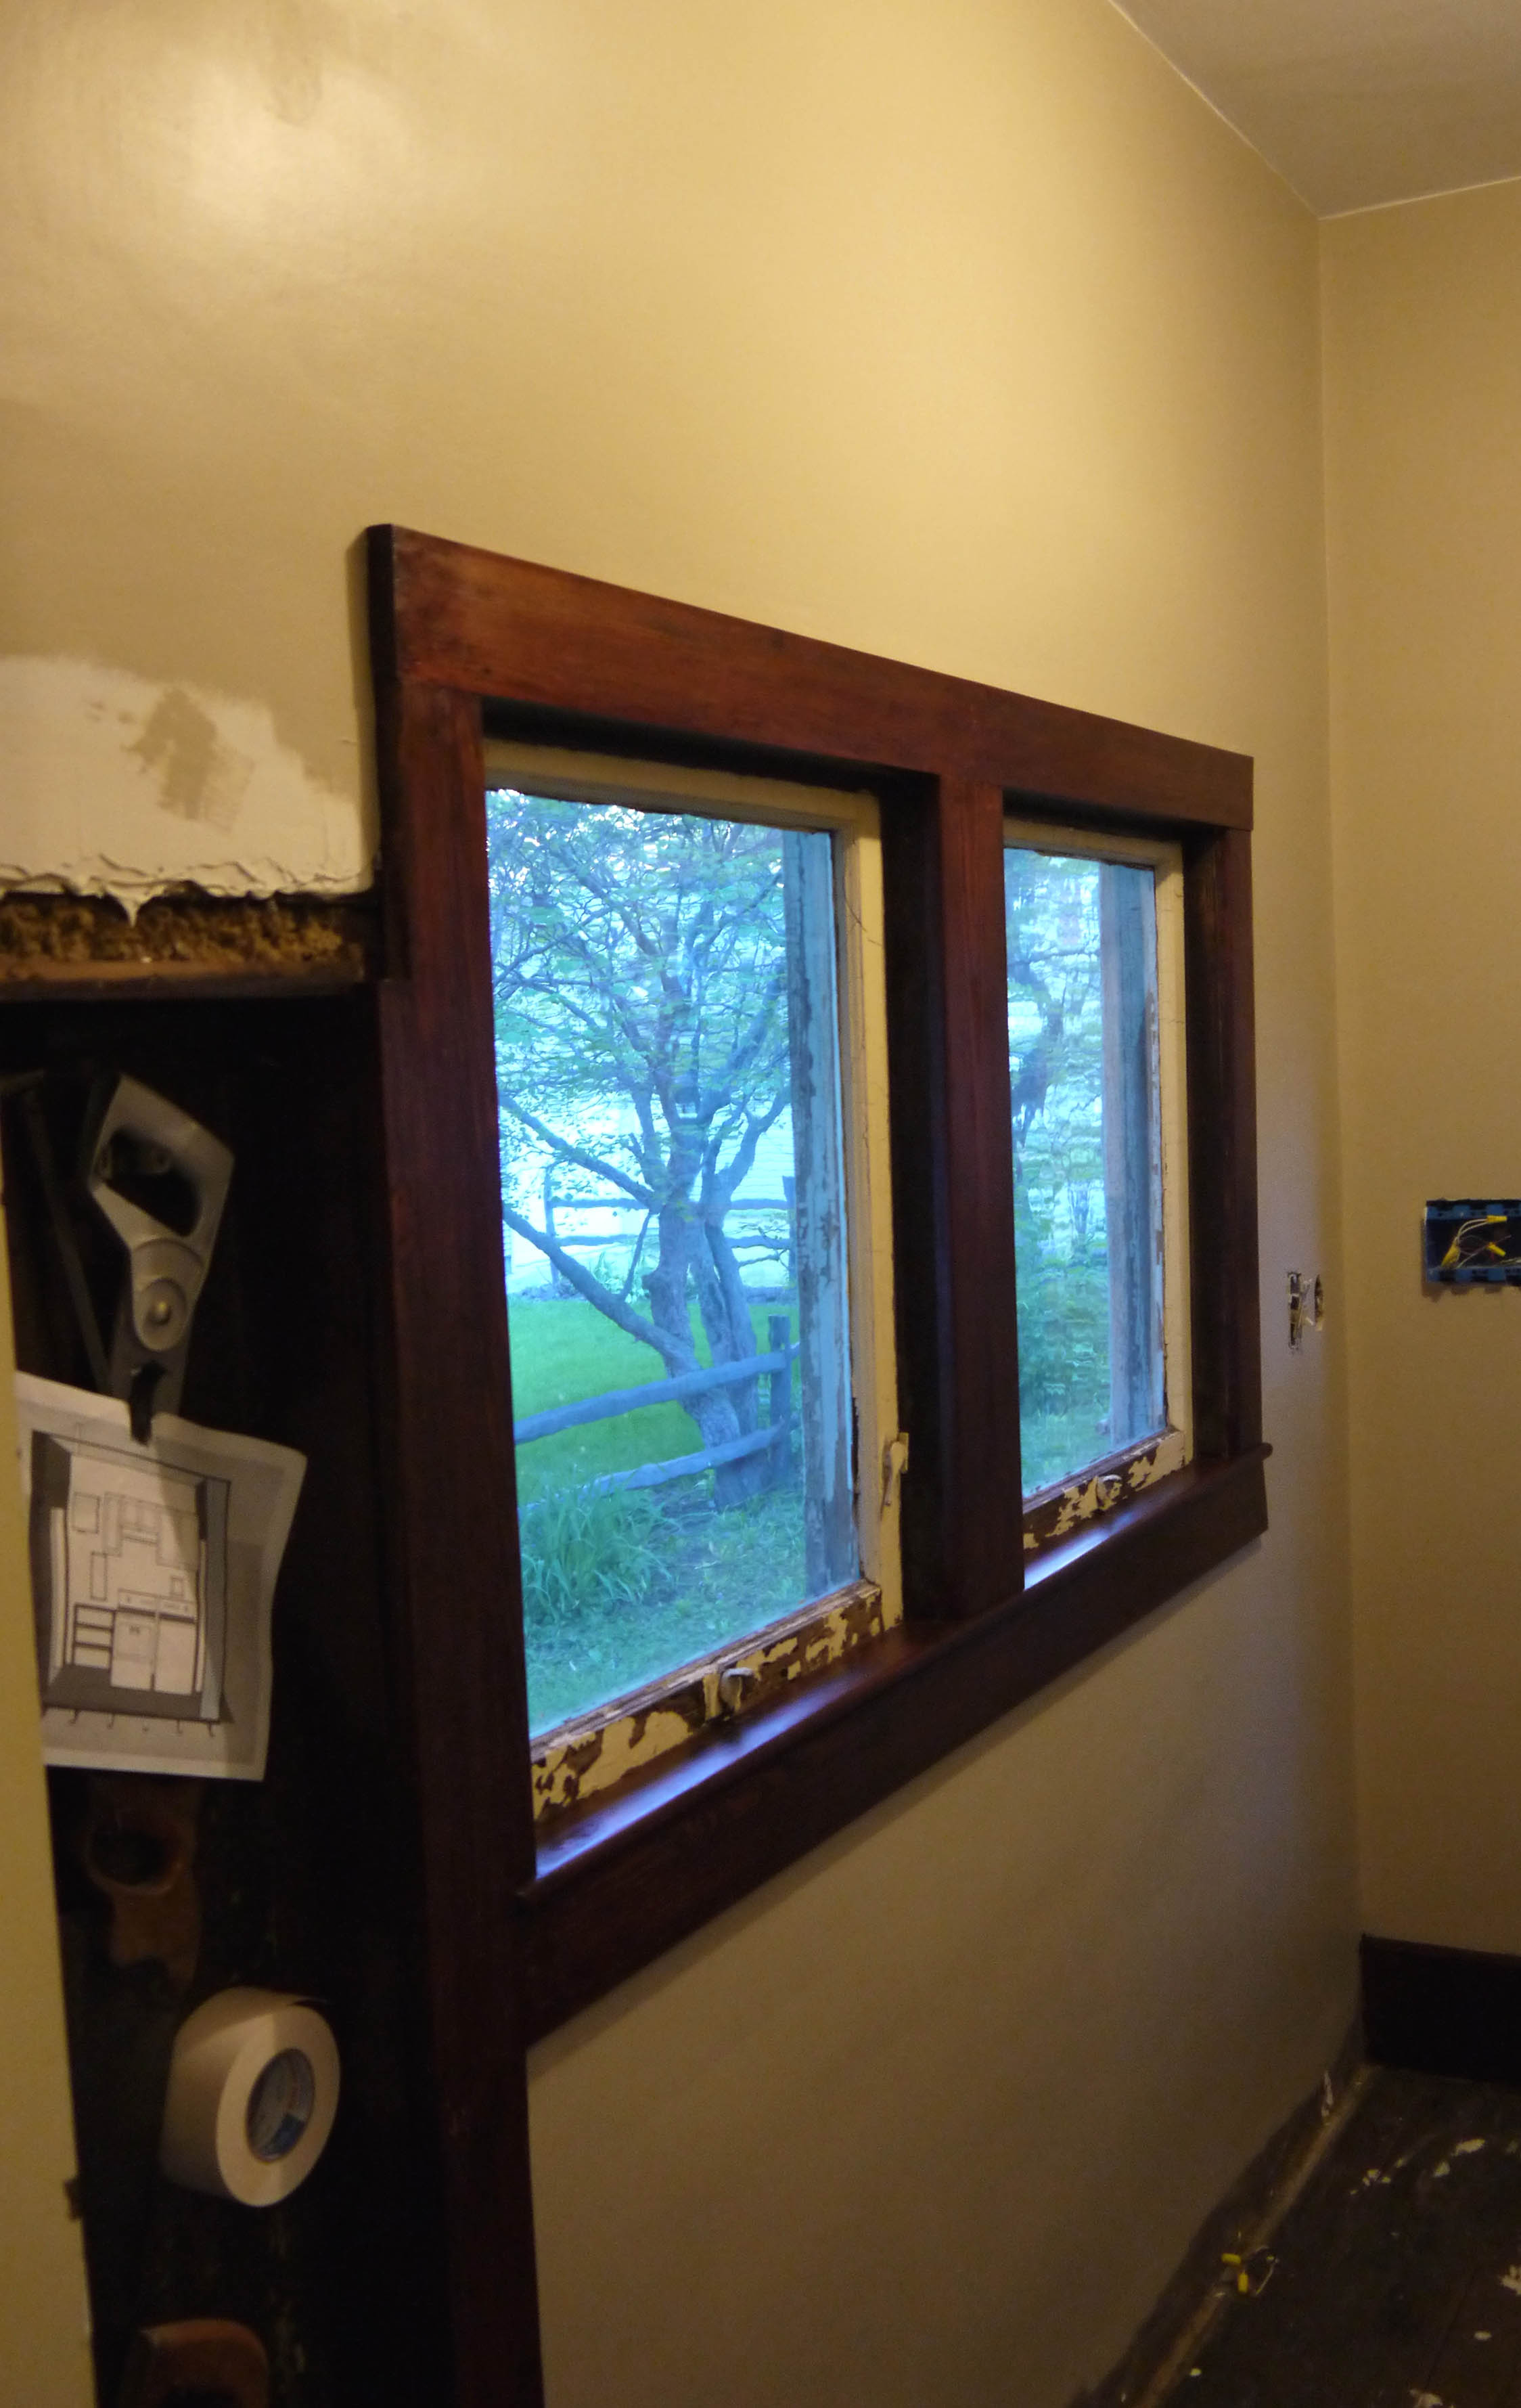
(This is where I explain, yes, the cabinet in the wall which is supposed to be a broom closet is functioning now as a handsaw cabinet. Some people have gun cabinets. I for some reason have a saw cabinet.)

I had removed the baseboards earlier before tackling the plaster repair, so I stained & poly’d them while off the walls – much easier this way. So all I had to do was nail them in place – and they fit really tightly to the walls. I didn’t feel like fixing the former outlet opening in the board above, because I knew it would be hidden by the washer. But I did purchase a brown outlet cover and screwed it overtop. A quick fix for an area that will only ever be seen during the short time it takes to switch out a washer or dryer if when appliances are ever upgraded.
The woodwork isn’t perfect, it still has some dings and scratches. But I didn’t feel the need to sand everything out. Once again, character.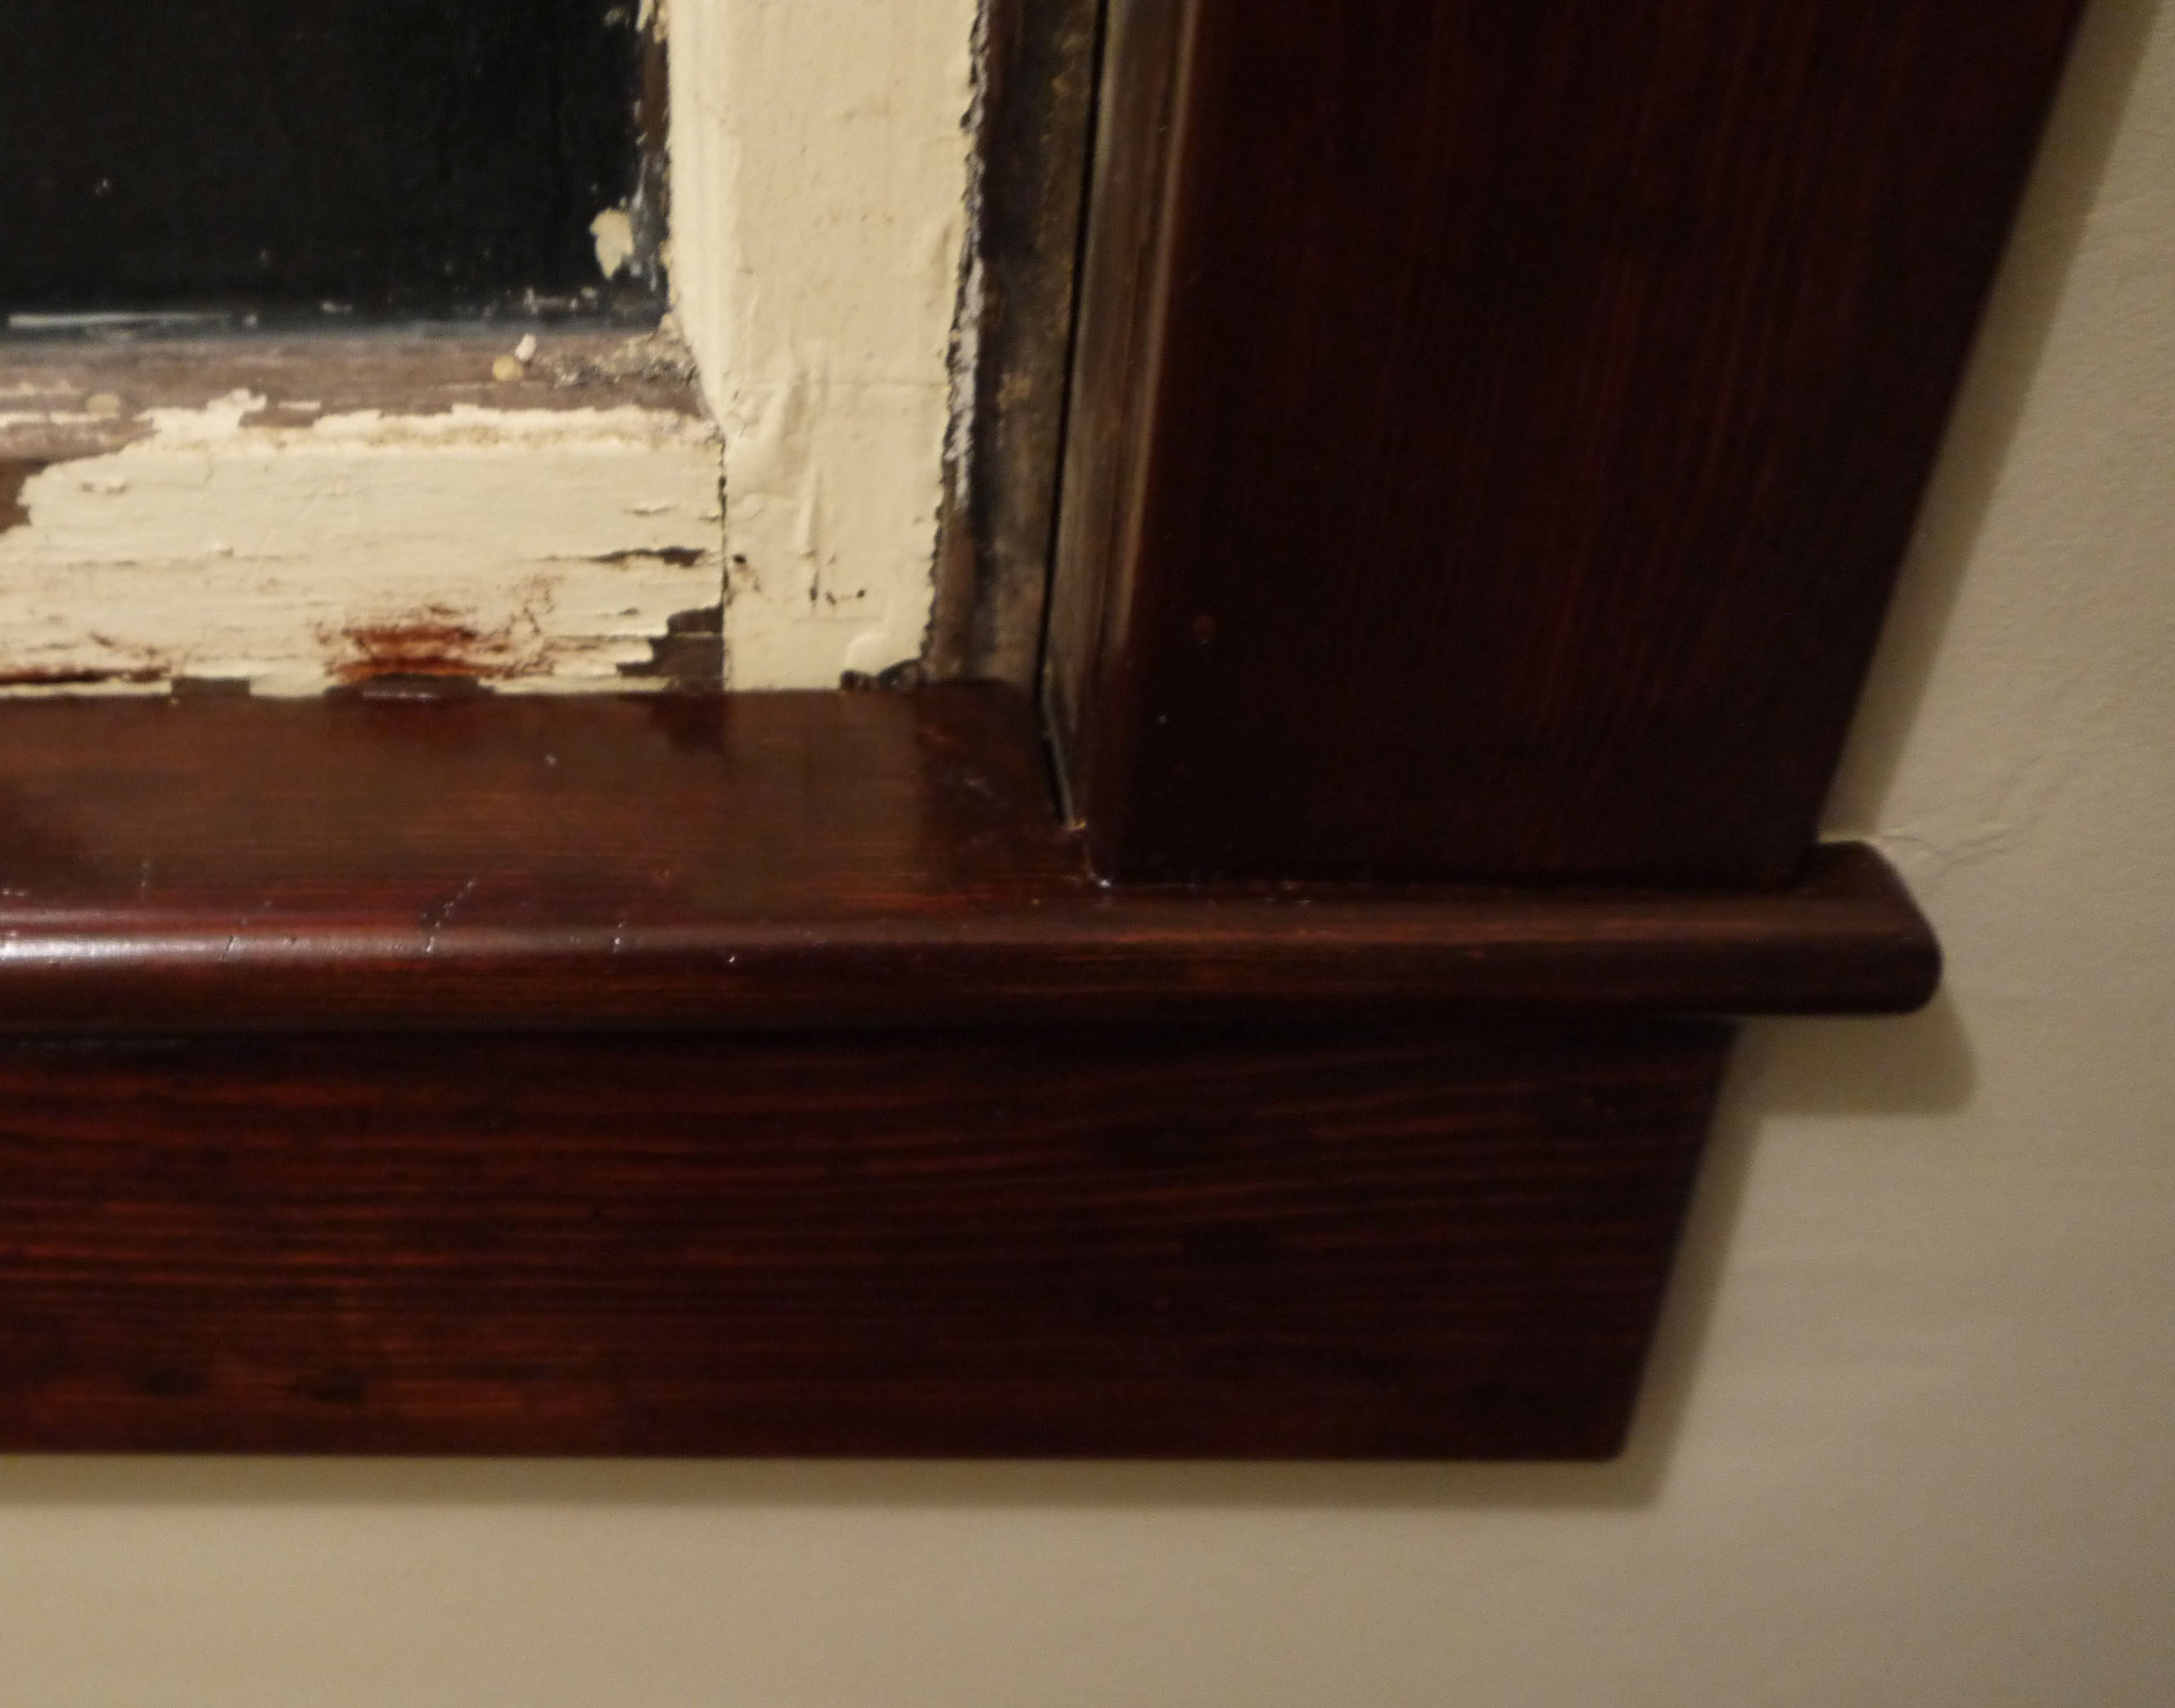 Then some finishing details. Like snapping on the trim piece for the washer connection box:
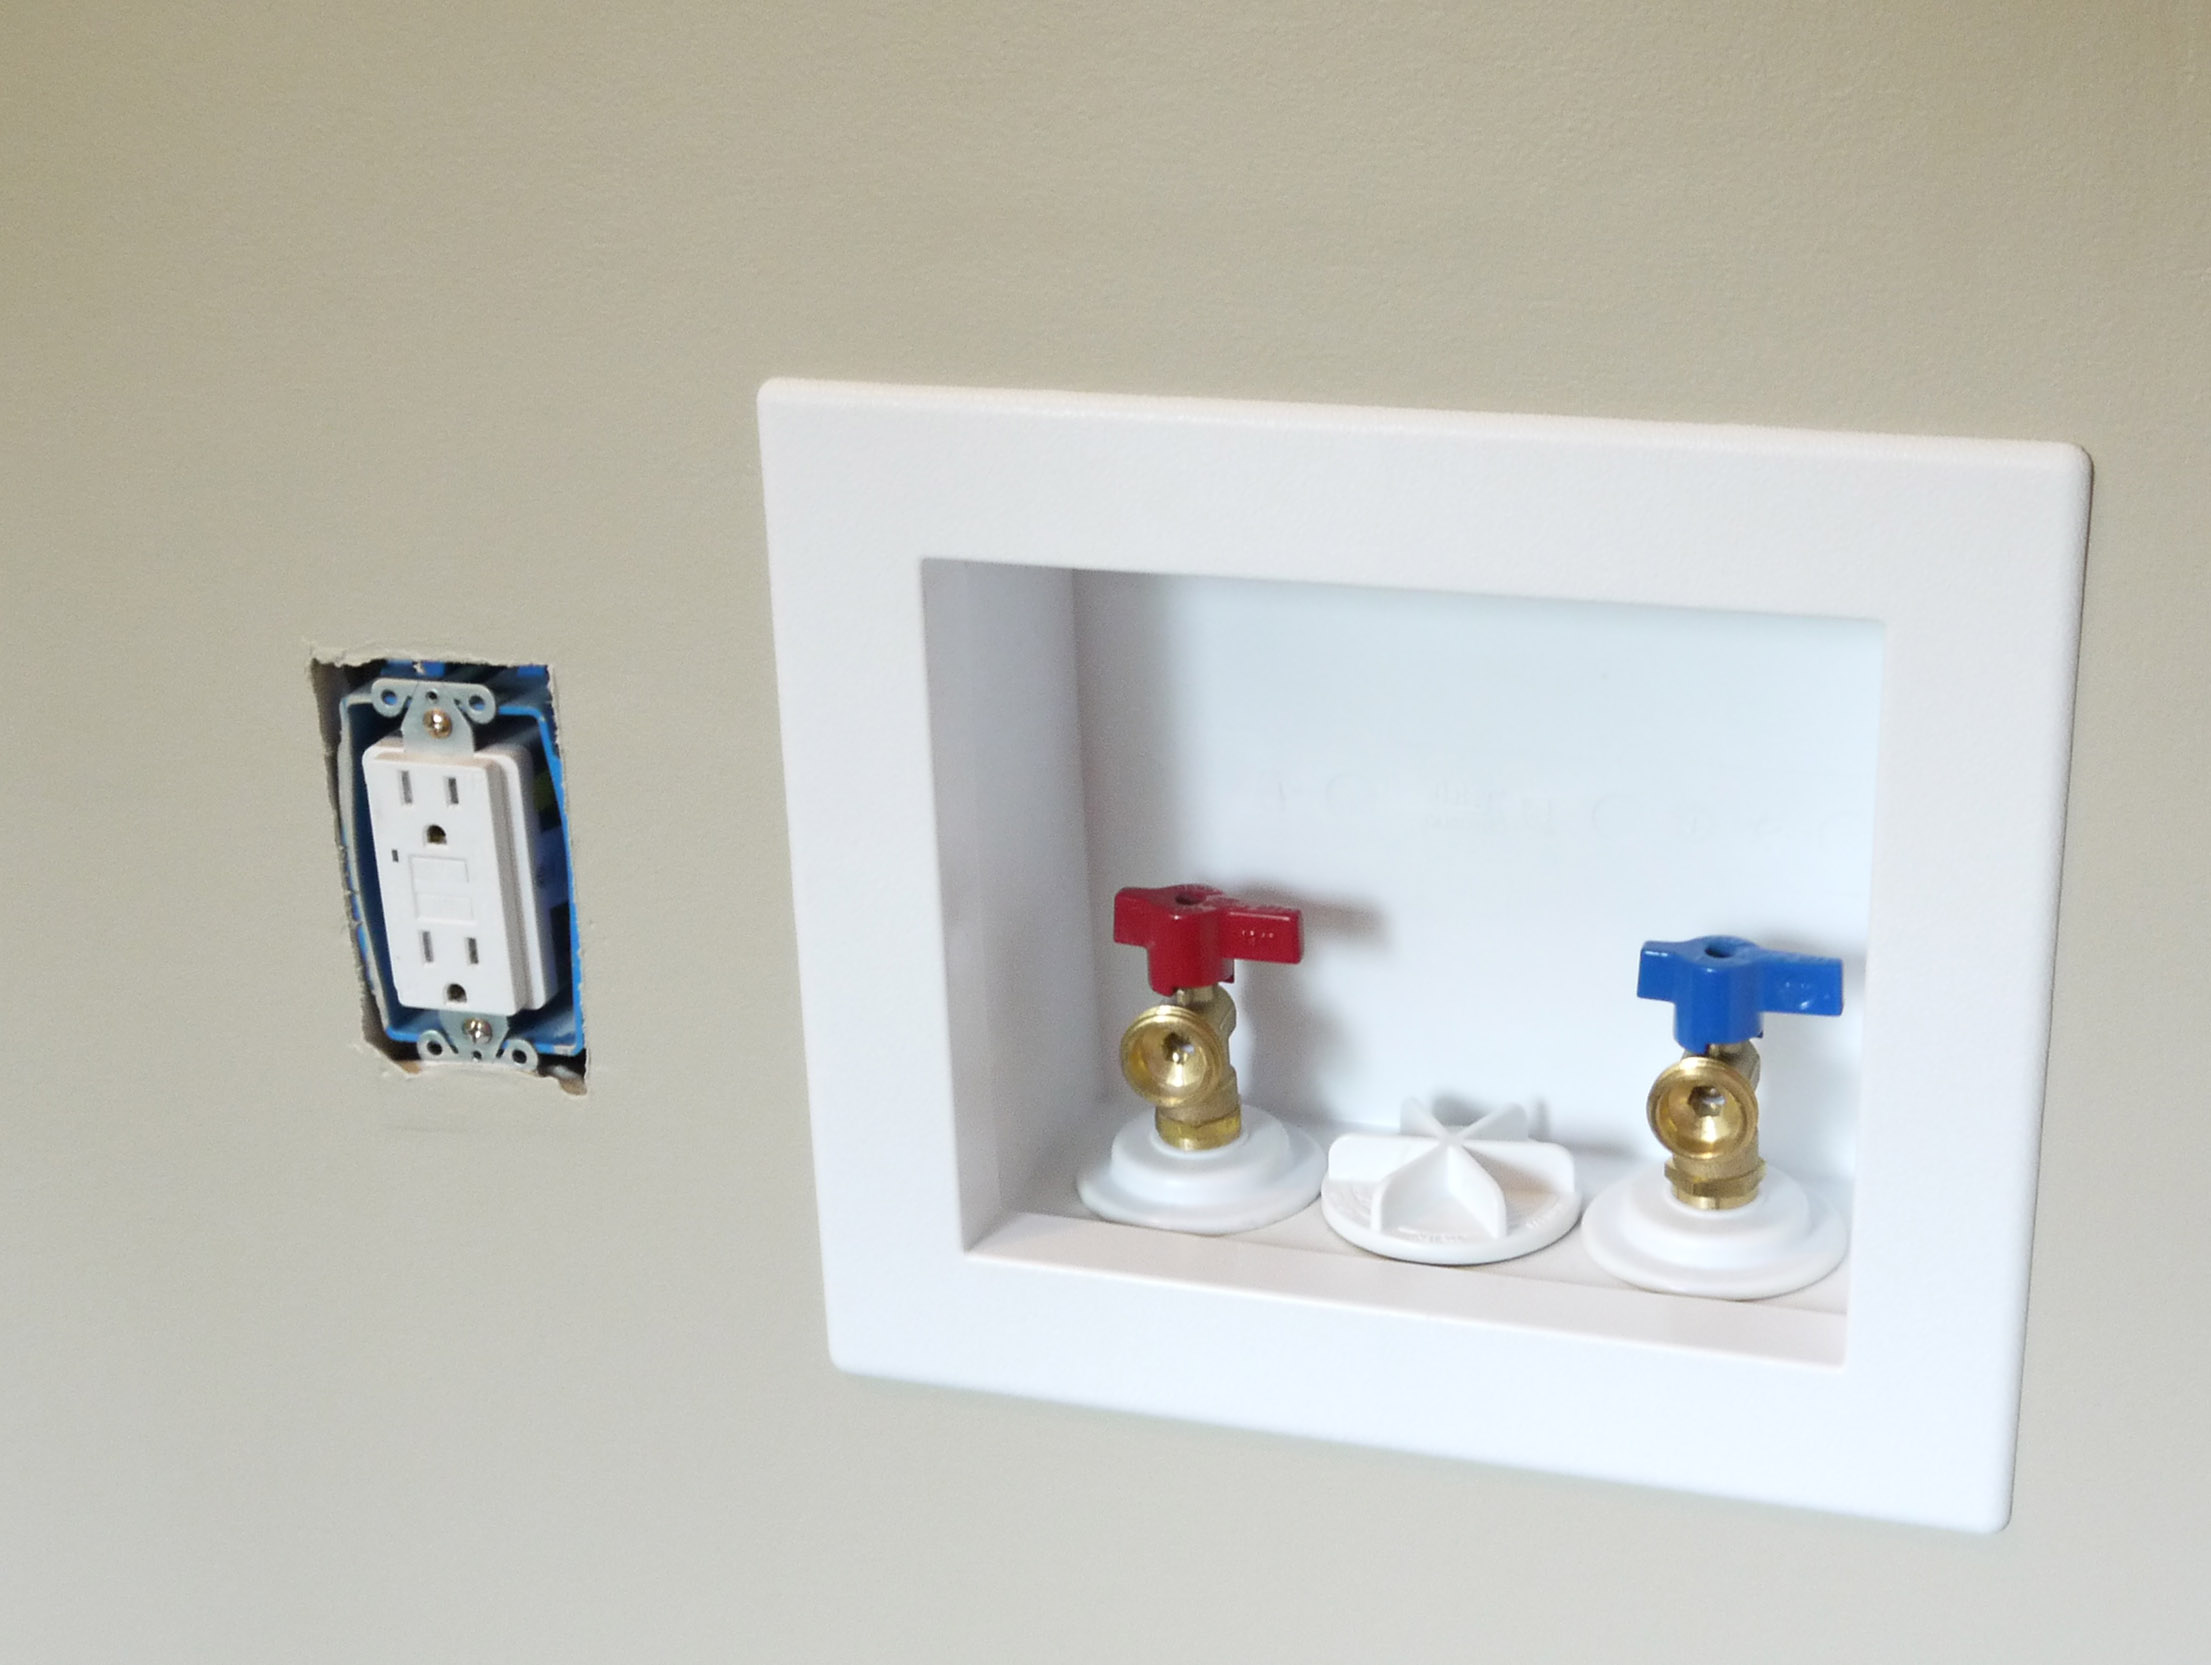
And hiding the water heater shut-off access into the wall with this box and removable lid, and snapping the round covers over the water heater inlet and outlet pipes.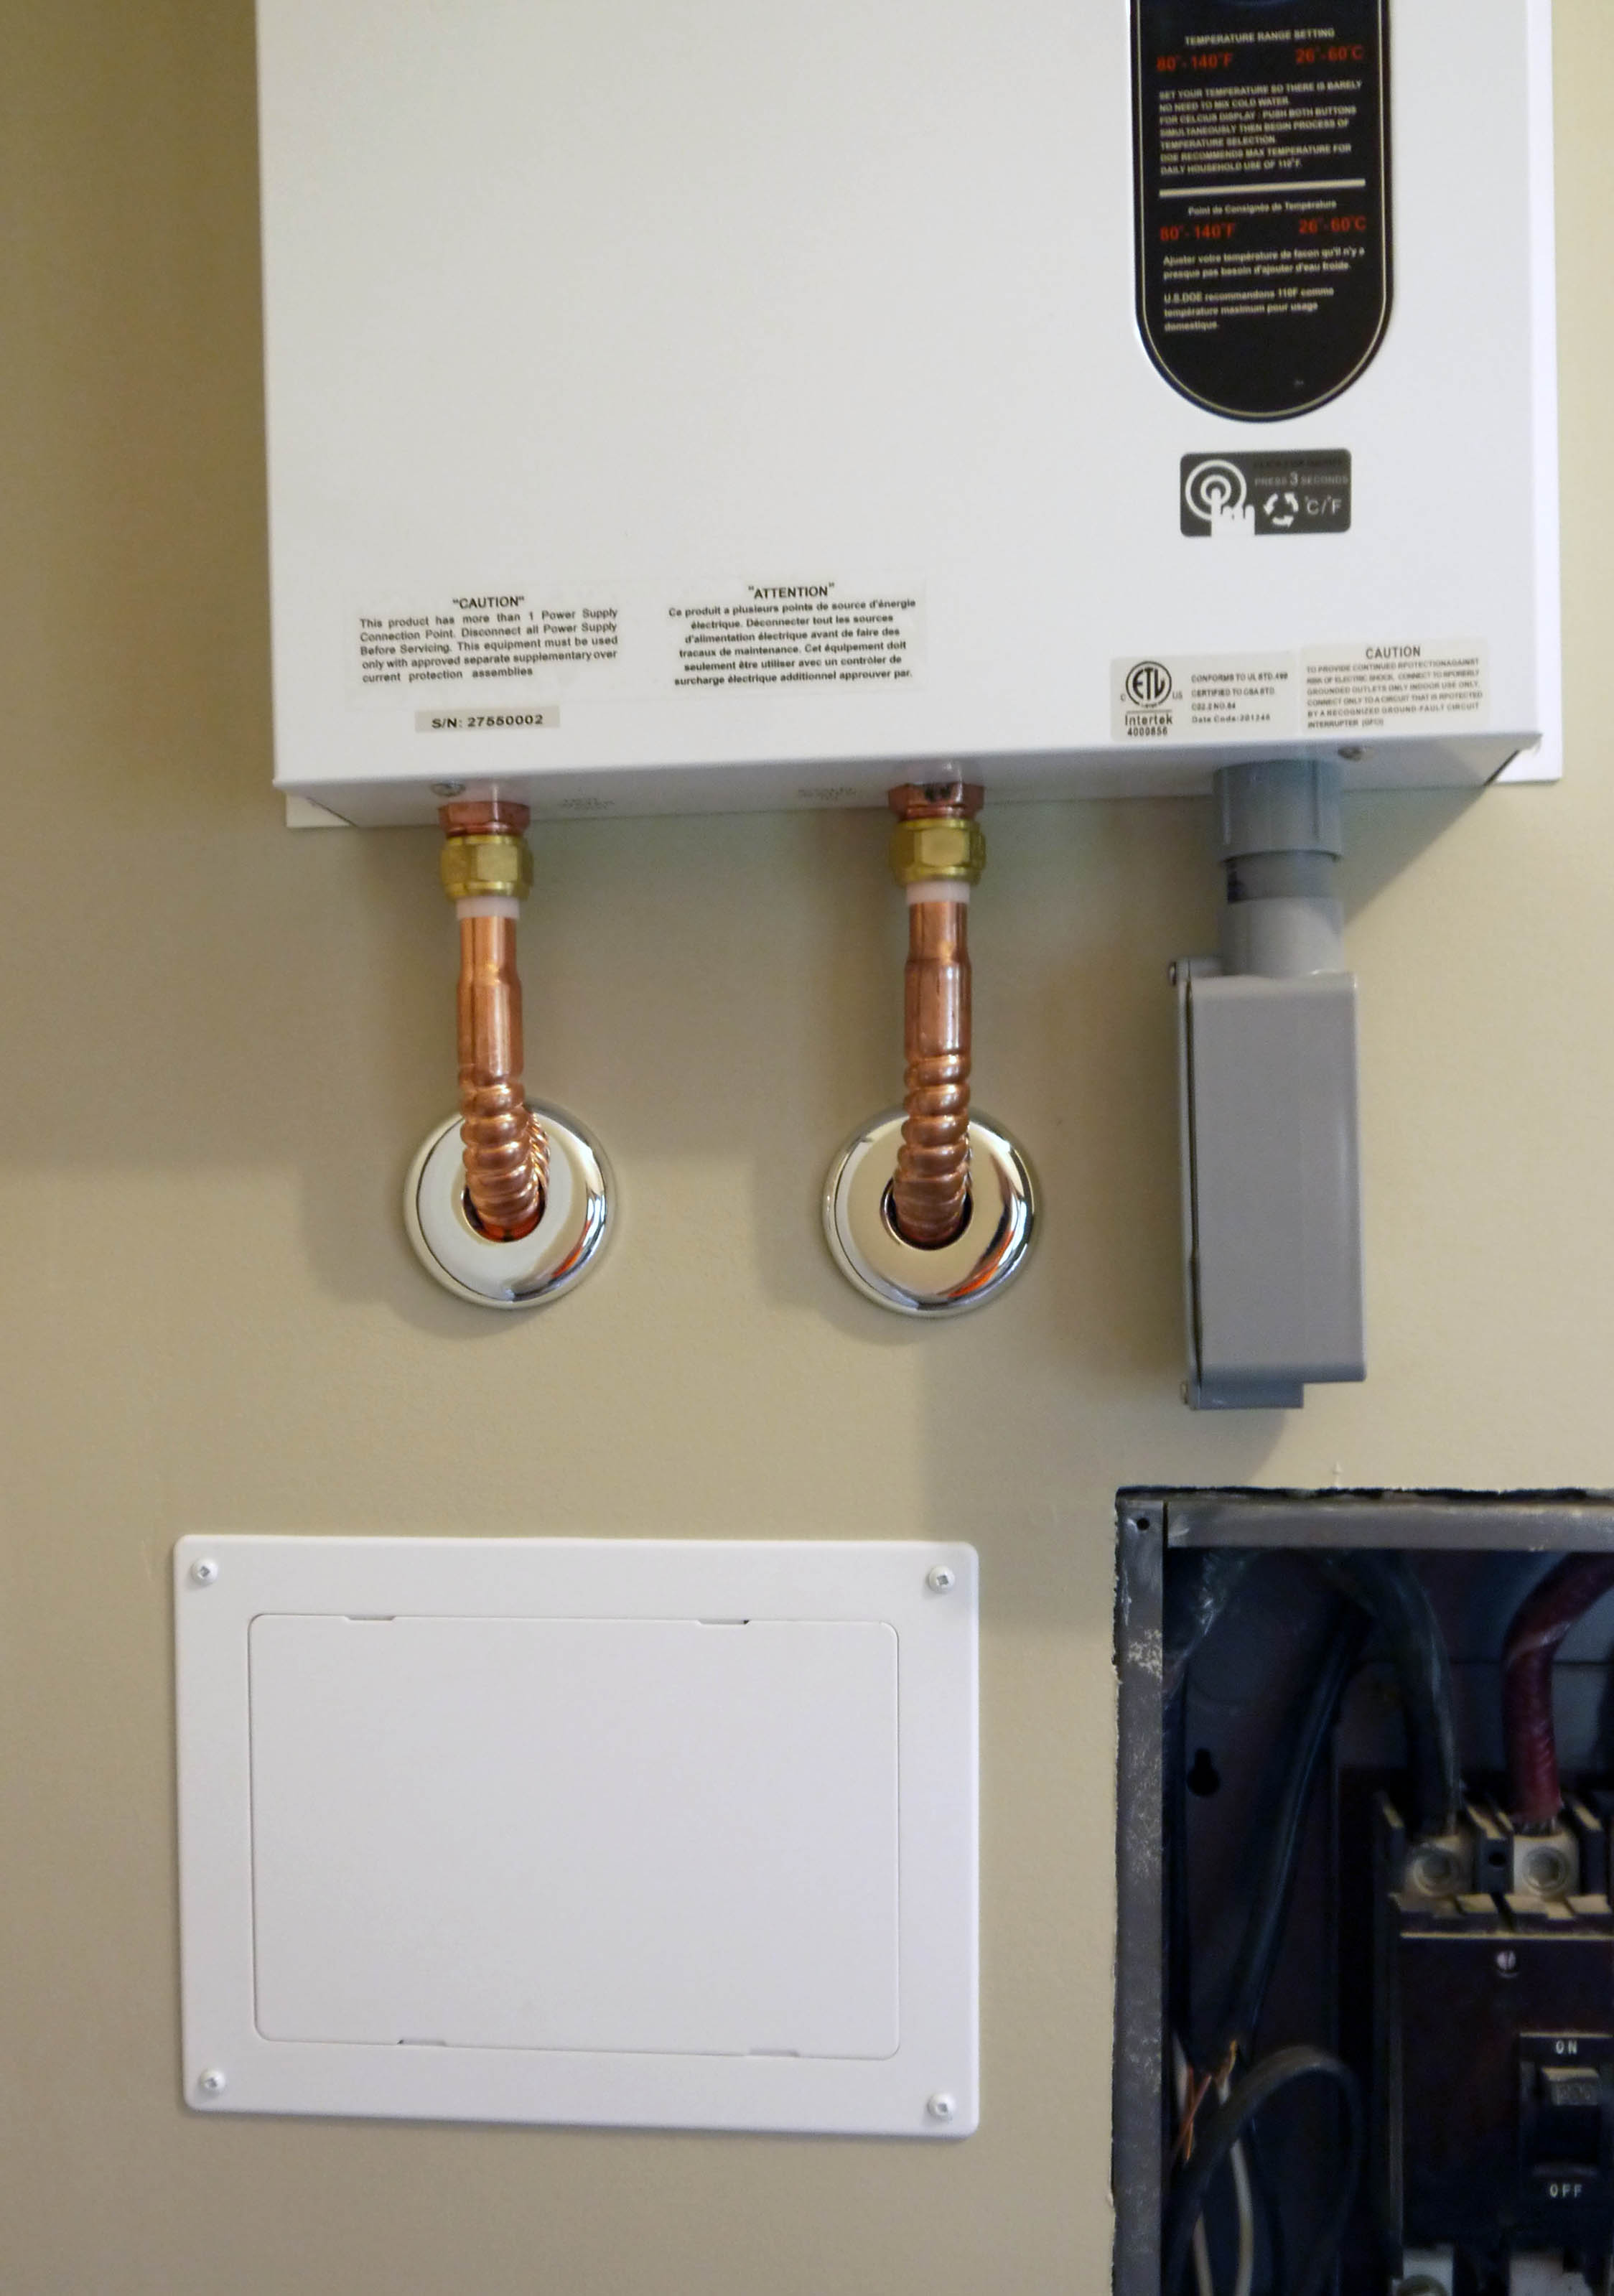
In all, I am thrilled with how far this room has come. I still need to refinish the door for the little wall cabinet on the left, but it should be a fast Saturday project. 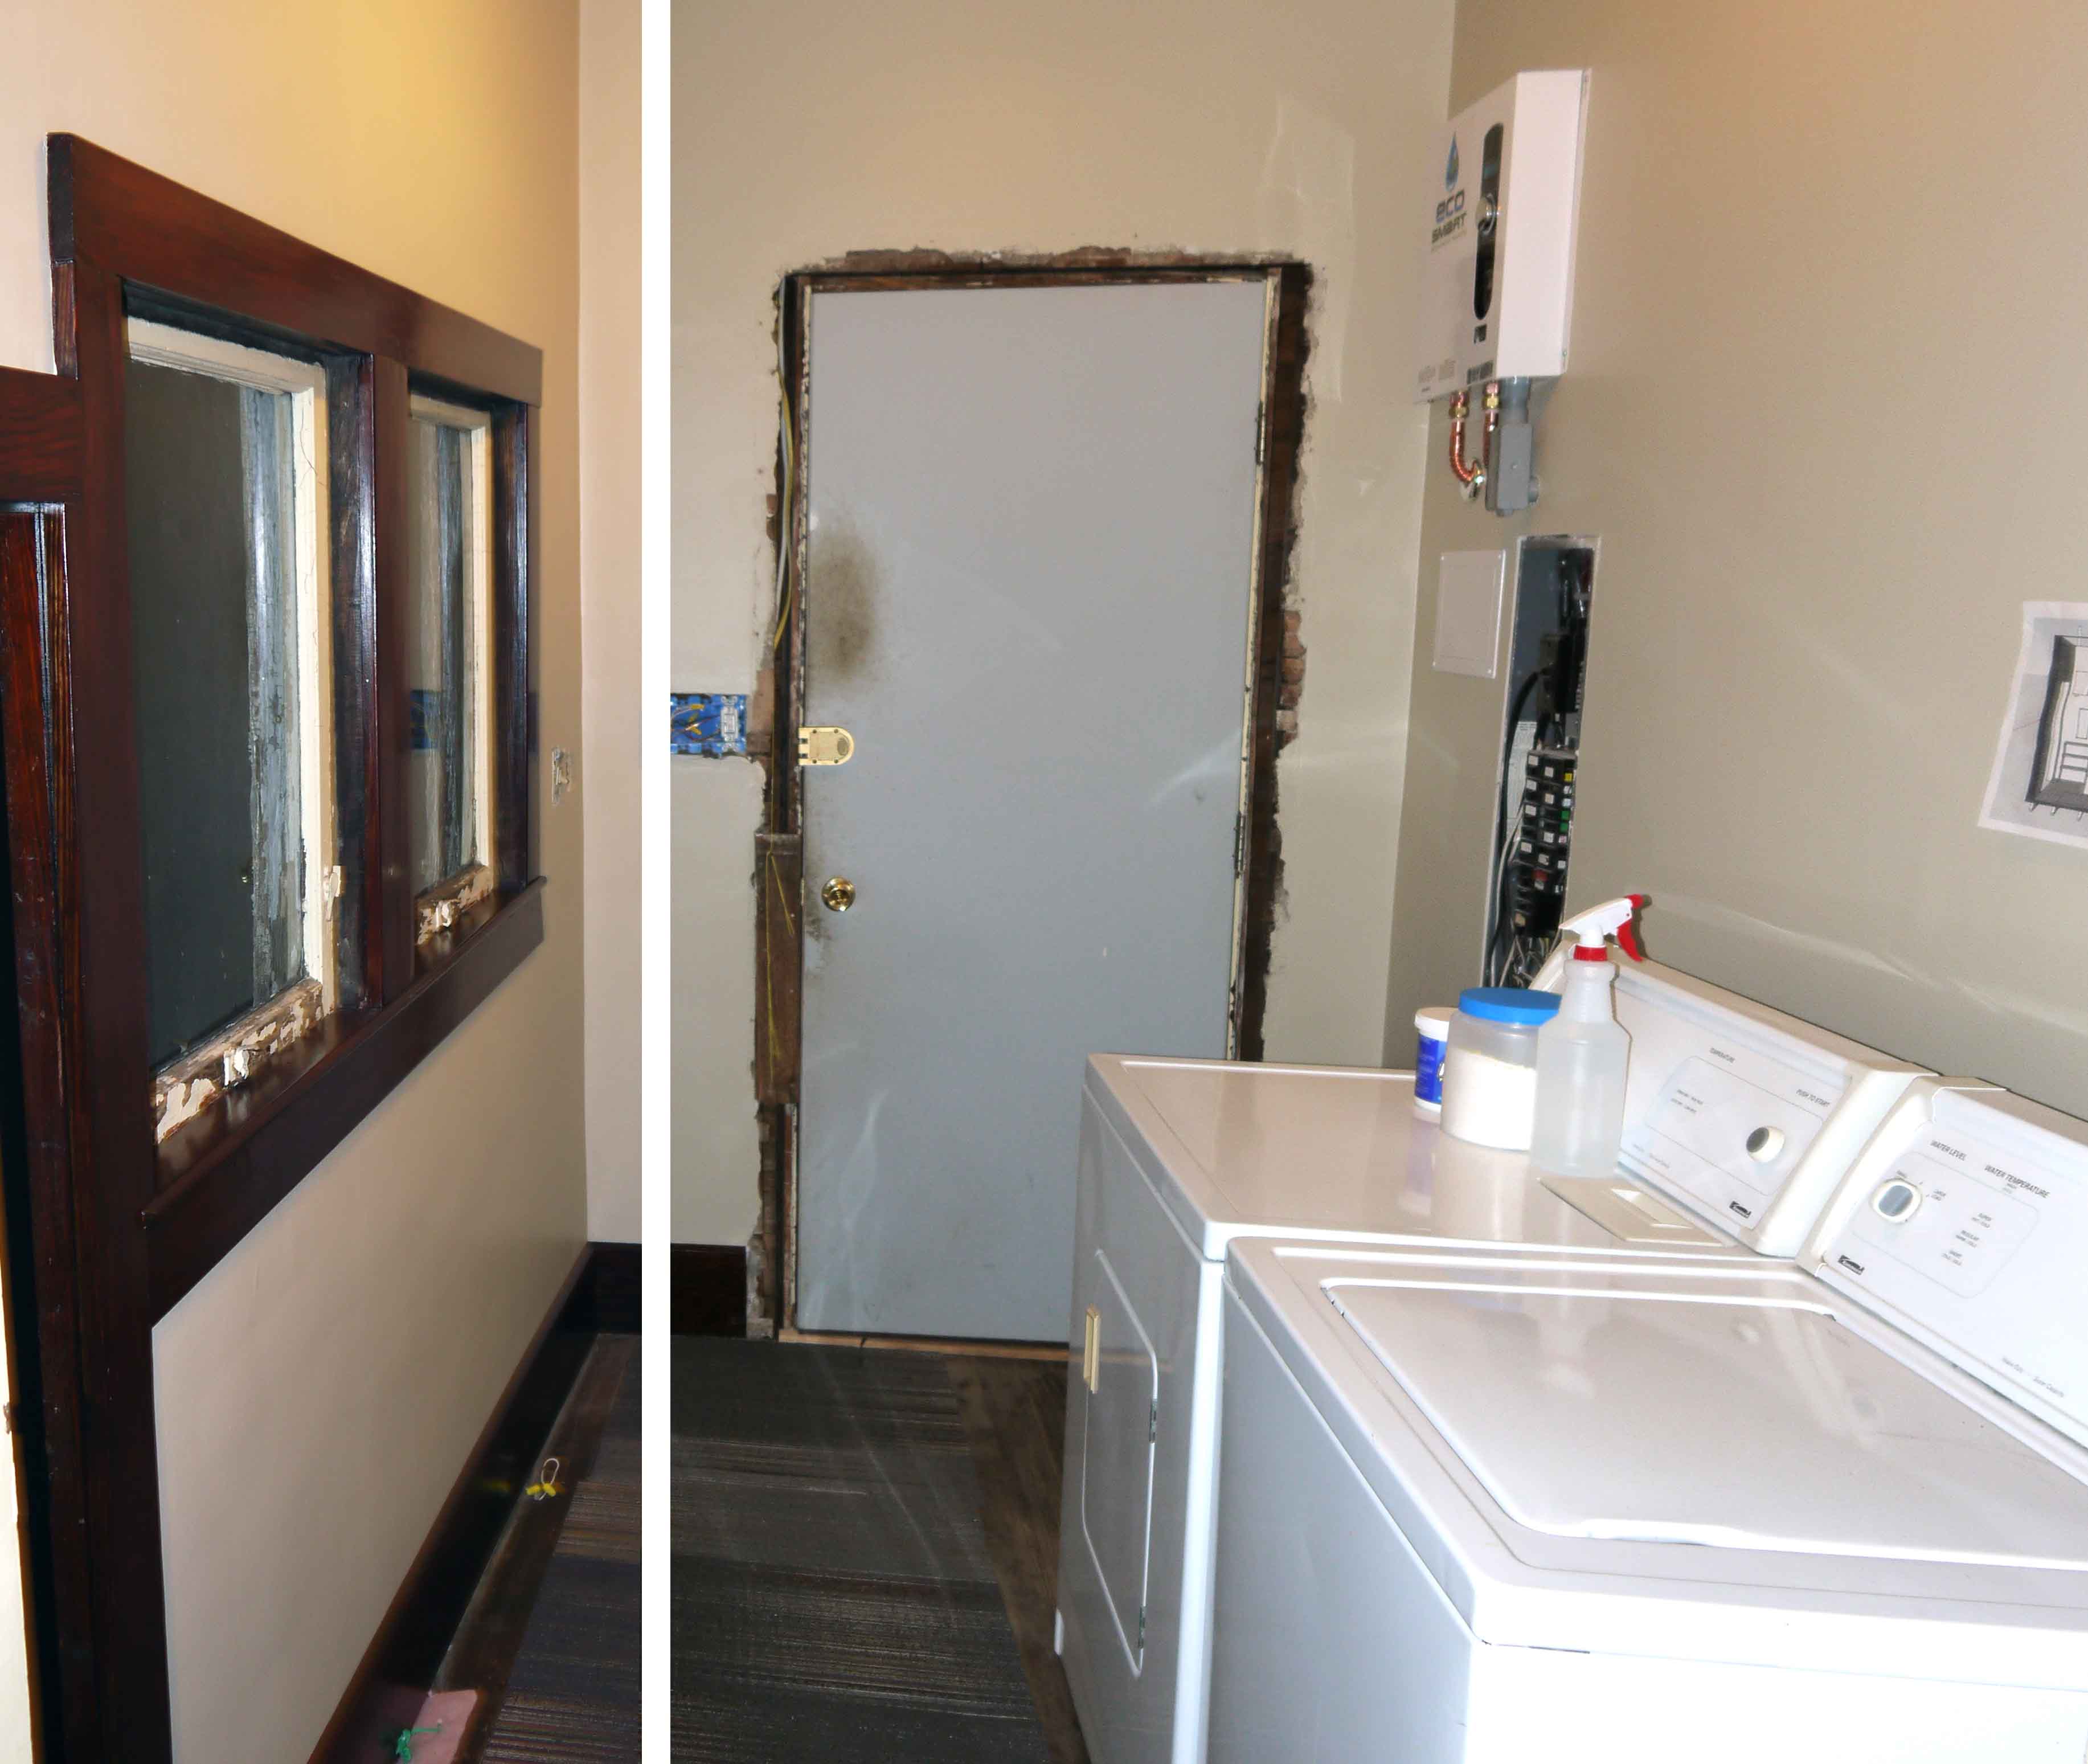
And I am really happy with how clean the washer hook-up turned out. The inlet pipes and drain are all contained in the wall, just like in a new home.
For a light in the laundry room, I planned on just one fixture in the center of the ceiling. I really liked the shape and style of this Jar Pendant from West Elm, but I think I had less than their asking price in my total materials for the entire laundry room rehab. And I really didn’t want a pendant type fixture.
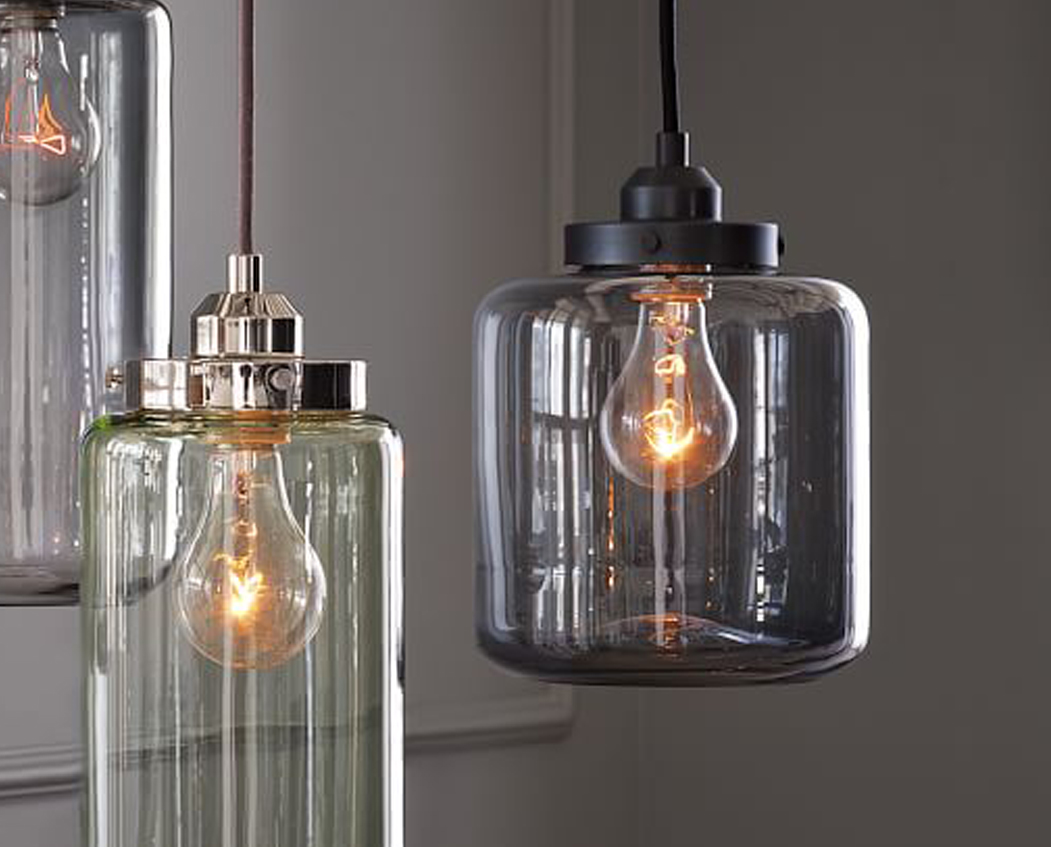
Over the winter I hit a couple salvage stores in Fort Wayne and found enough pieces to make something similar in a ceiling mount light. I found the metal base at one salvage store, and the glass globe at another. 
A little spray paint for the base, new screws to hold the globe, and tada! Similar, but less than $15 total.
What’s next? Well, I’m gonna enlist my mother’s sewing skills to create some window coverings. I don’t really need privacy in this room, but introducing some fabric will soften the edges around the woodwork and introduce texture into an otherwise all-wall room. Cotton drop cloth, leather straps, and metal grommets – something like this: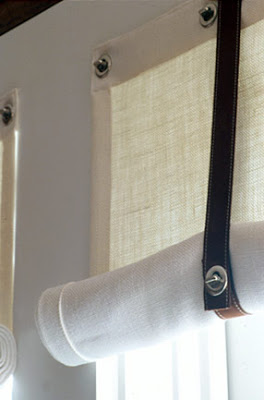
But I’m most excited to start dealing with my beautiful but inefficient original windows – glazing putty, bronze weatherstrip, and new sash rope – here we go!
