Although I went ahead and stained & poly’d most of the laundry room trim and baseboard, there were some small pieces of baseboard left that were lost – hiding – waiting in the garage. And the built-in broom closet had a busted panel in the door, so I removed it from the hinges and it was waiting in the garage also. Just like the woodwork had 50 layers of paint, so does all the hardware. The hinges are salvagable (although I destroyed the screws trying to scrape the paint off of them to back them out). The door latch was busted, but there are other examples in the house so I know what type to look for.
I was able to get the busted upper panel out pretty easily – the frame around it on the back of the door was split around the panel, probably when it was broken originally. I carefully scraped the paint off each of the 2 pieces first, I guess I was concerned that once the panel was glued back together there would be paint in the seam that I wouldn’t be able to get out. Once scraped, I glued & clamped the broken panel, and went to scraping the door.

Scraping flat areas isn’t so bad, and it goes pretty quick. The panels are raised in the center, so a smaller slightly round shaped scraper helps on the recessed outer edges. Lots of paint chips. 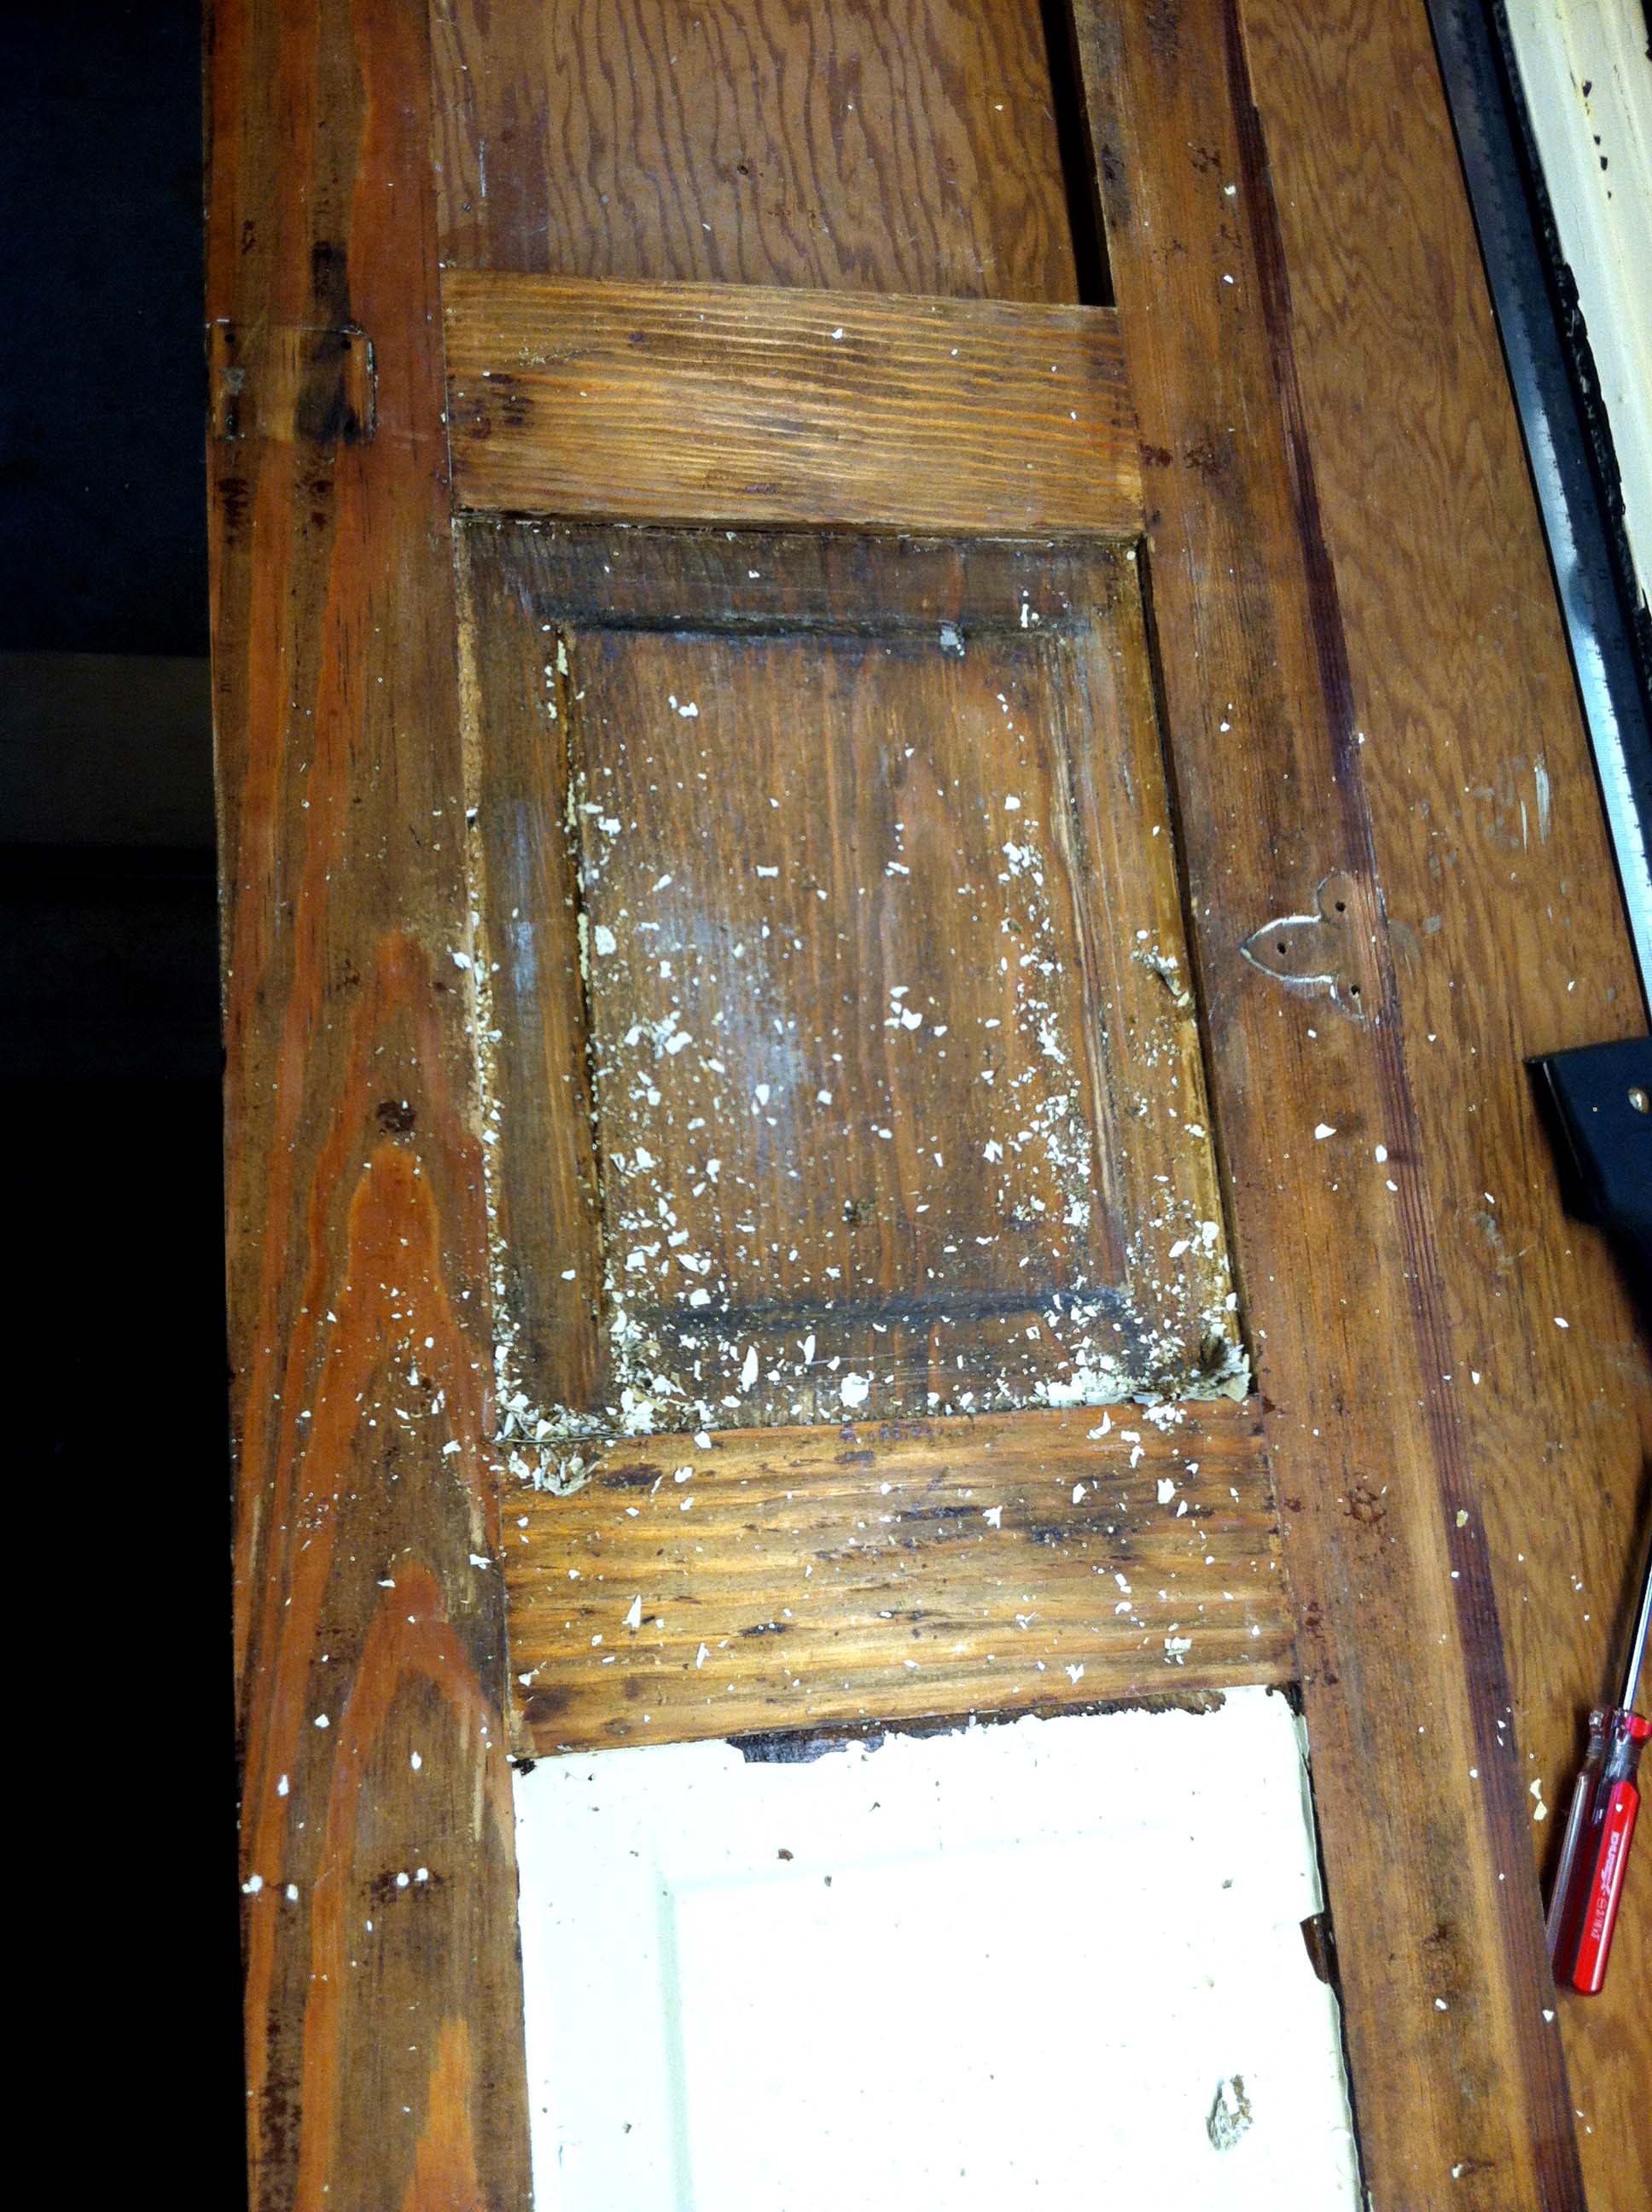
Once the repaired panel was dry, I could remove the clamps and scrape the excess glue off.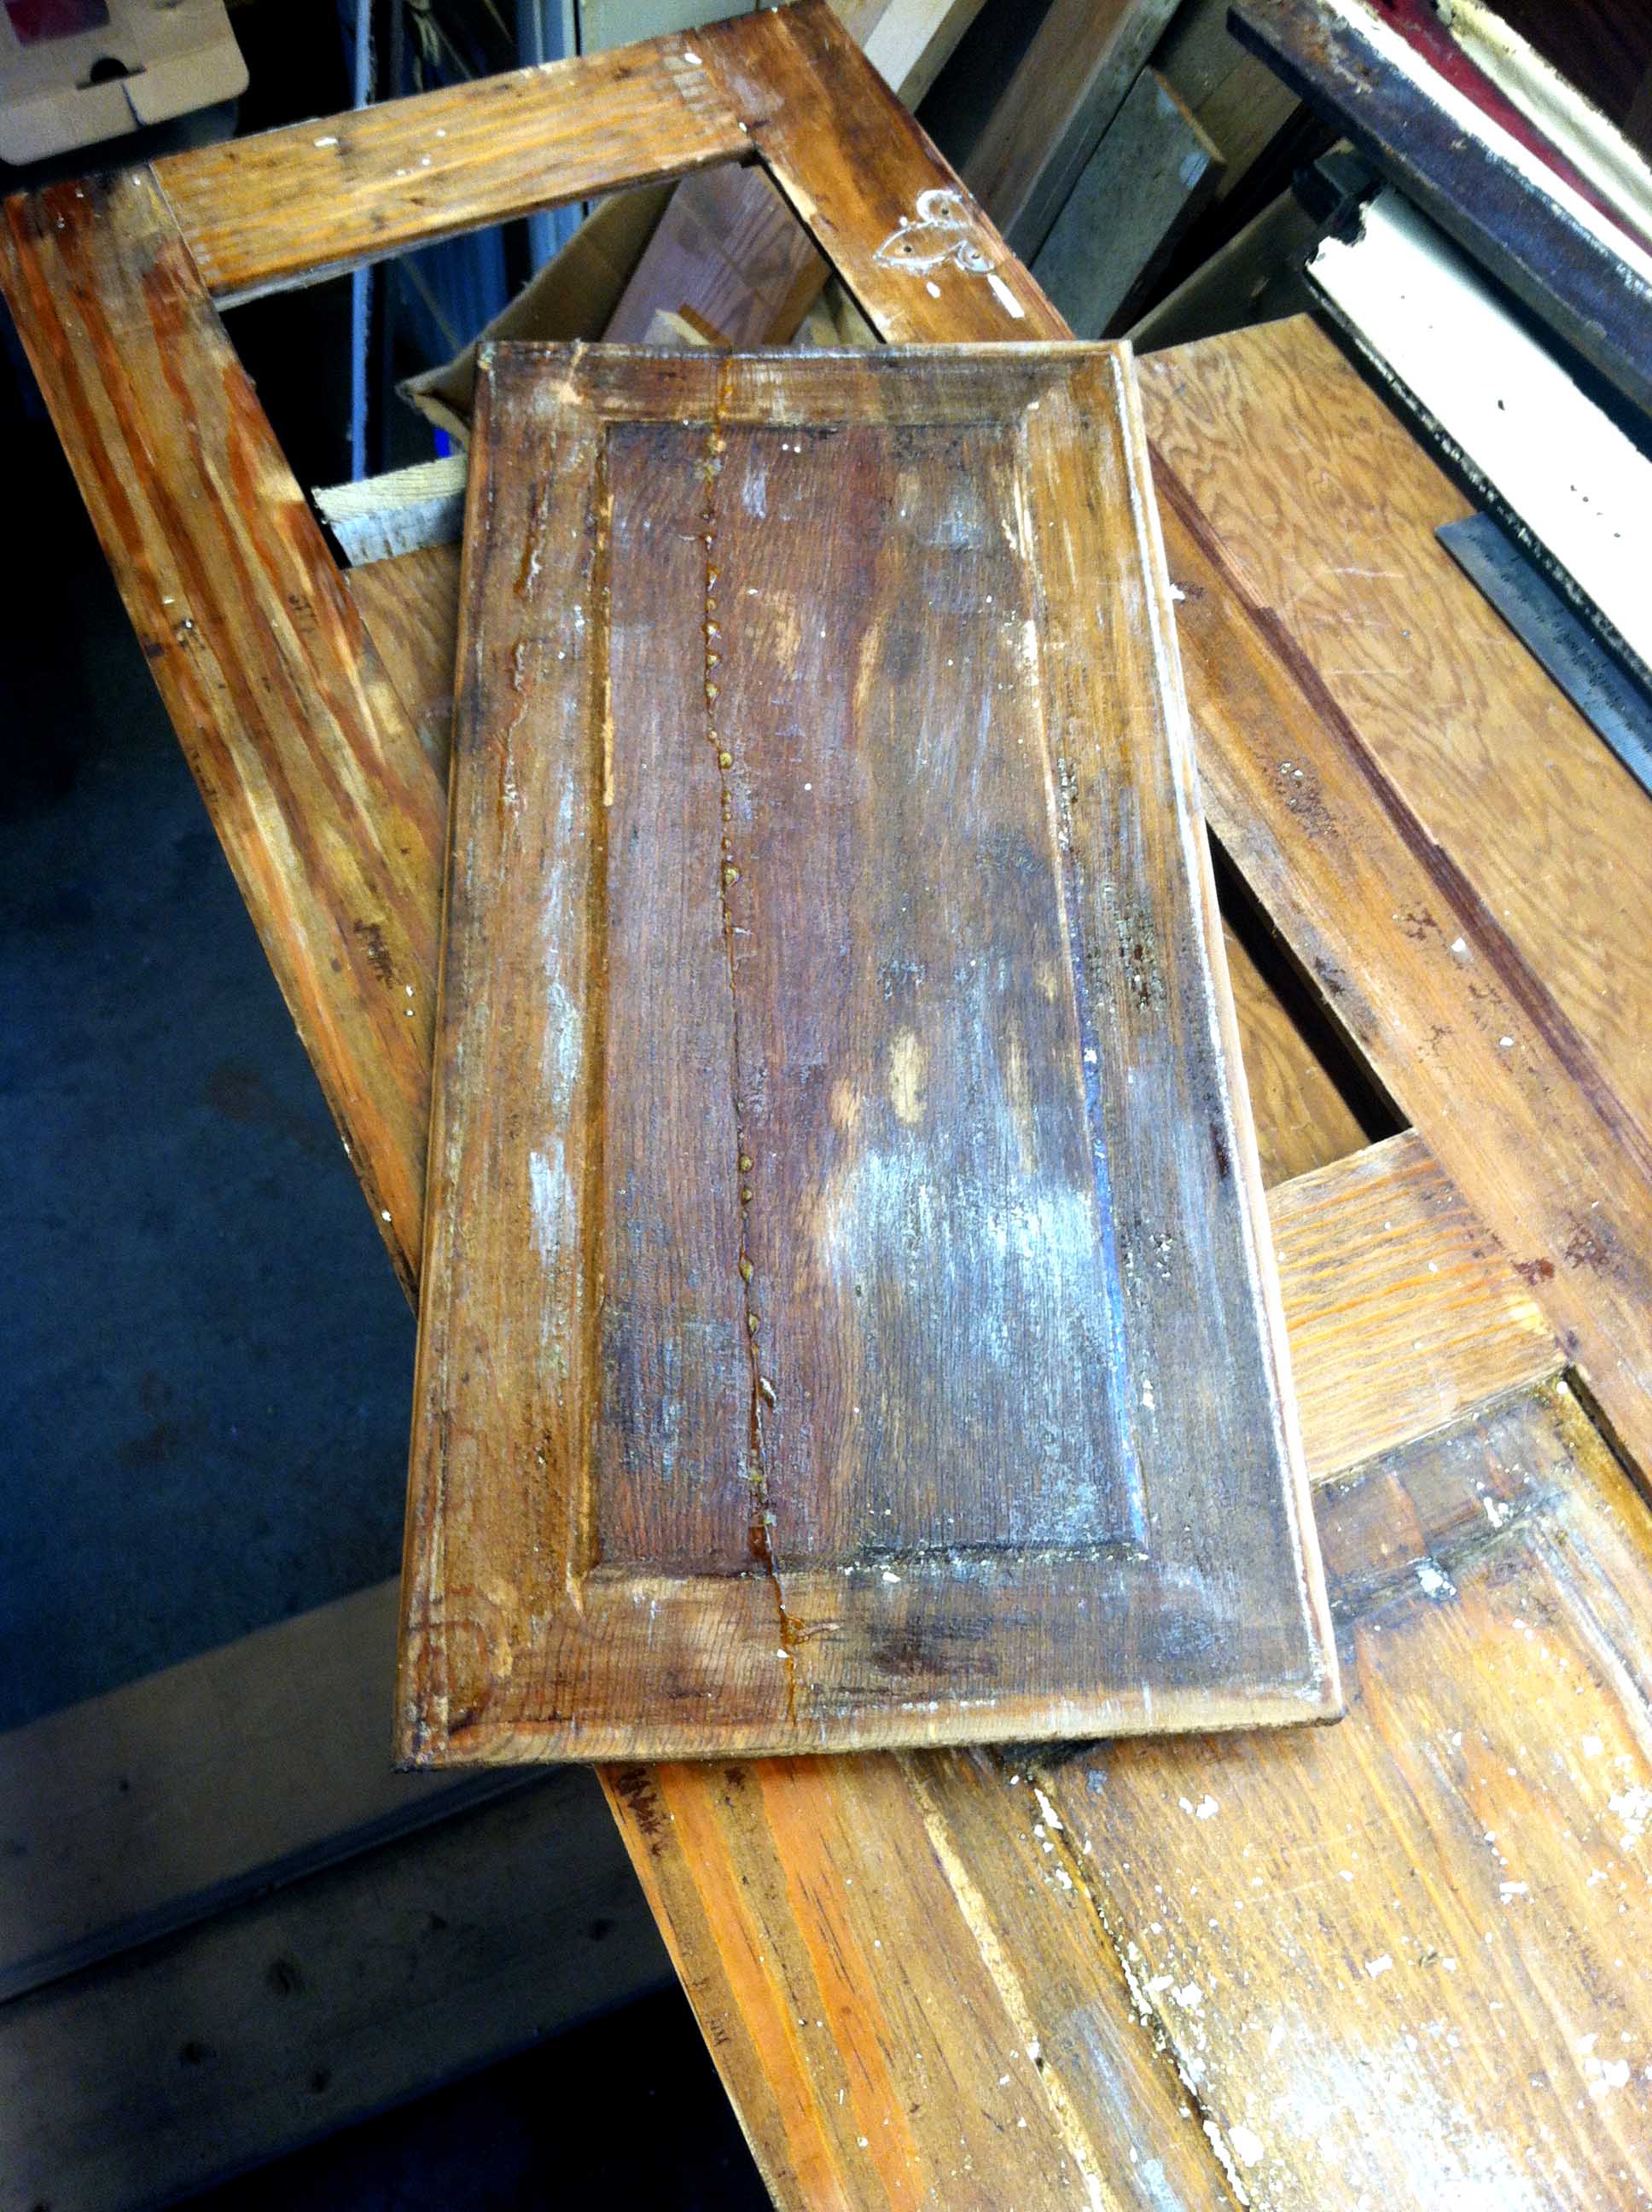
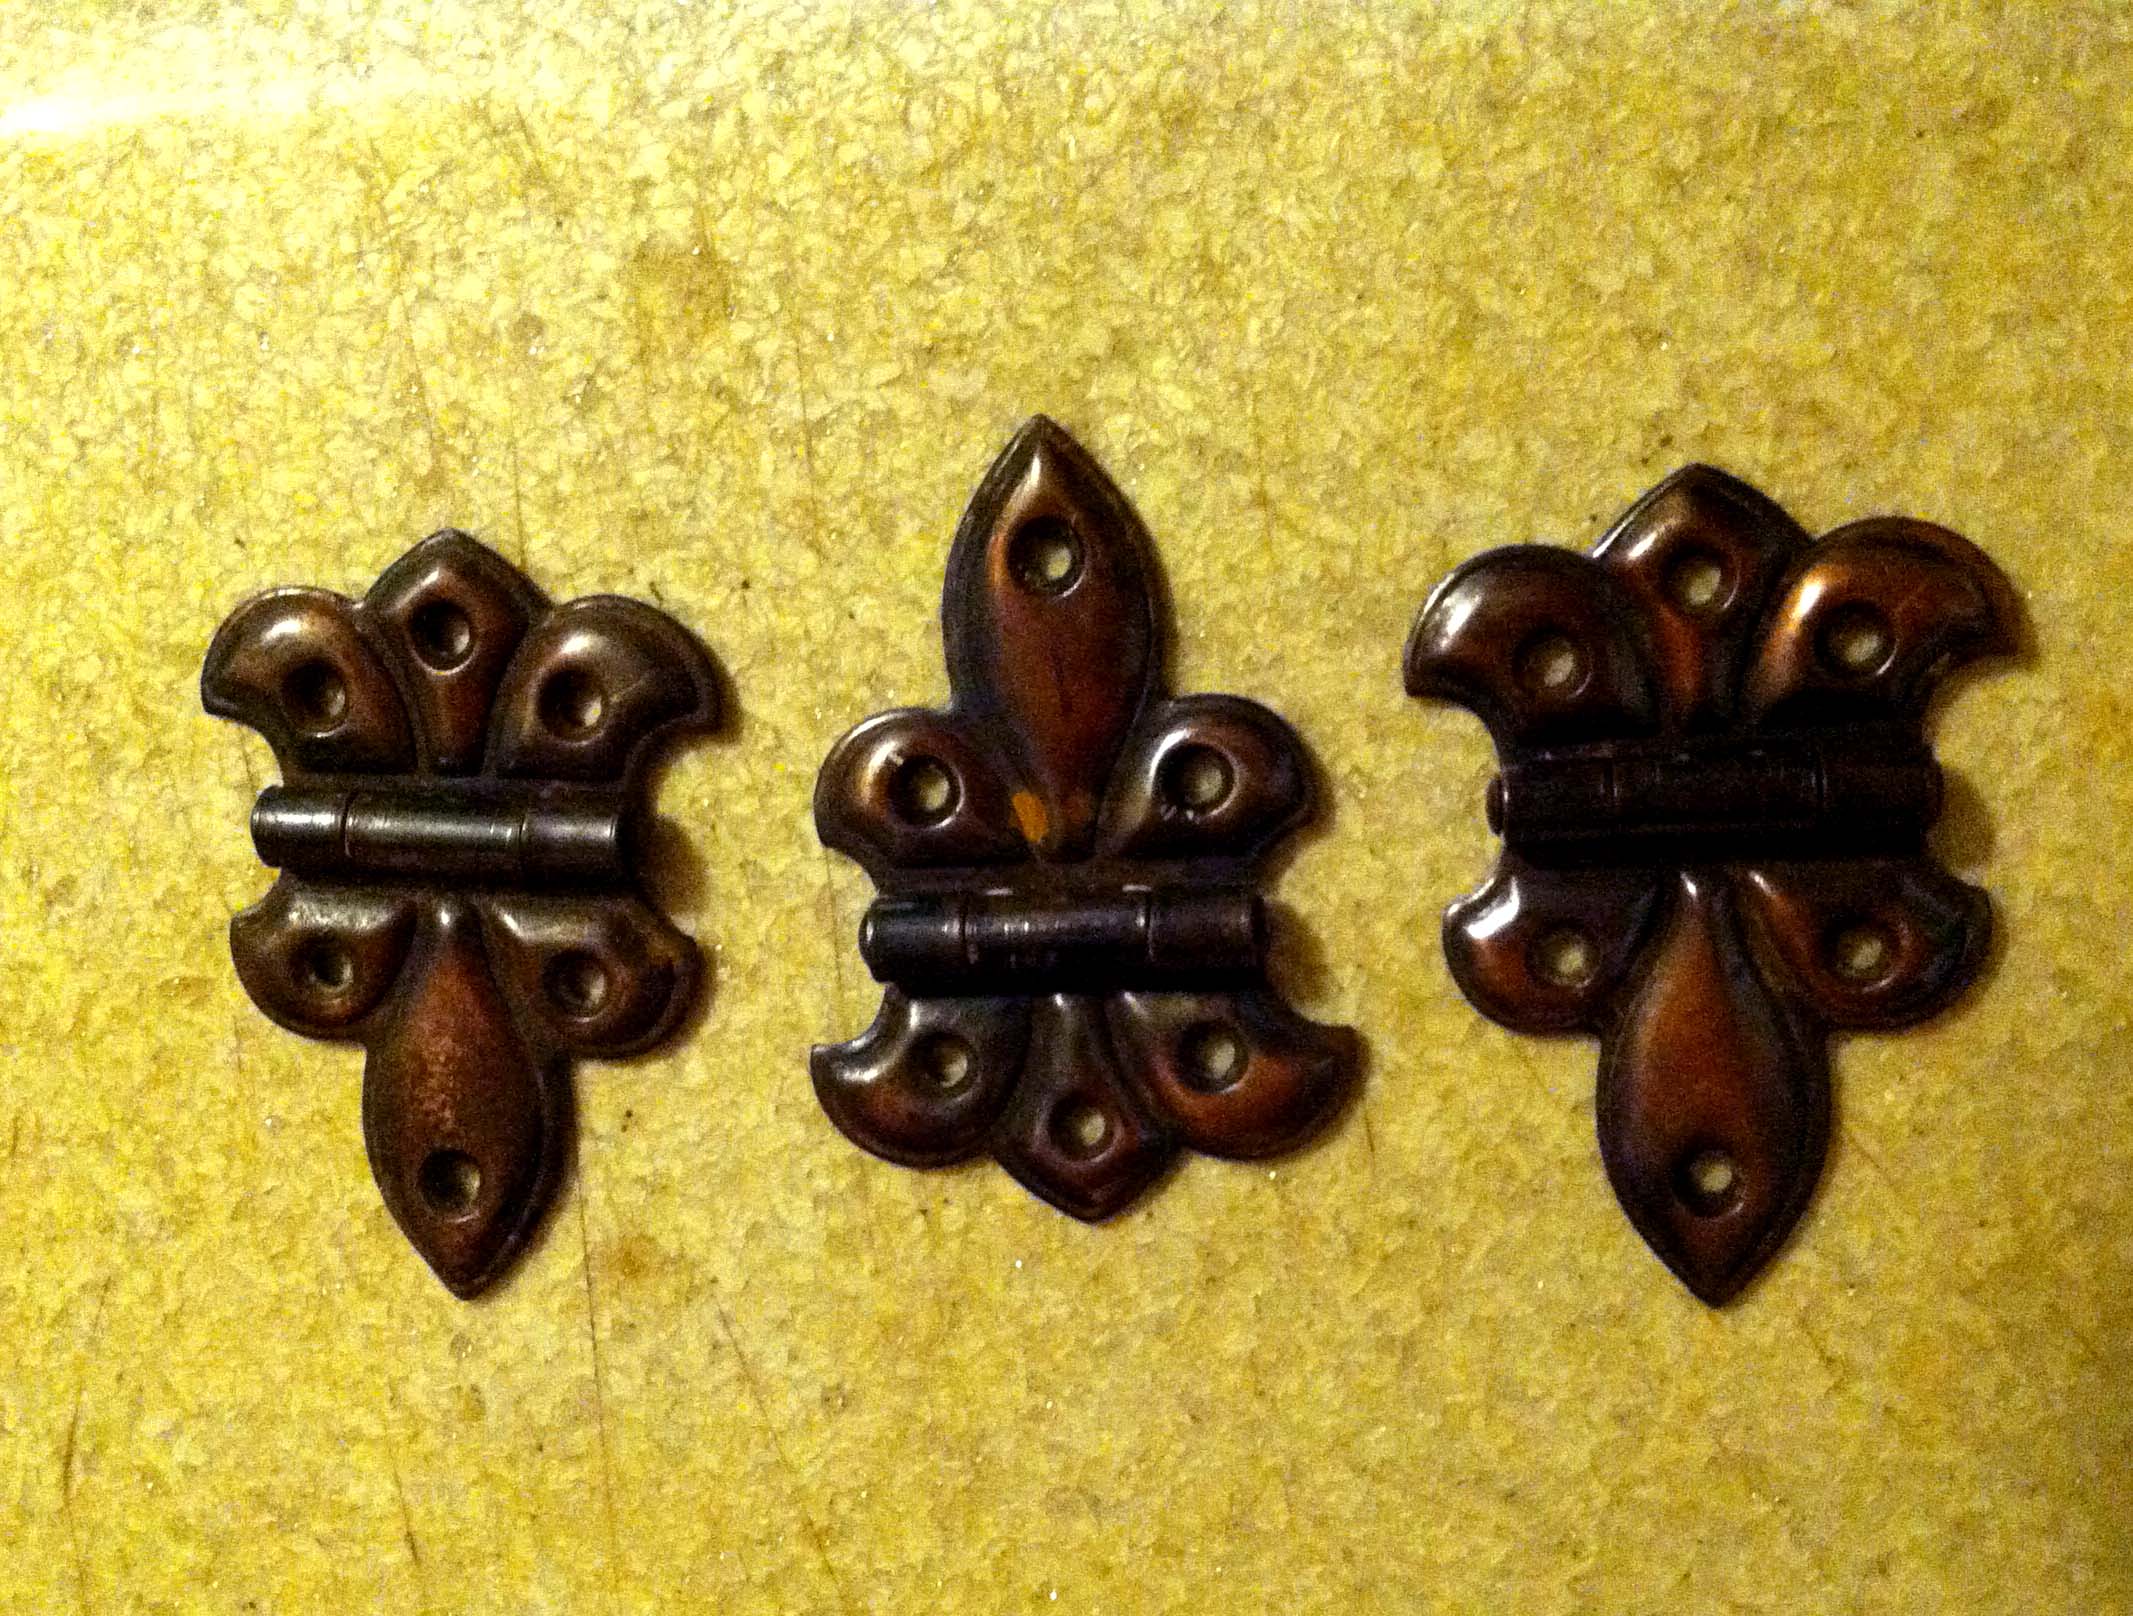
The hardware was caked with paint. This picture is actually after the first soaking and scrub with a brass bristle brush. The secret for removing paint off of metal – hinges, knobs, handles – is a good soaking for several hours in very hot water with a touch of baking soda. An old crock pot works really well for this, set it and forget it.
The paint on these was so thick, no wonder the door would barely open or close. It took two soakings and a little bit of scrubbing.

But they came out perfectly clean. Some new screws and these will be ready for another hundred years of action.
I’ve got the first coat of stain on the door, the panel, and the miscellaneous baseboard pieces. But to achieve the rich mahogany color that was originally under the paint, I have to wait a full day between the 1st and 2nd layers of stain – the stain has to build. If I try to apply the 2nd layer too soon, it simply melts the first layer and I don’t get the rich, full color. I’ll piece the panel back into it’s frame before I brush on the polyurethane, keeping it in place with some thin pieces tacked around it on the back. I think something like screen door trim will do the trick.

One more layer of stain, and 2 coats of poly – and the door will be back where it belongs. And the laundry will be almost, almost, almost finished.
